Dodi Blunts

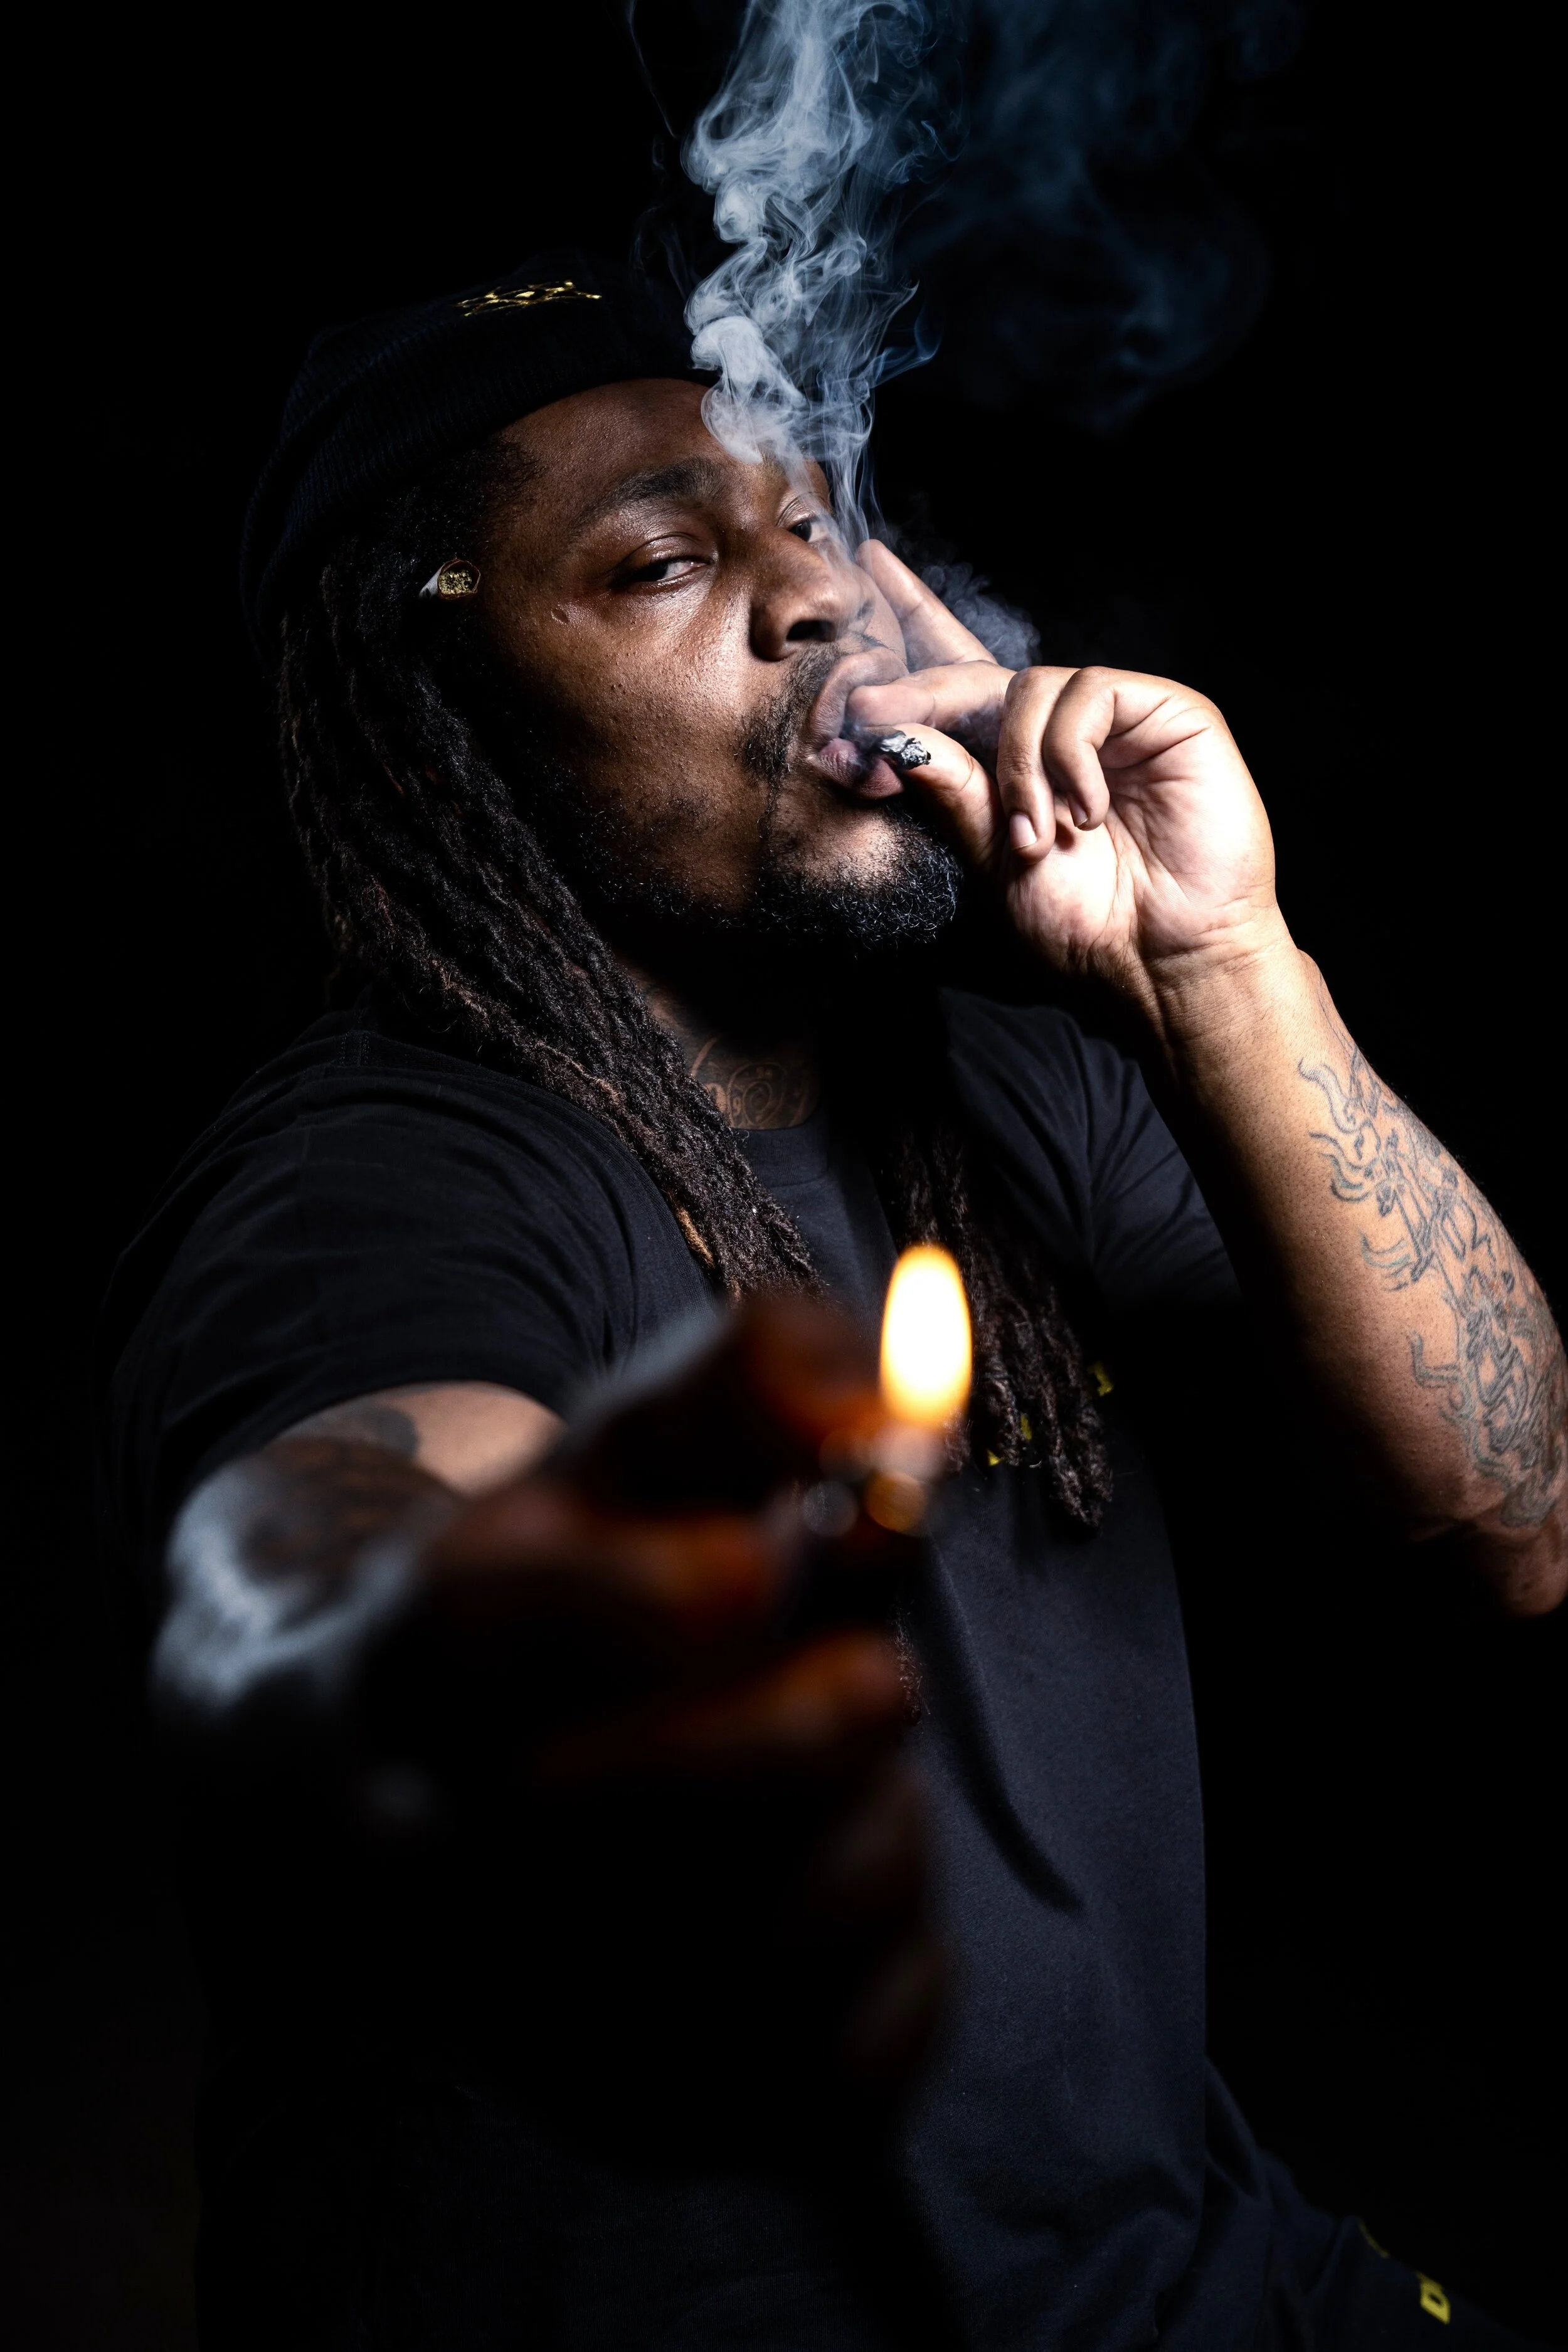
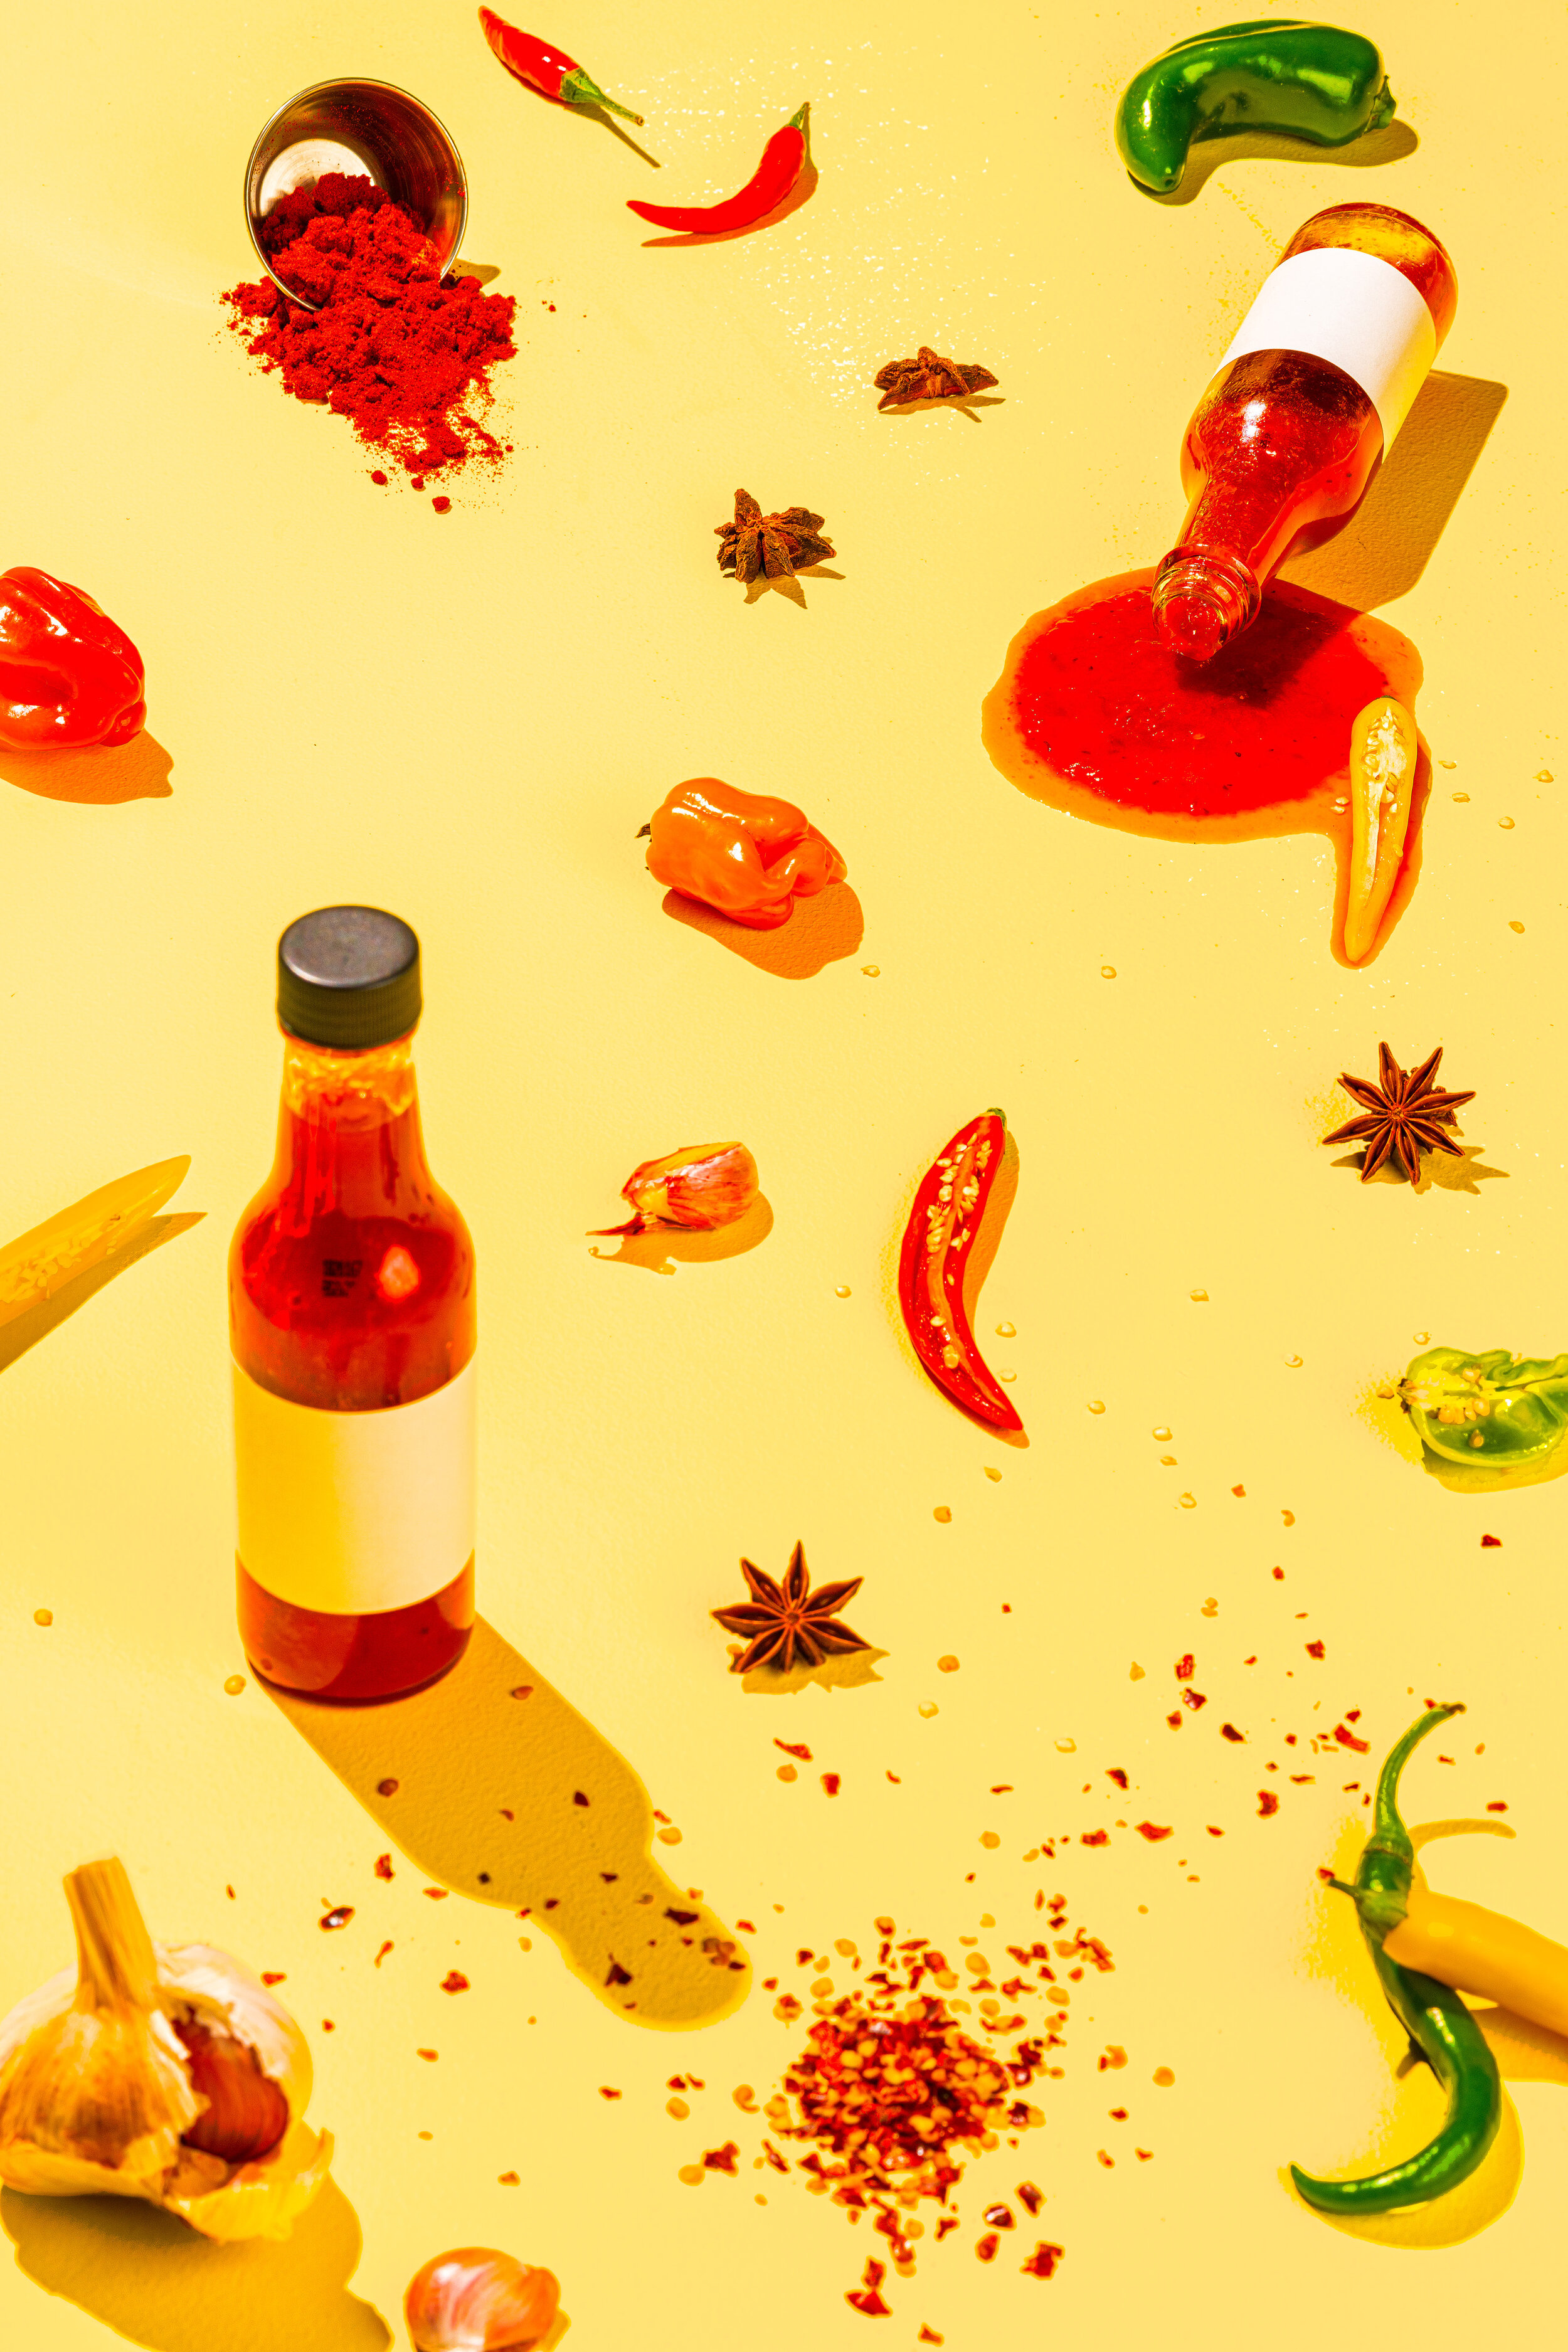
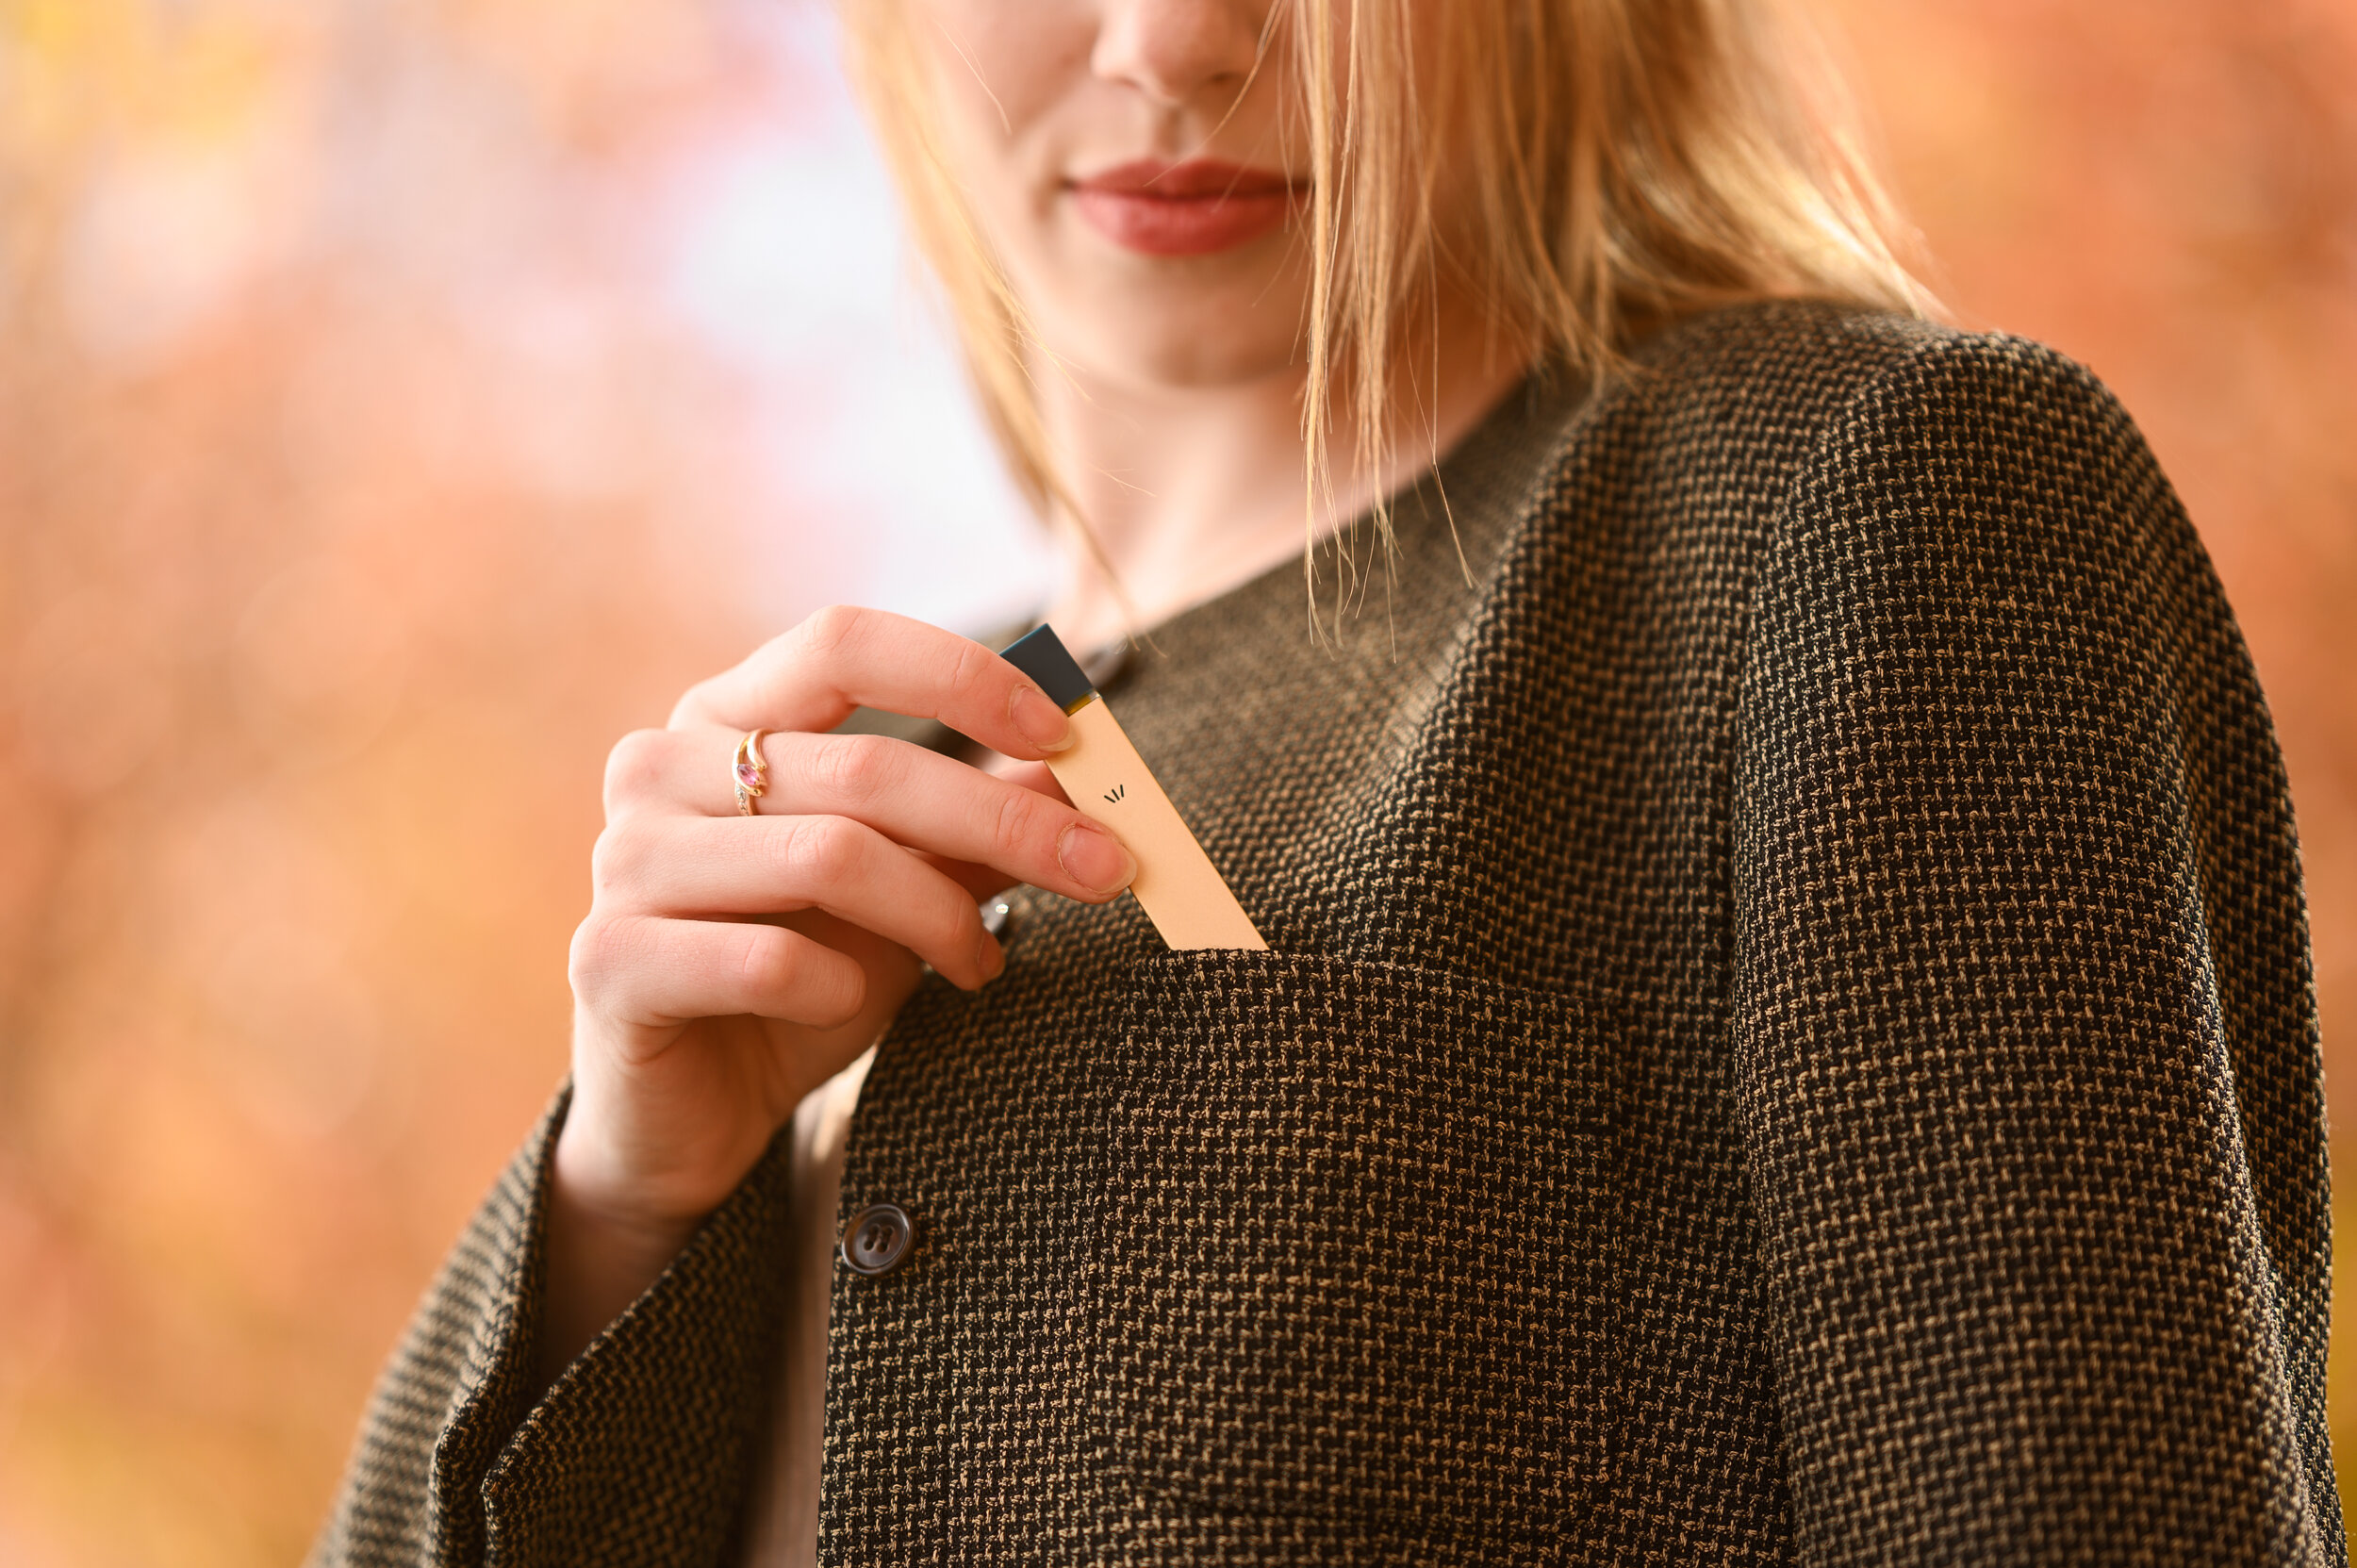
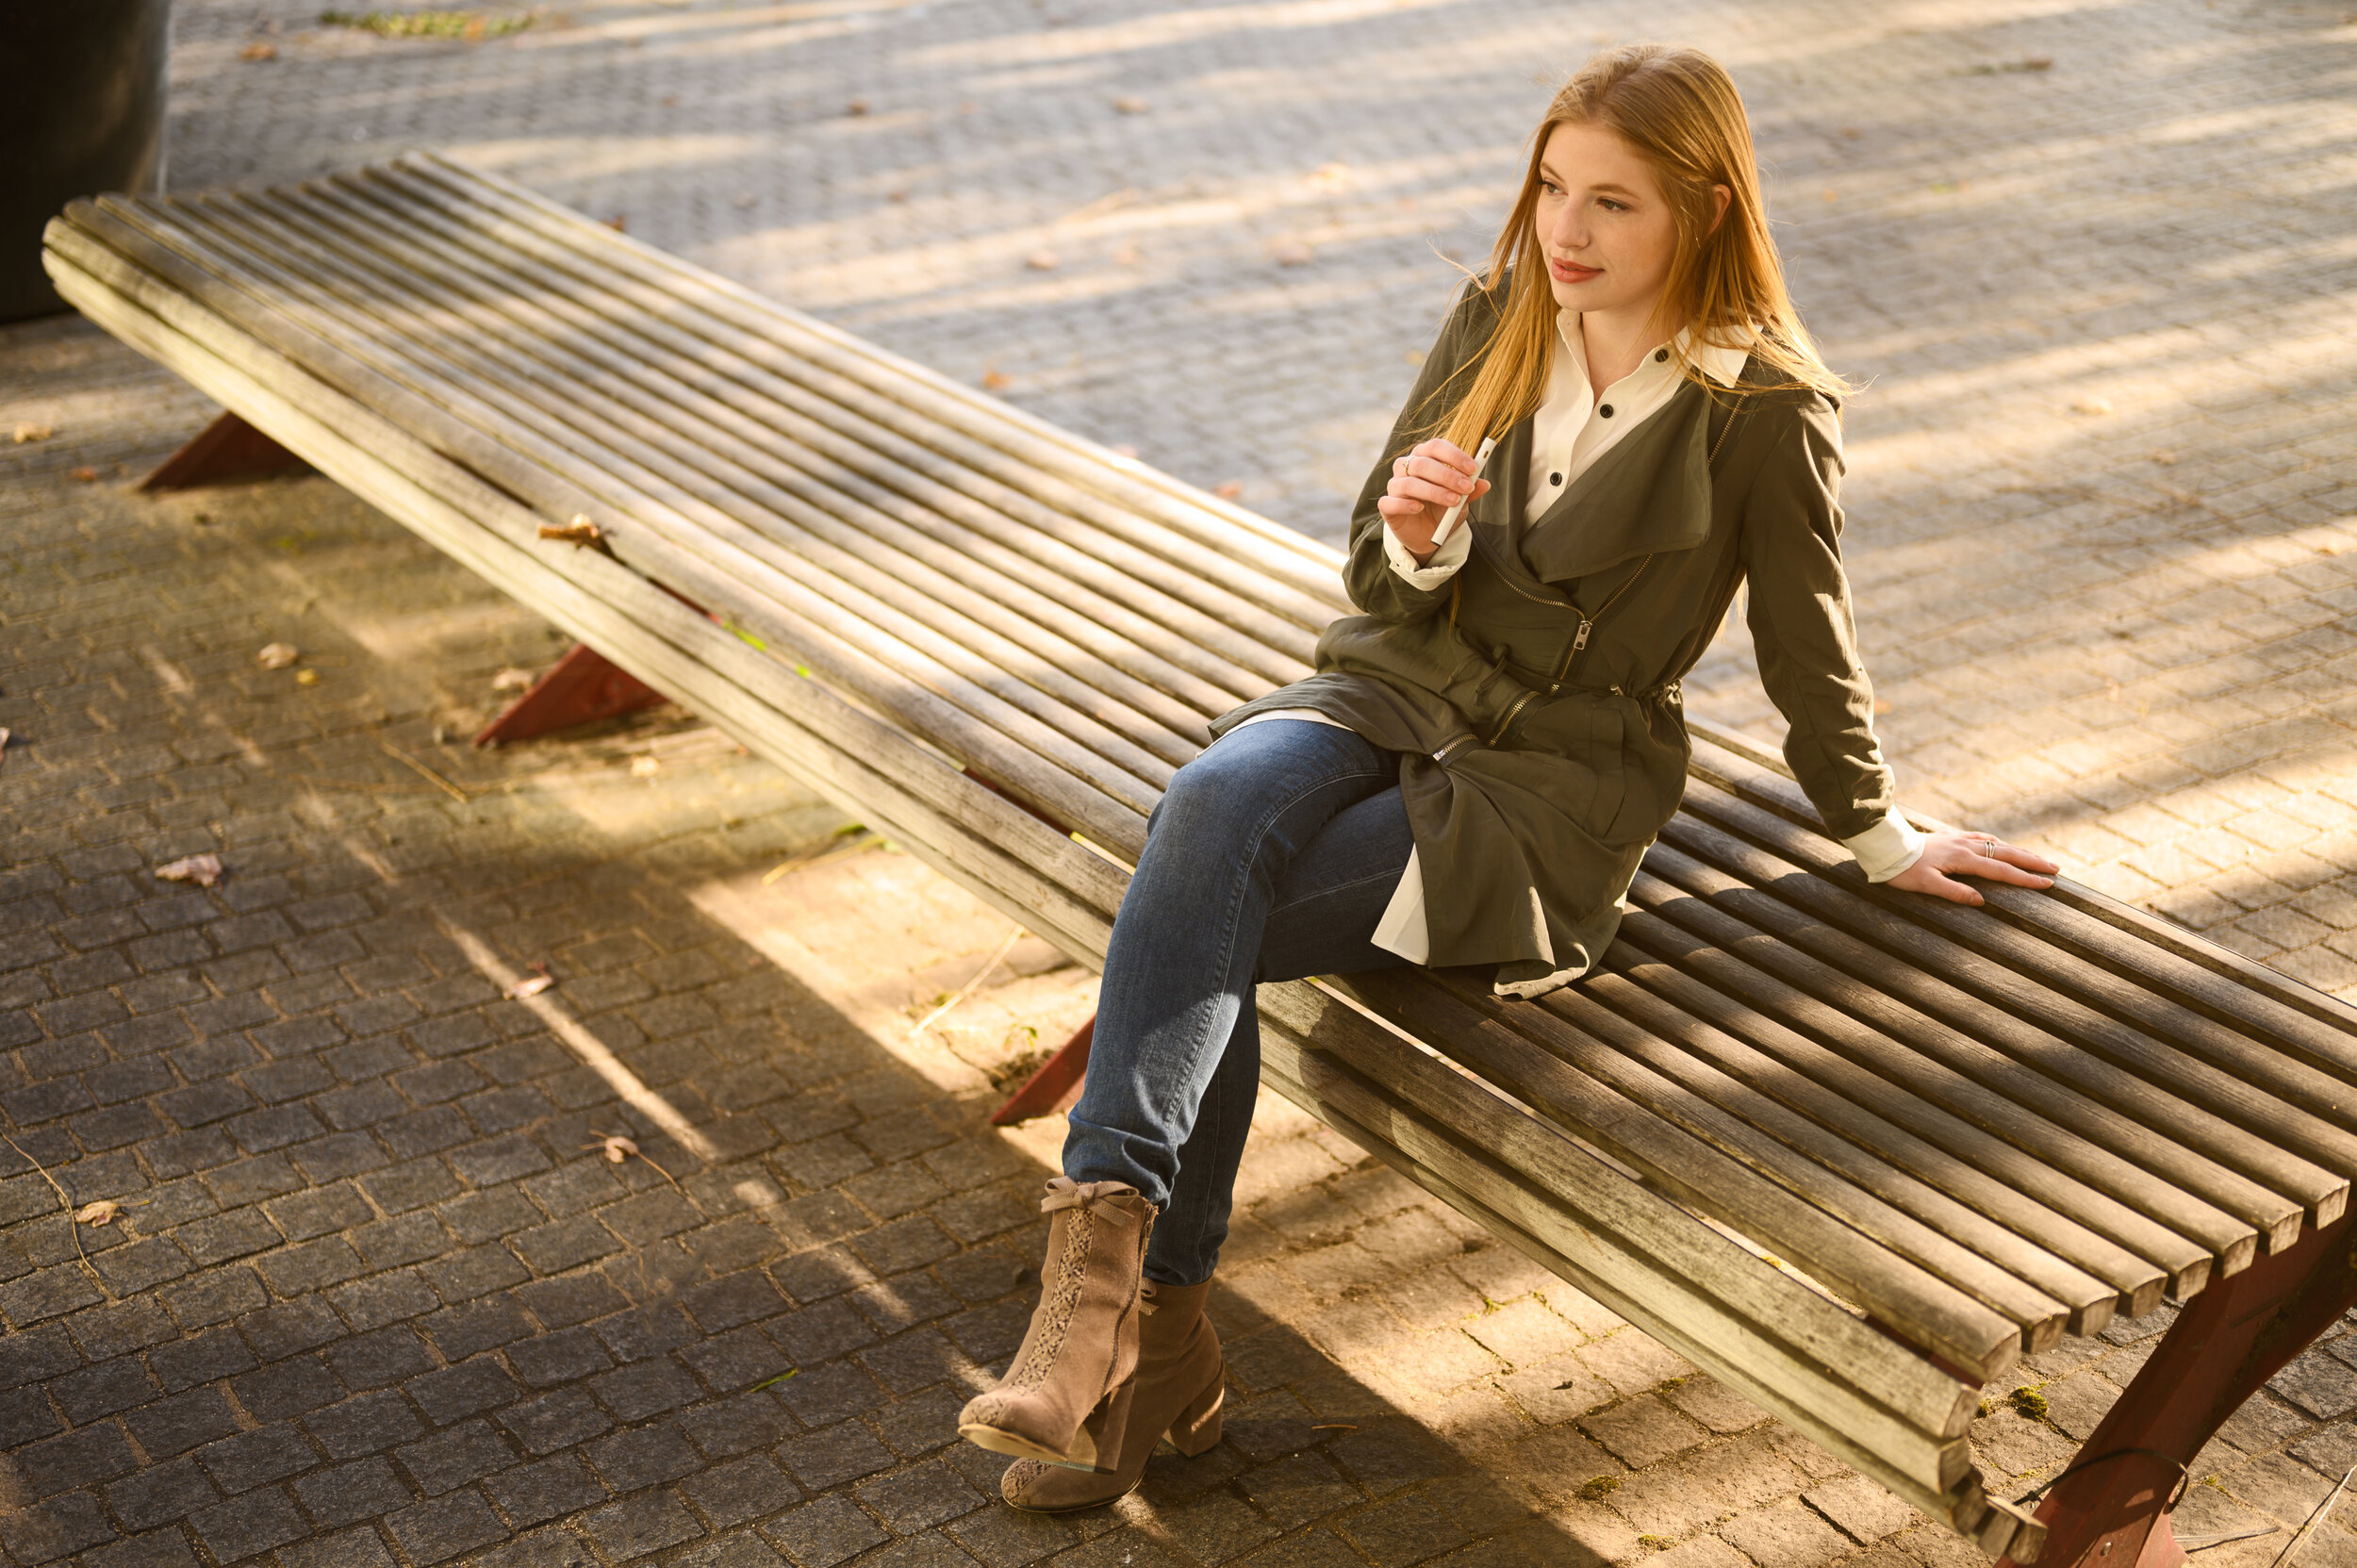
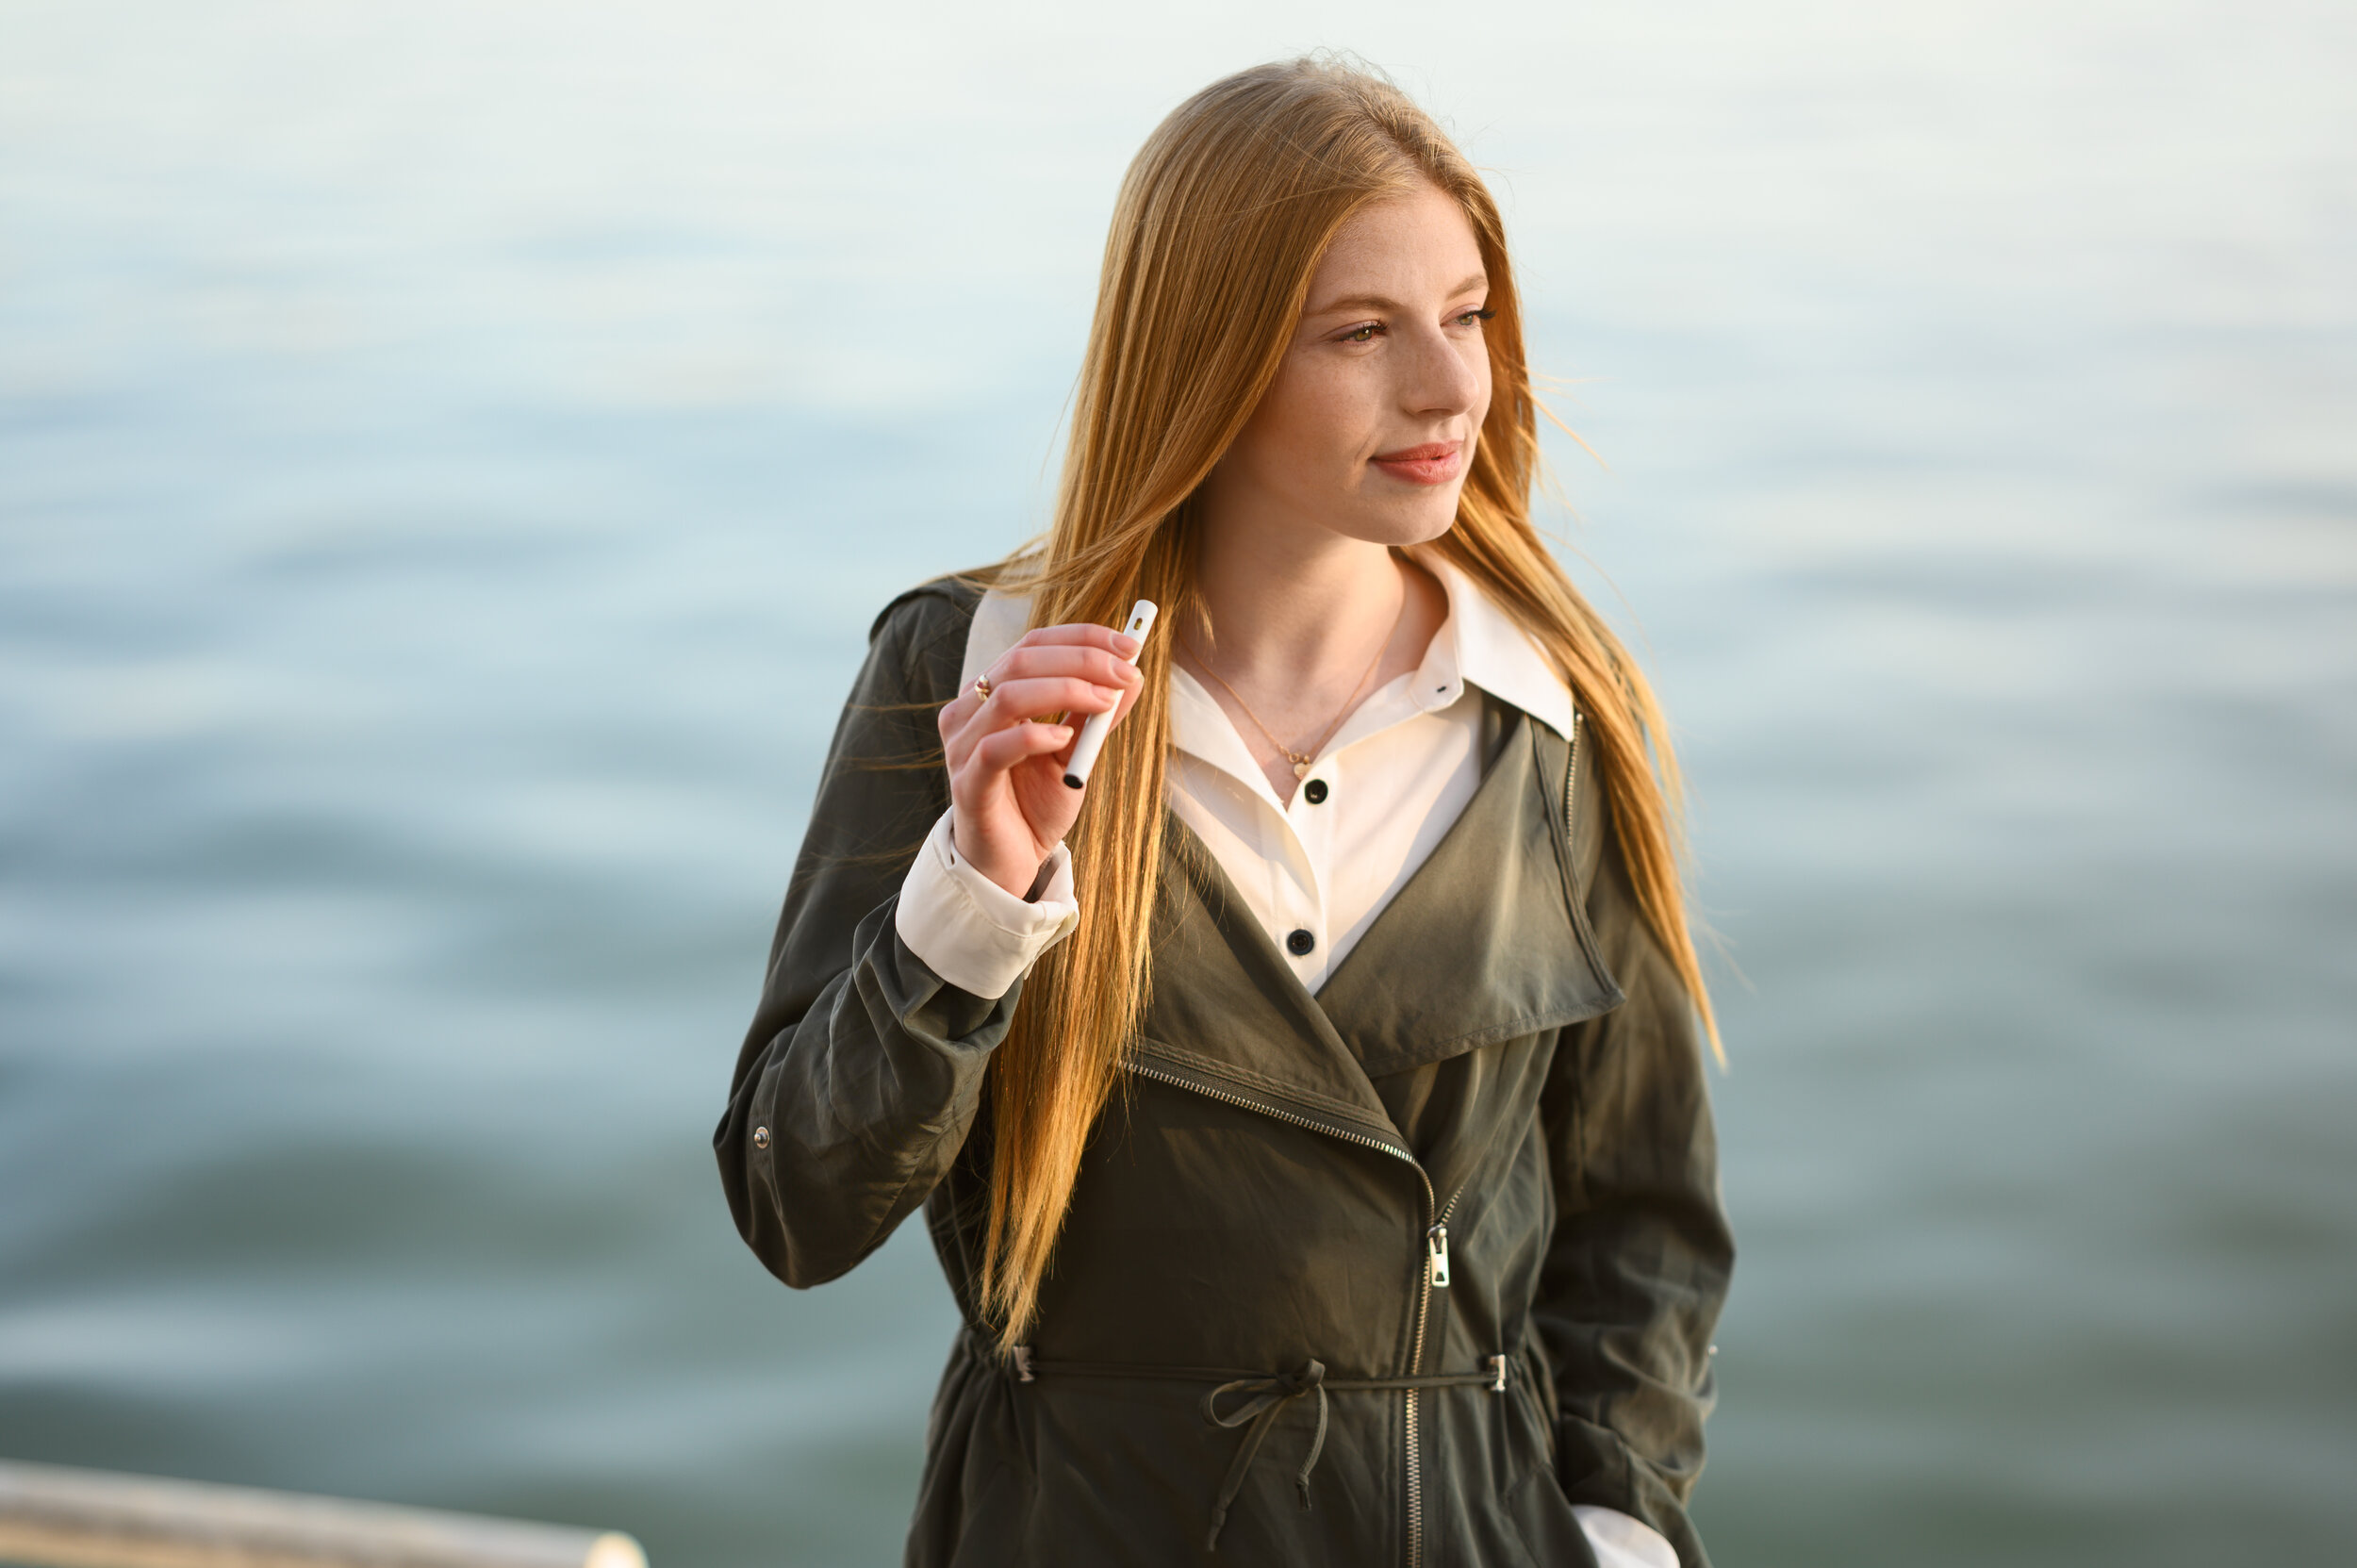
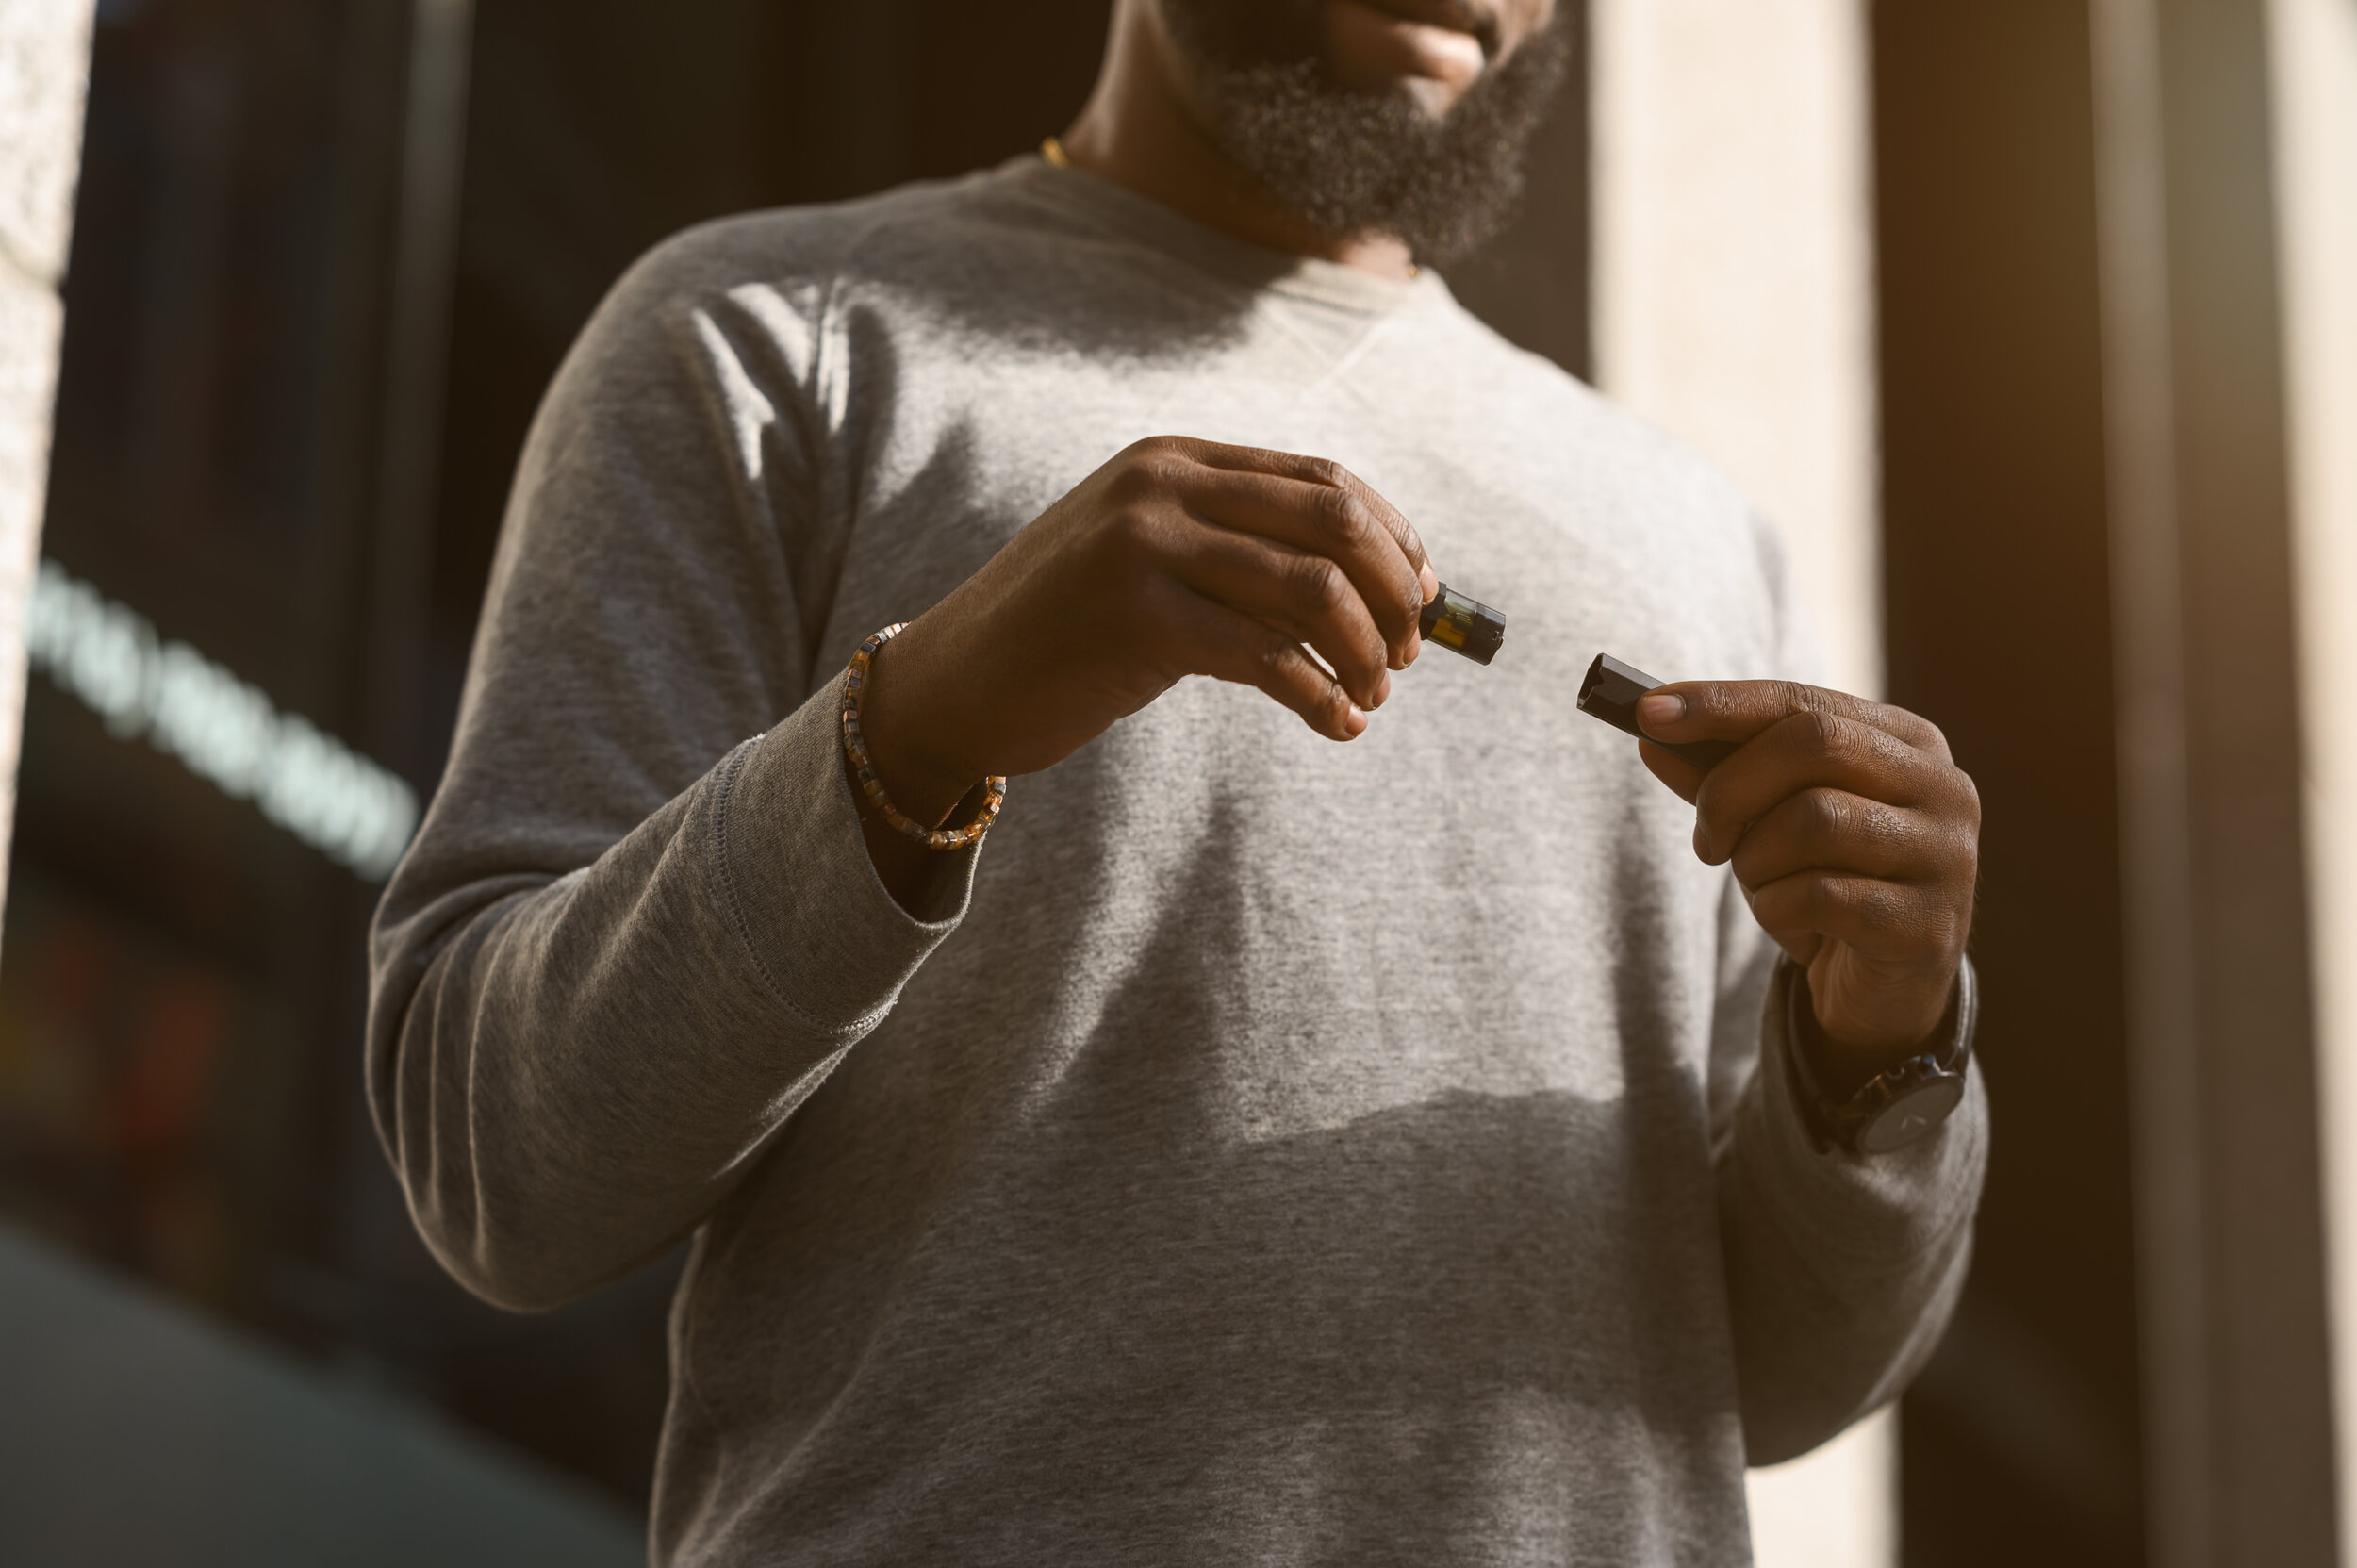
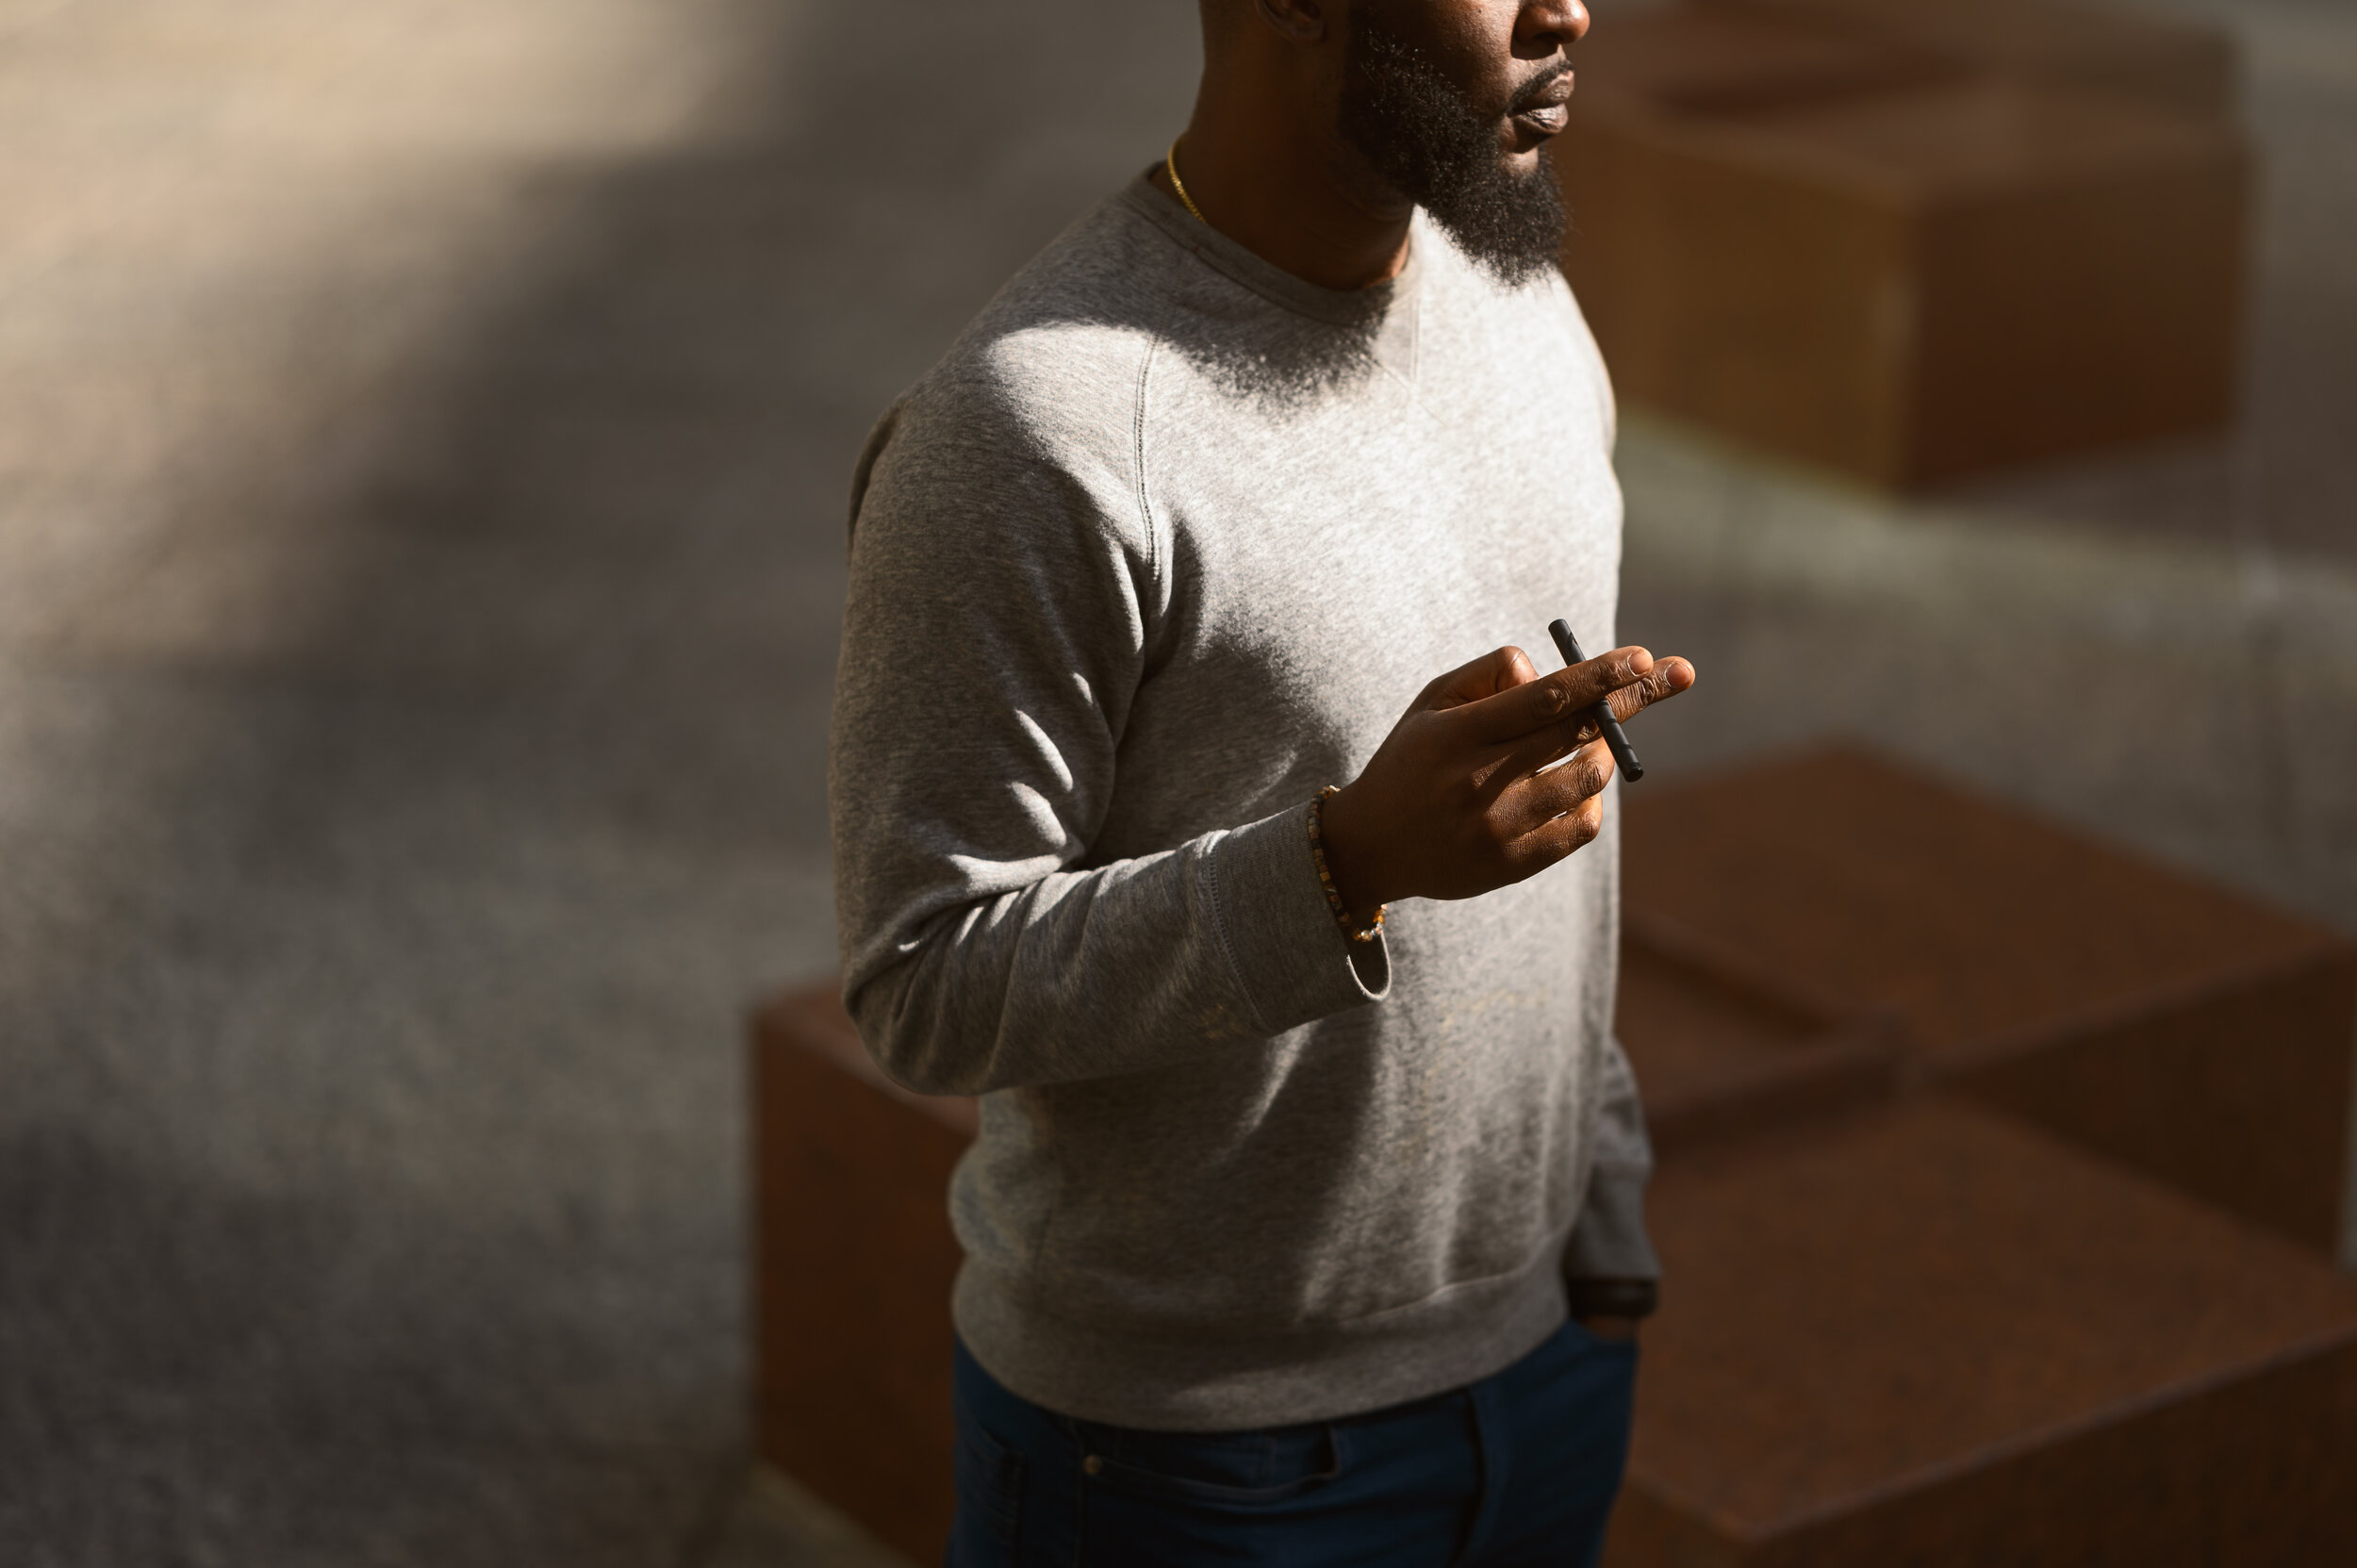
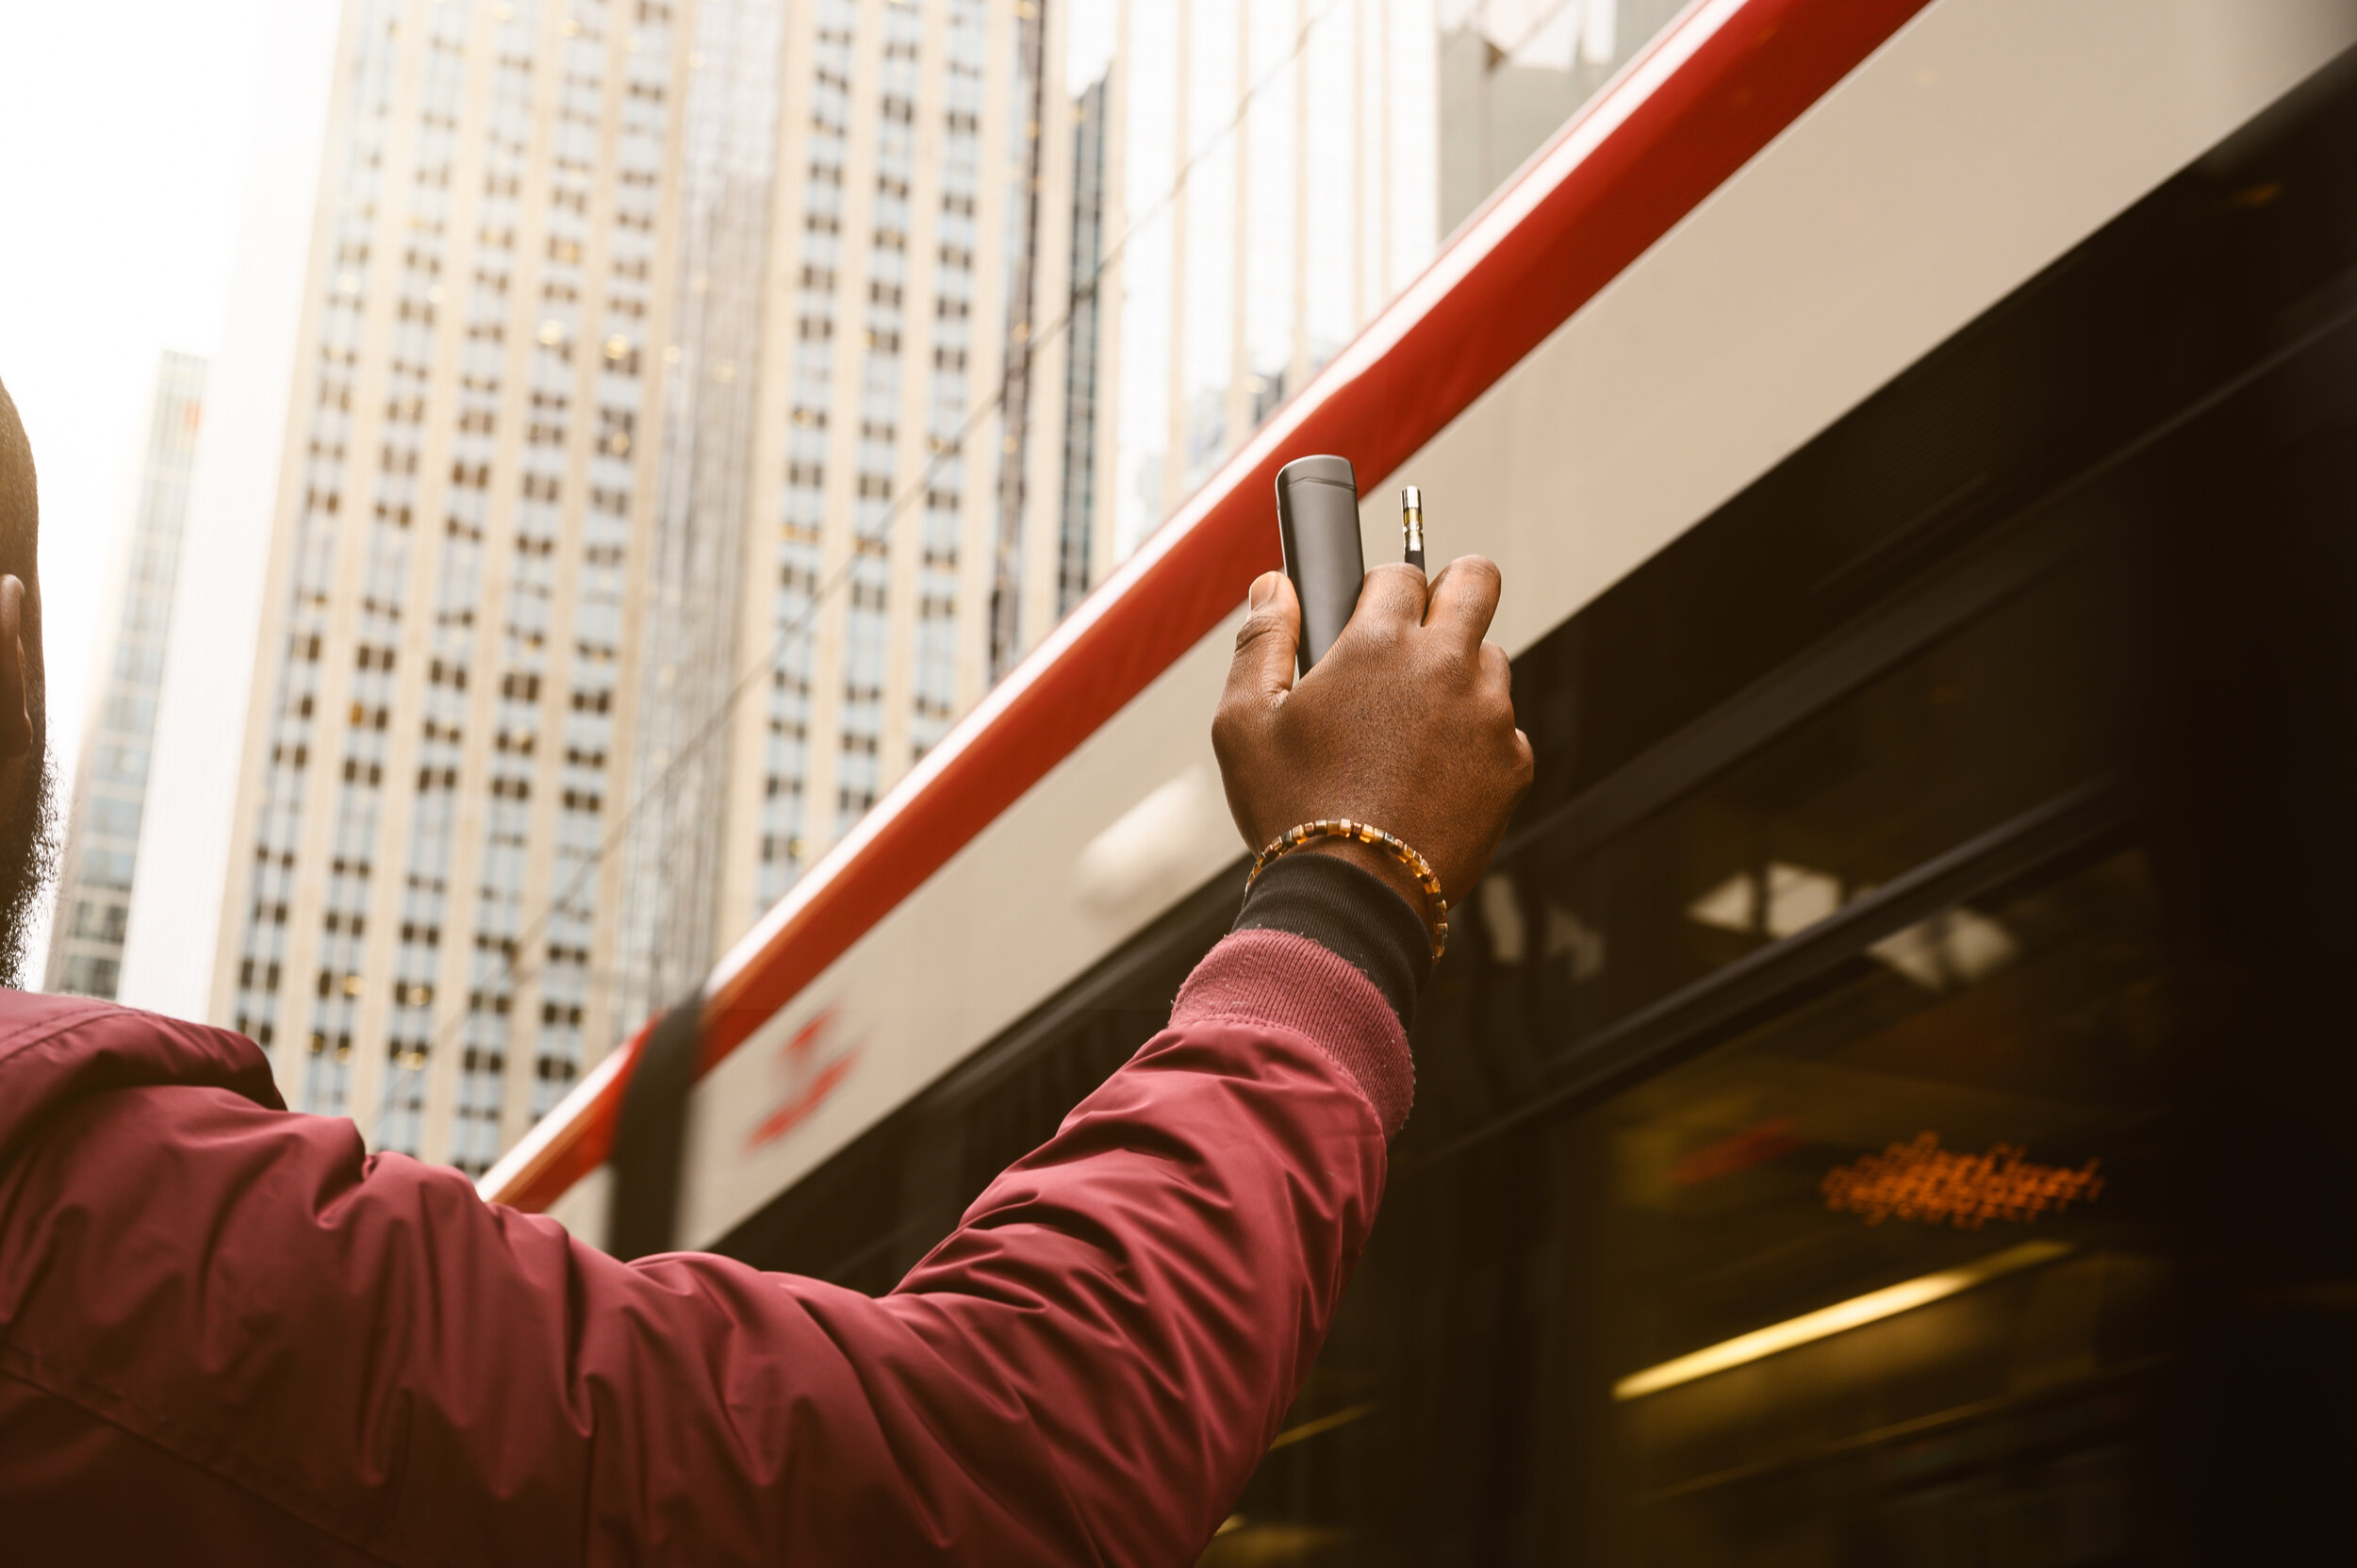
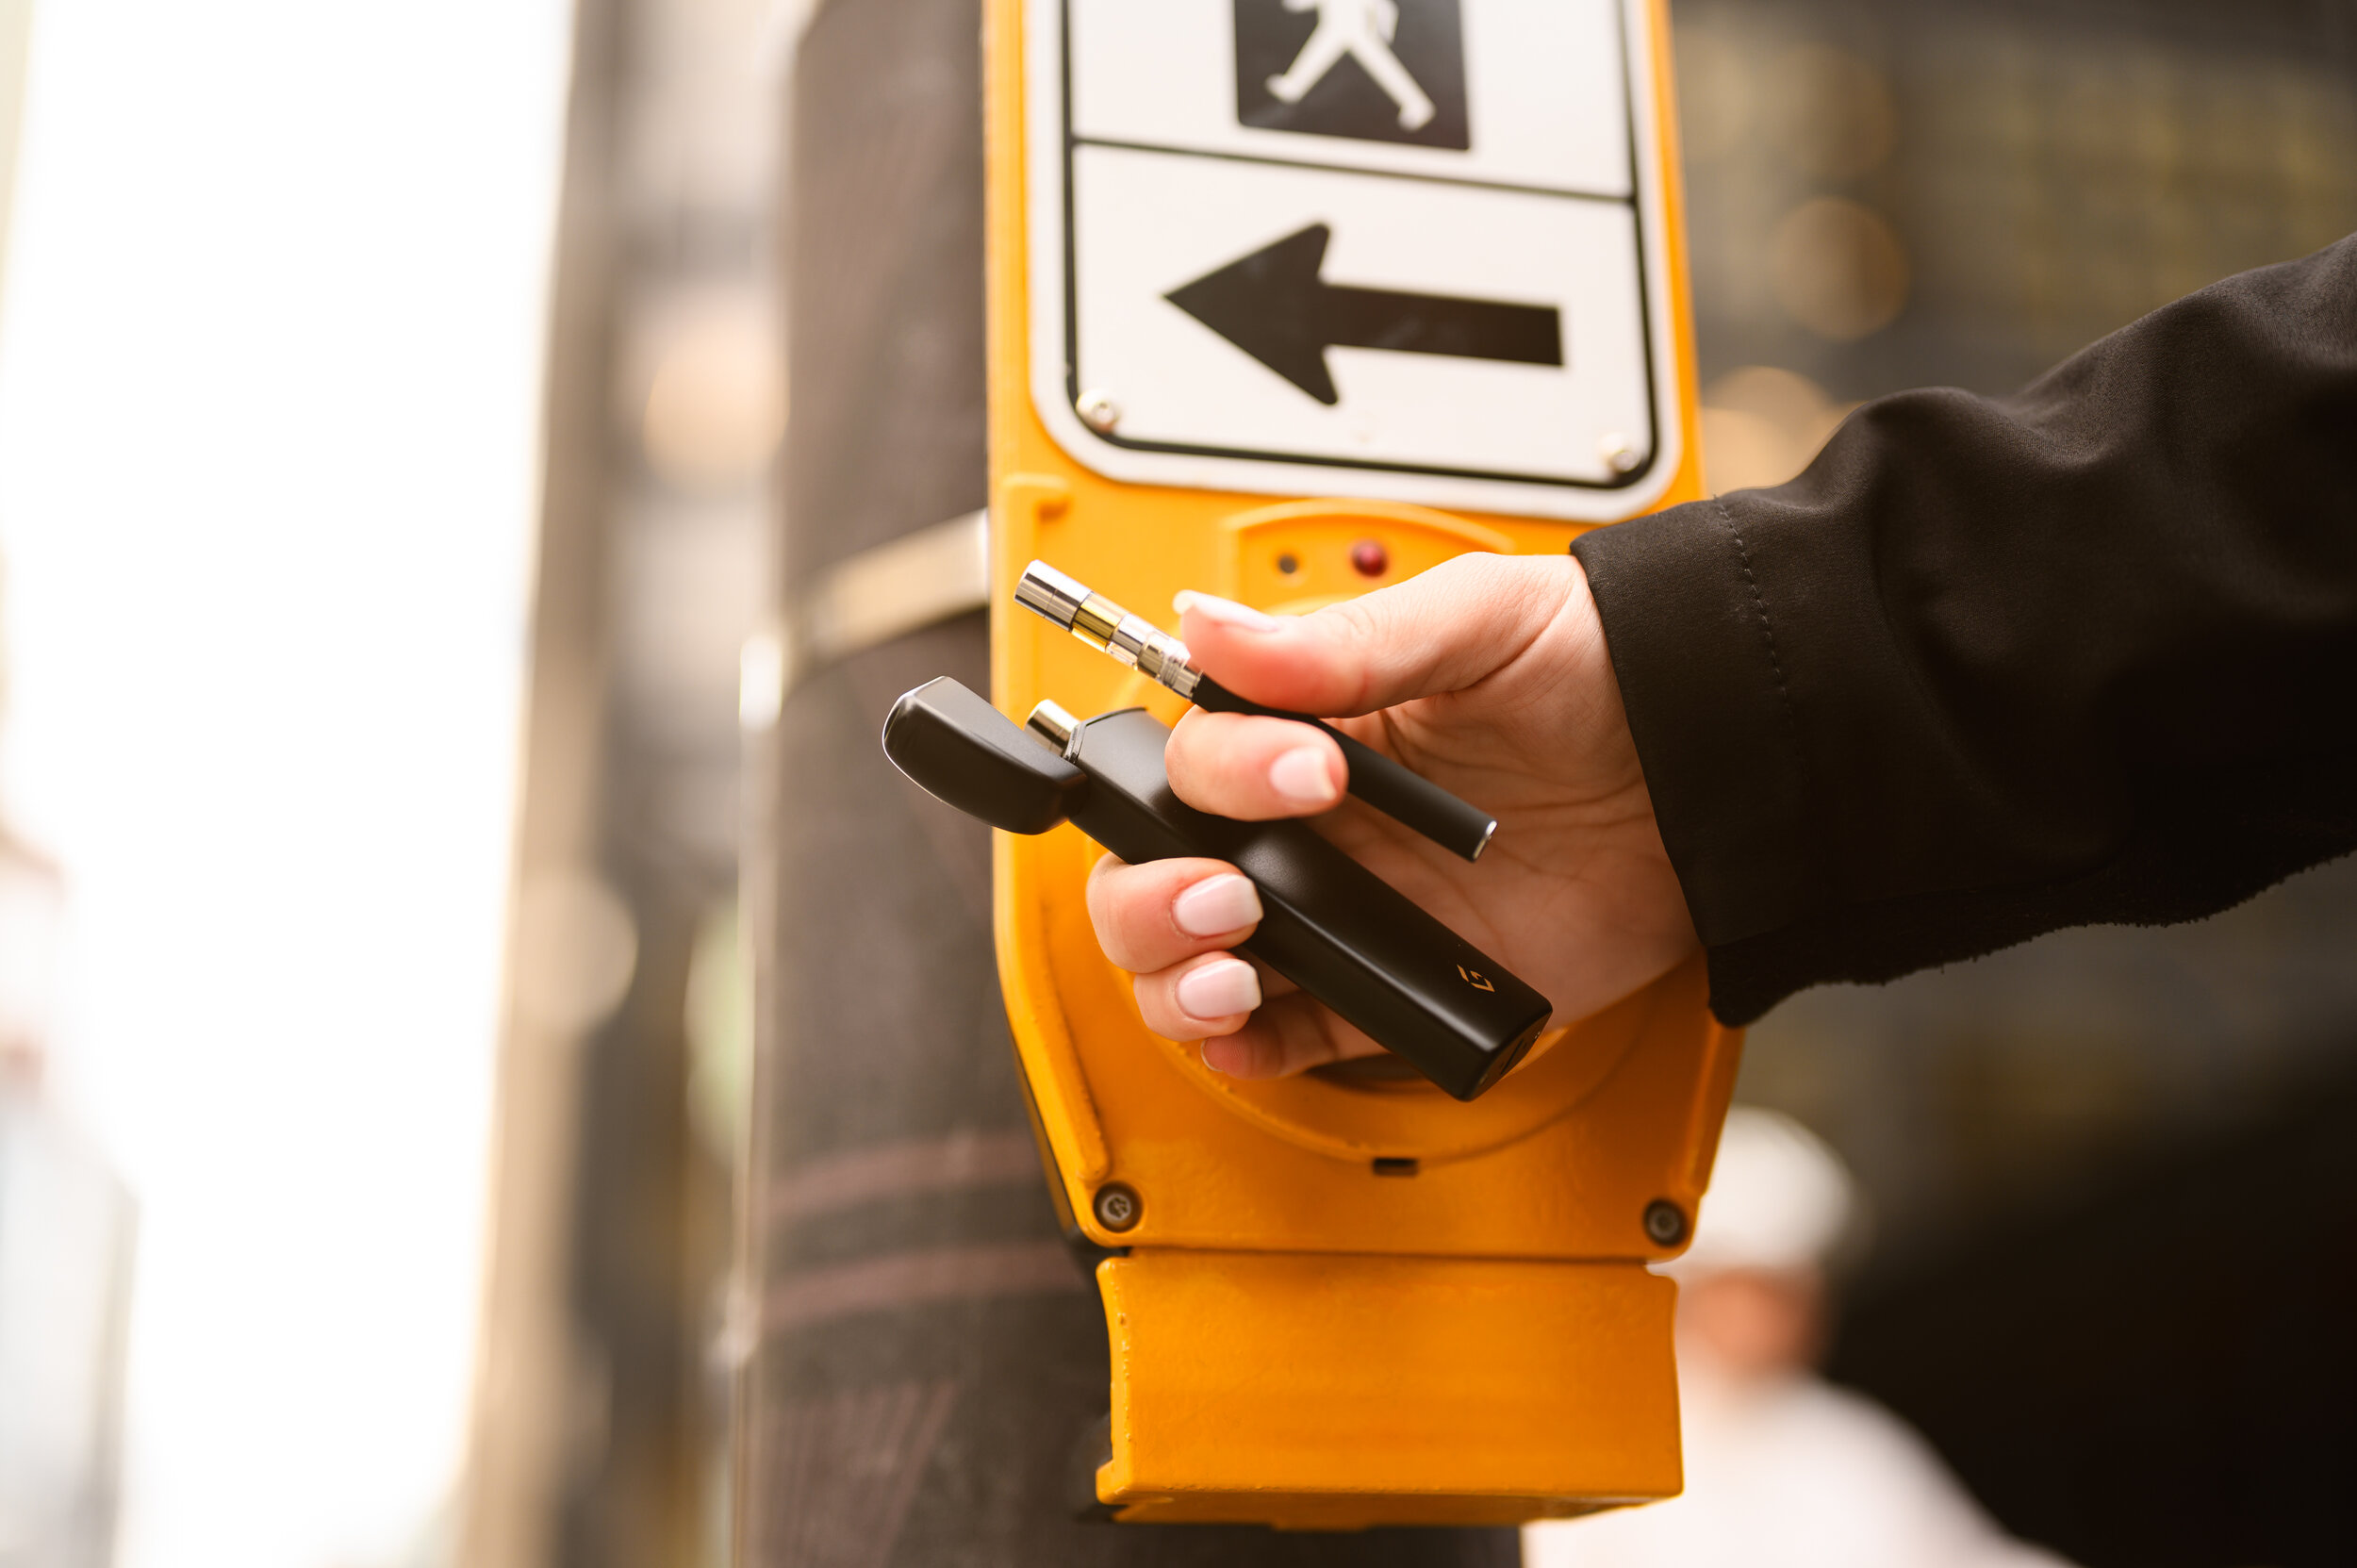
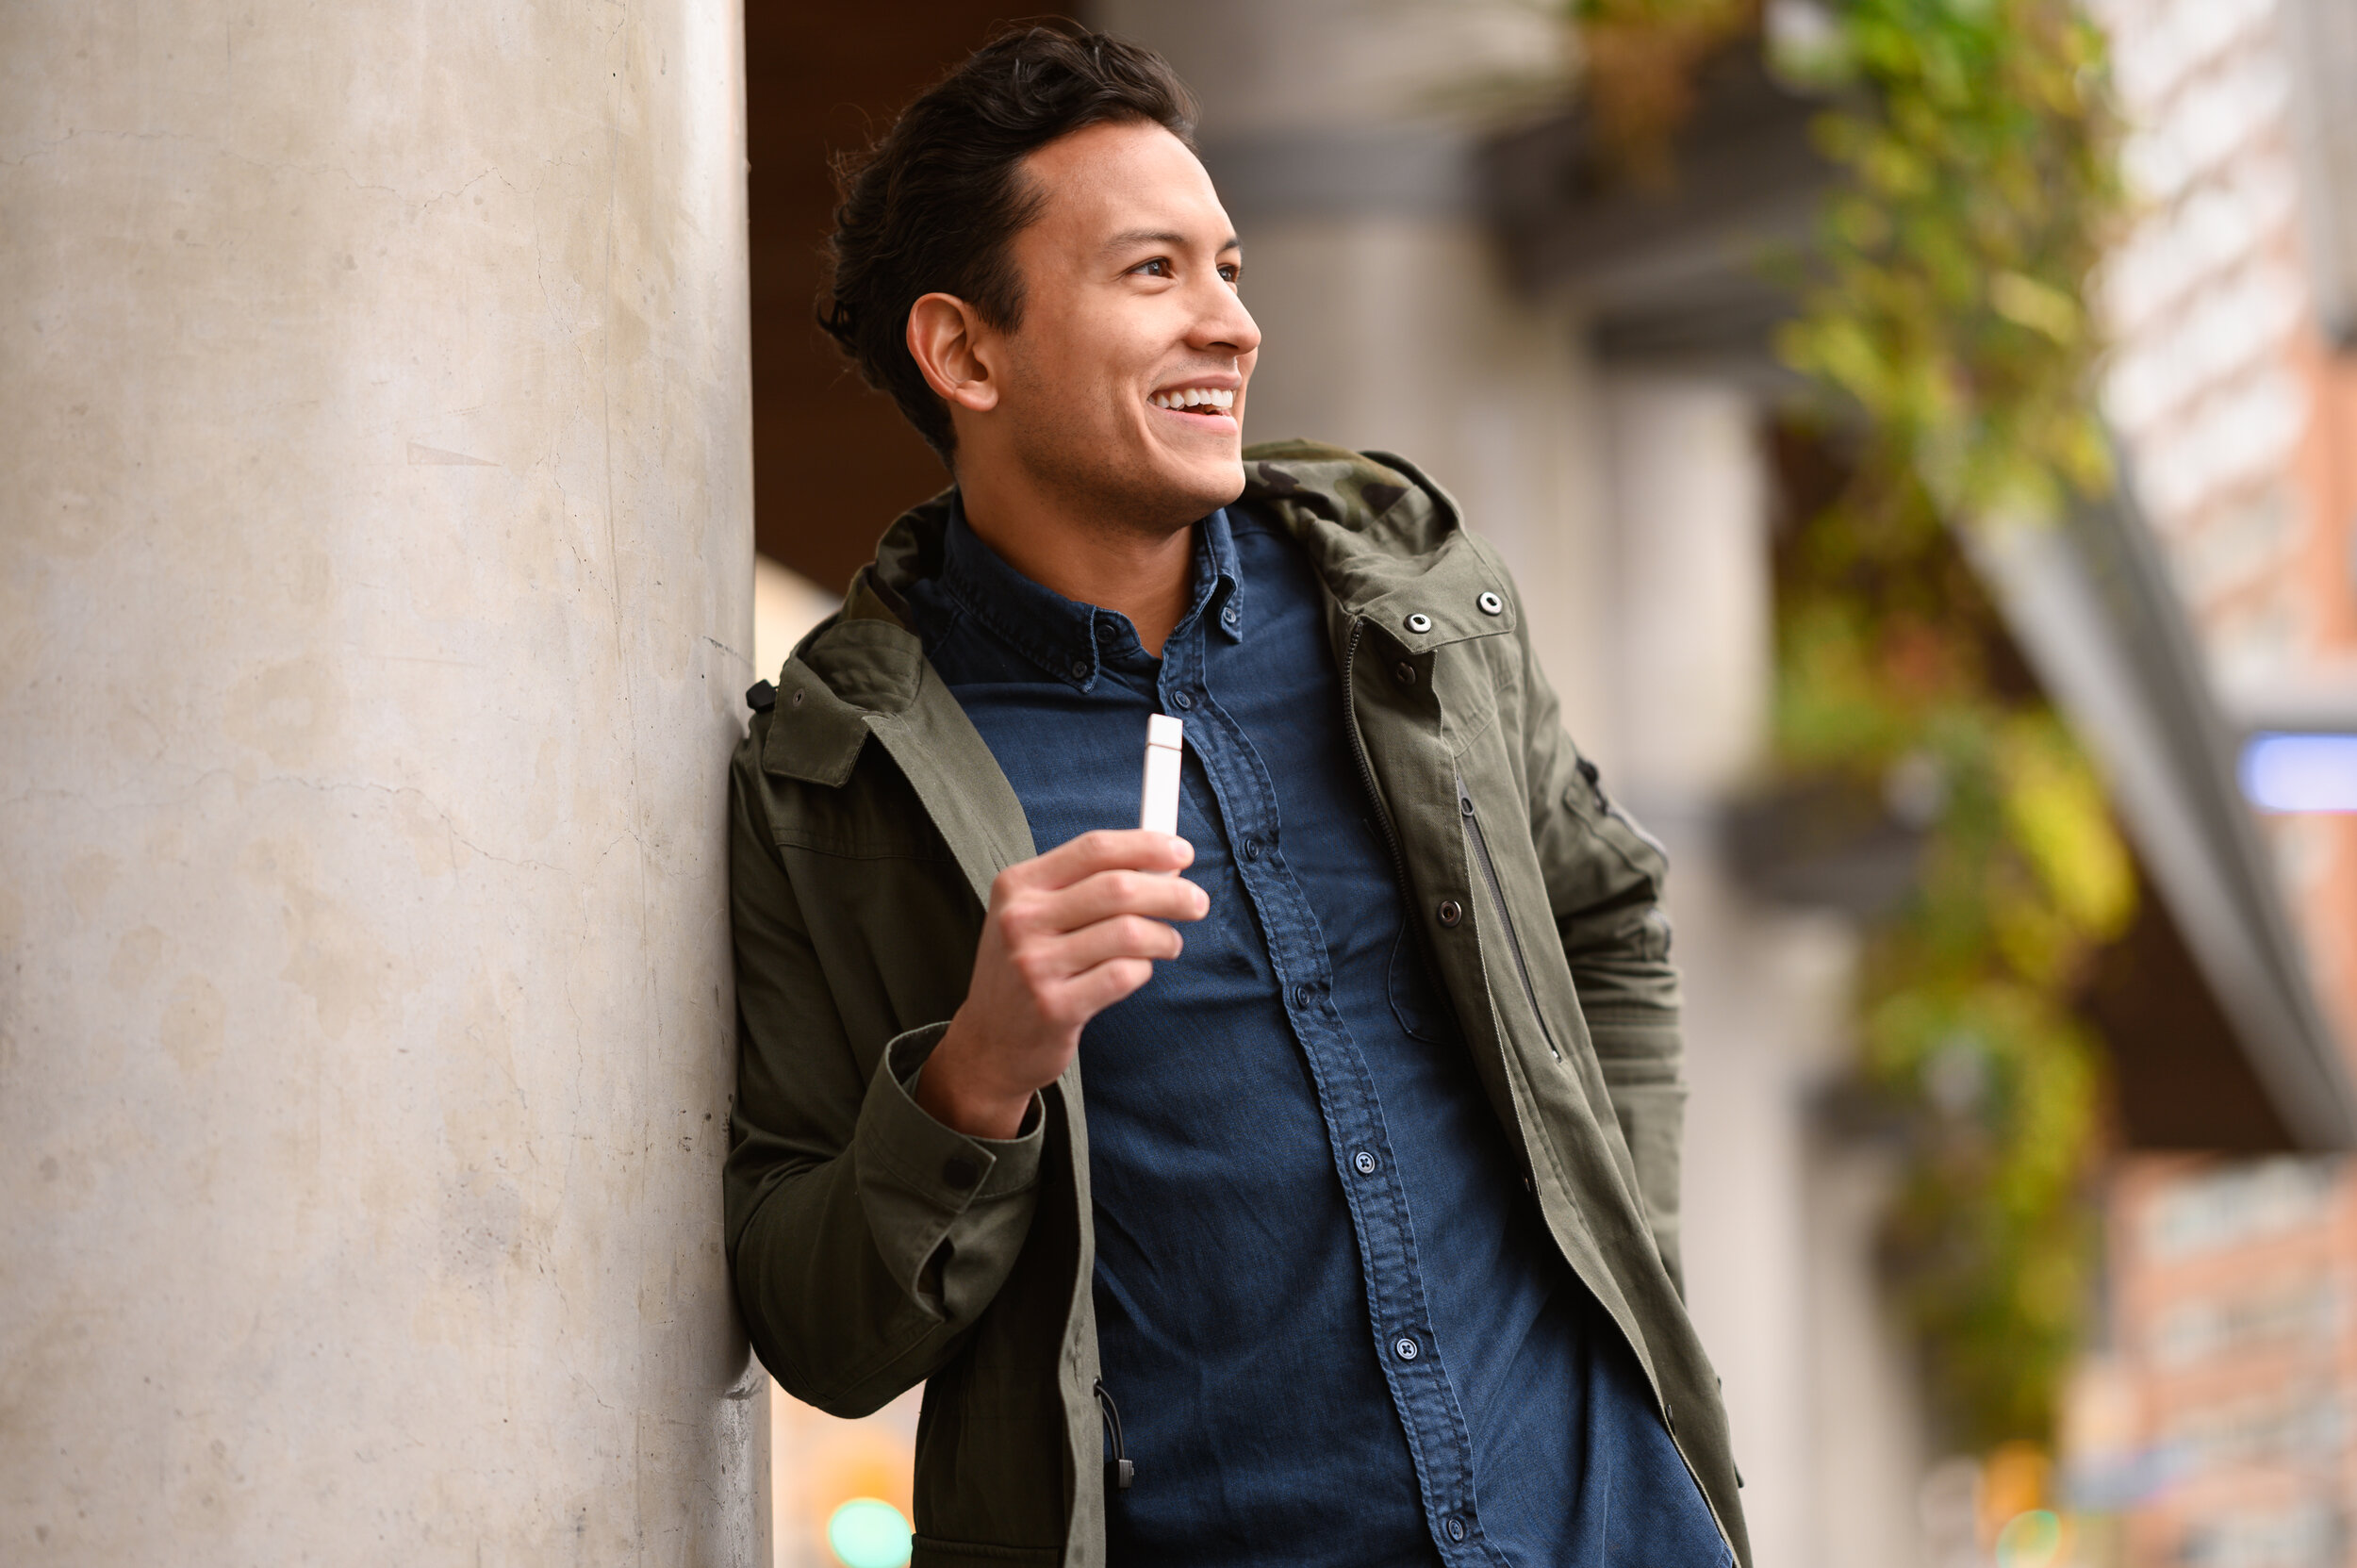
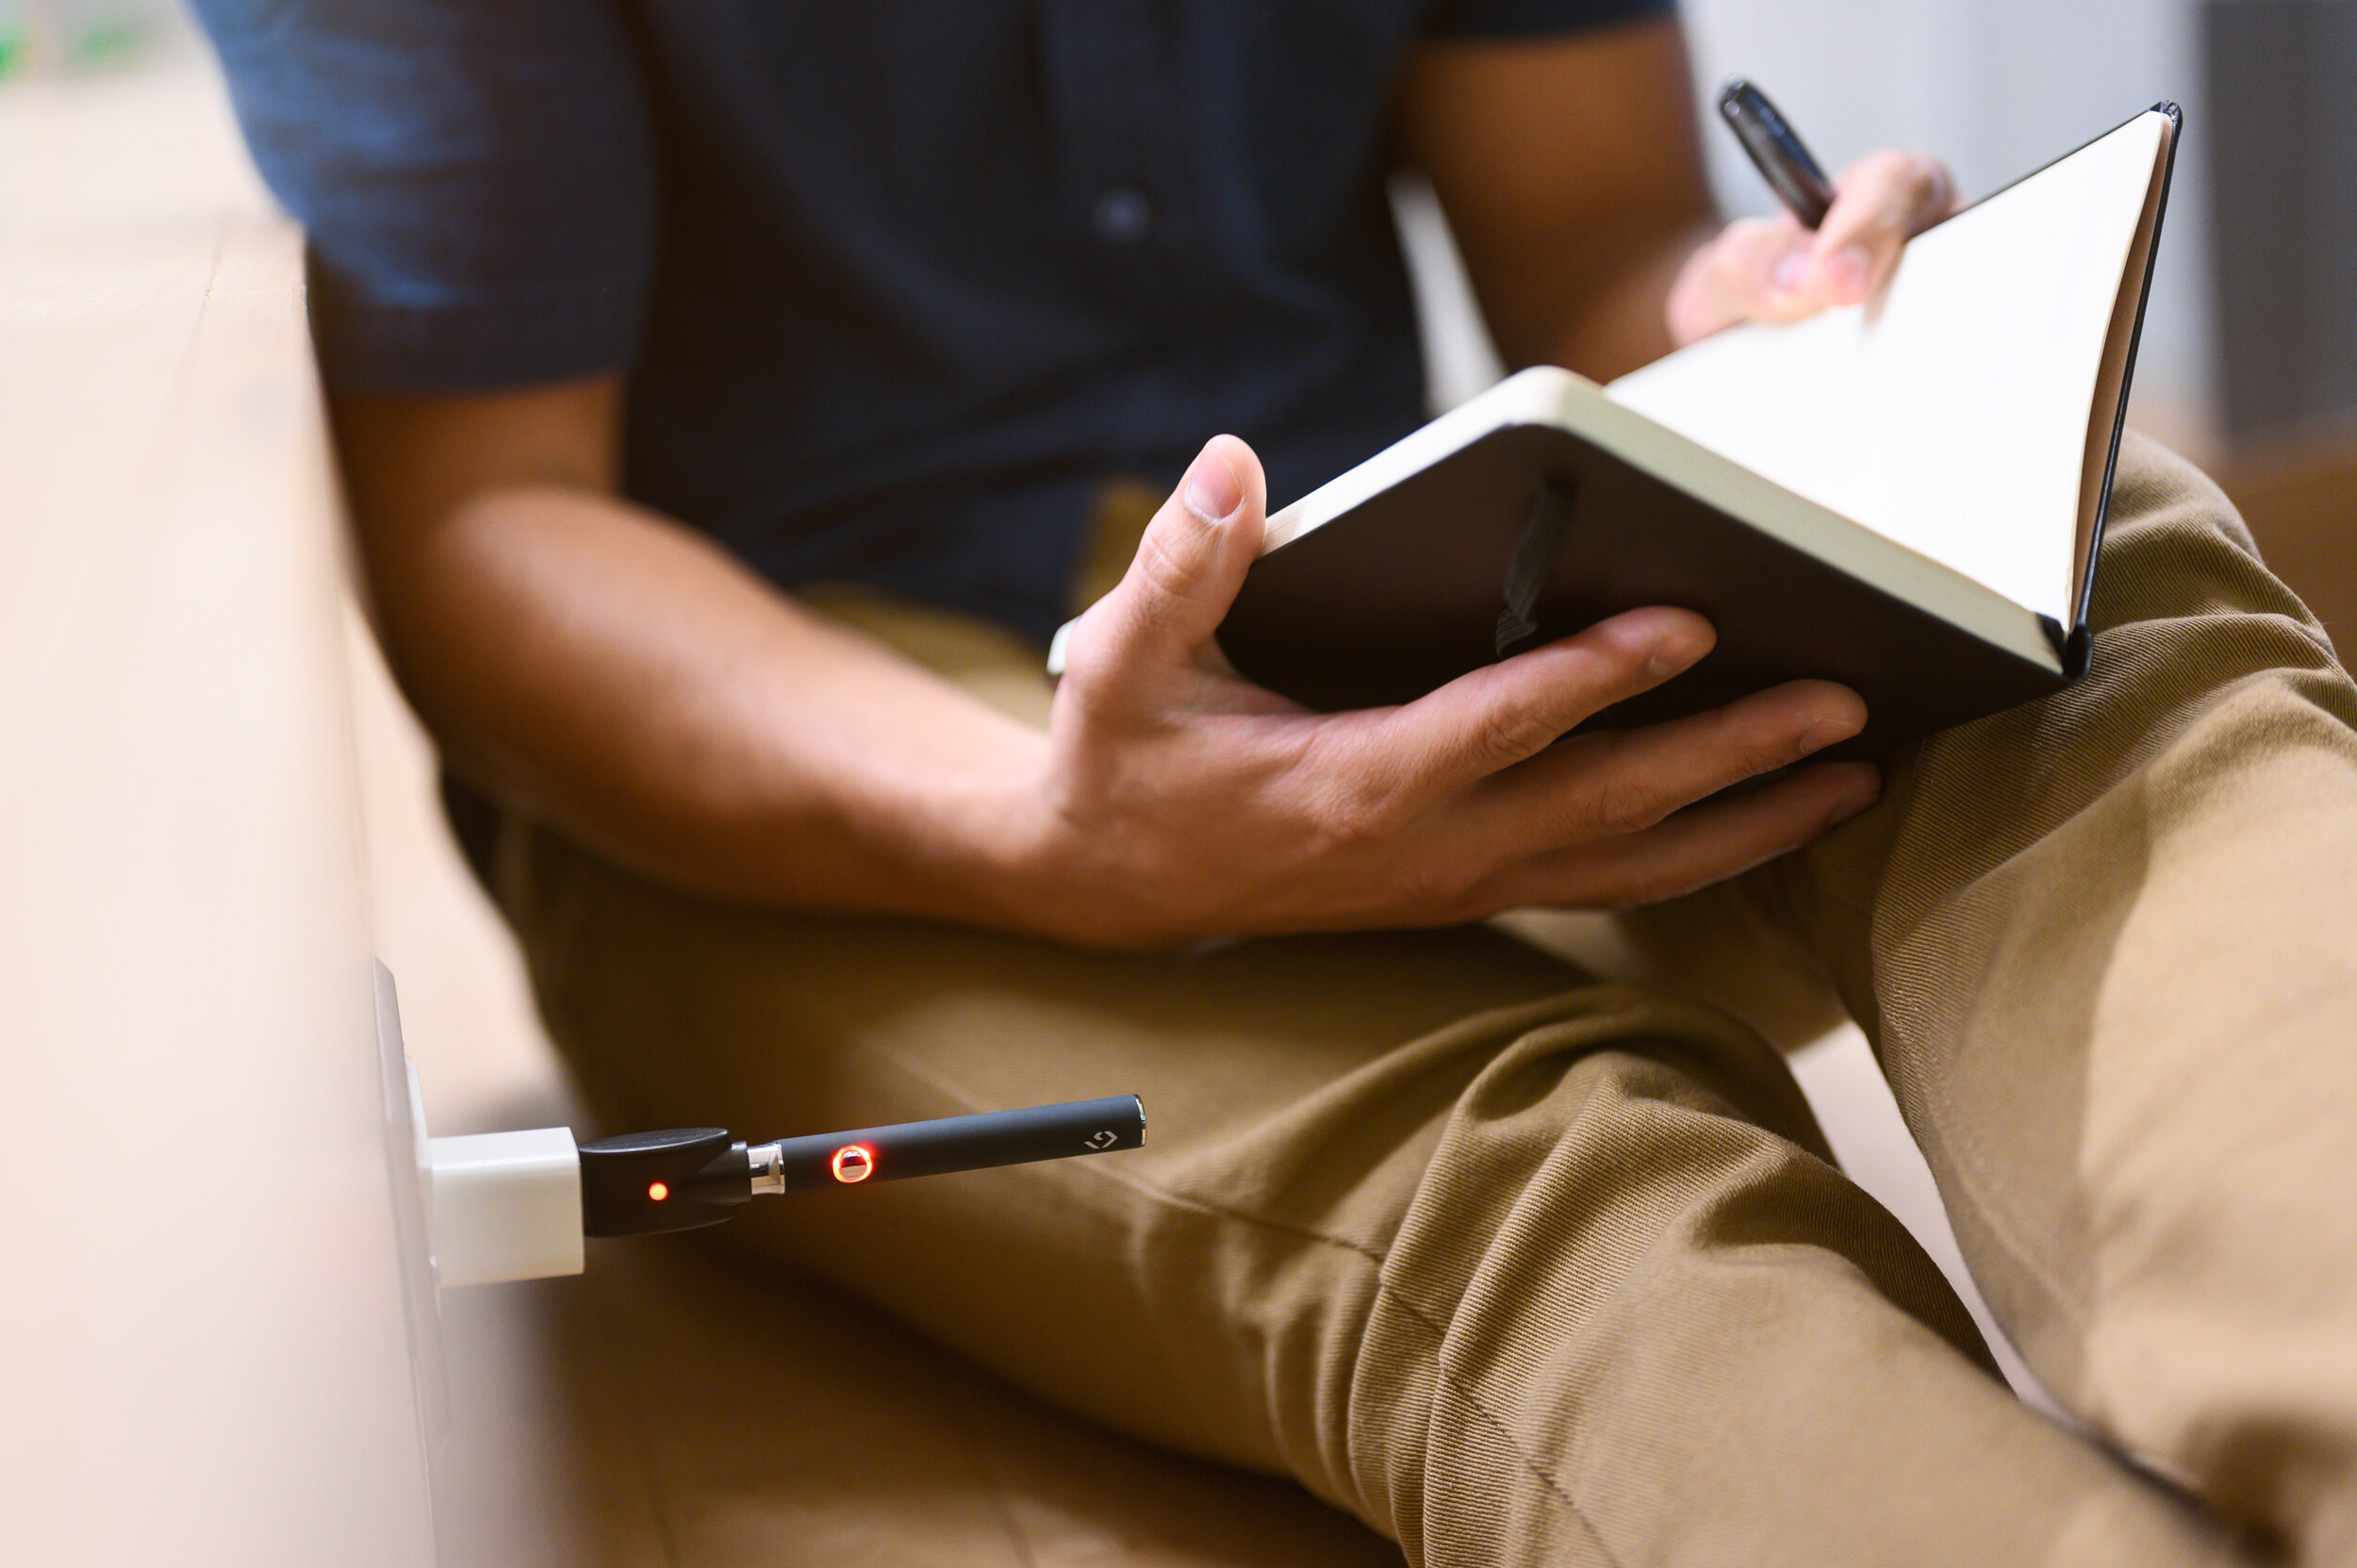
Before you even ask, working with Marshawn Lynce was great. Professional and simply adds to the energy of the room positively. All the images below were shot for Dodi Blunts .

I almost did not get the chance to shoot this campaign. Days earlier, I was told by another client we had worked with that a model had tested positive for COVID-19. The moment we were told, we tried our best to get tested ASAP. It was Wednesday and we were shooting on Friday. After a slight panic, I found a hospital that had a window open and got tested. From there on out, I must have checked my email about 100 times for the results. I got the results in an amazing 11 hours. If I had missed this shoot, it would be unfortunate and I would have to tell myself more will some for about a year. Luckily I tested negative along with the DP and we were able to create some magic.

The light restriction was the name of the game that day. There was not a single night not gridded on set. We used constant light to balance the exposure between the projected image behind Marshawn and flash for the dark portraits below. All the smoke in the scenes below is real and from CBD based flower for obvious reasons. Light sources included a gridded octa, a gridded beauty dish along a gridded strip bank all tightly controlled.

This is one for the books. Special thanks to DAYJOB & DODI BLUNTS

hero5-12233.png
DSC00783.jpg
DSC01042.JPG
DSC00200.JPG
DSC00275.JPG

Meri Peti

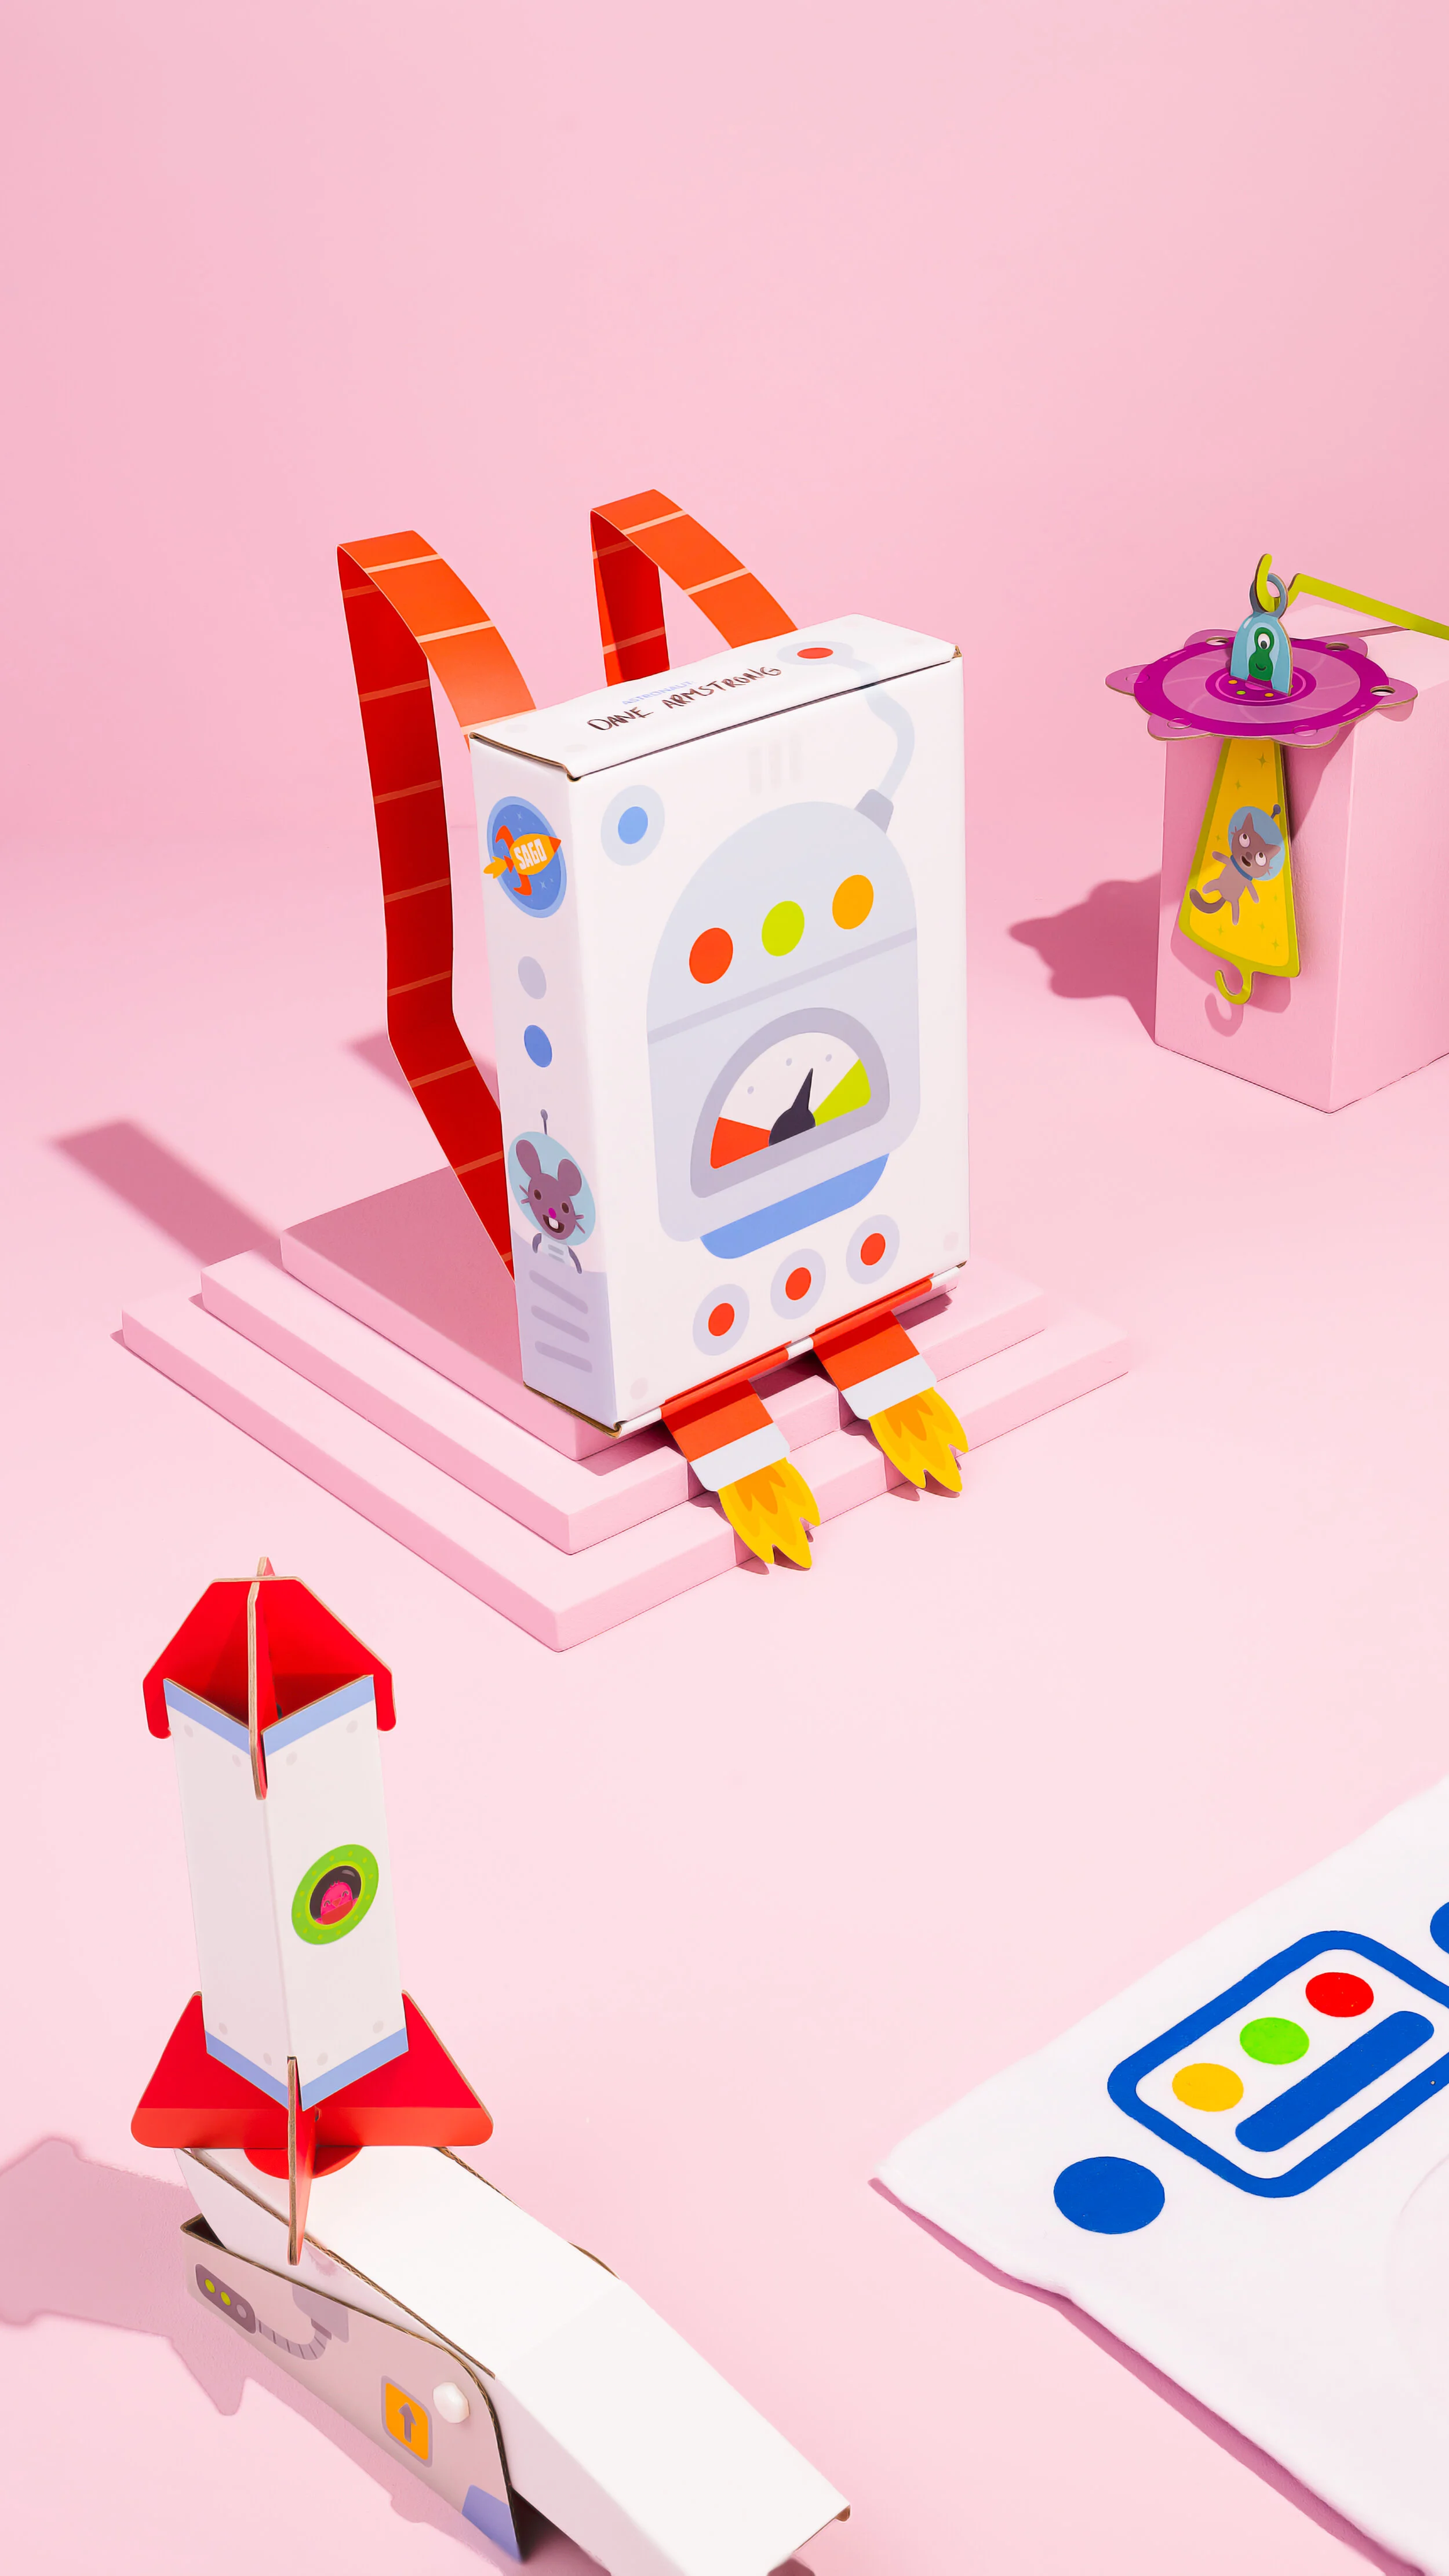
Shaping light, it’s all we do. I know there are the angles we choose, composition, and then the compromising camera settings to follow, but ultimately, it’s what’s in front of the camera that counts. Following the product shoot with the amazing crew at Day Job, I was introduced to the gobo (go-between). The cucoloris board is a great asset to have on board, along with a haze machine. The cucoloris board shapes light so it doesn’t look as artificial but still creates mood was the goal for this shoot for Meri Peti.

product creative gfx photography book.jpg
product creative gfx photography. basket.jpg
product creative gfx photography.jpg
product creative gfx photography..jpg
Matthews cucoloris gobo.jpg

Take Care Masks

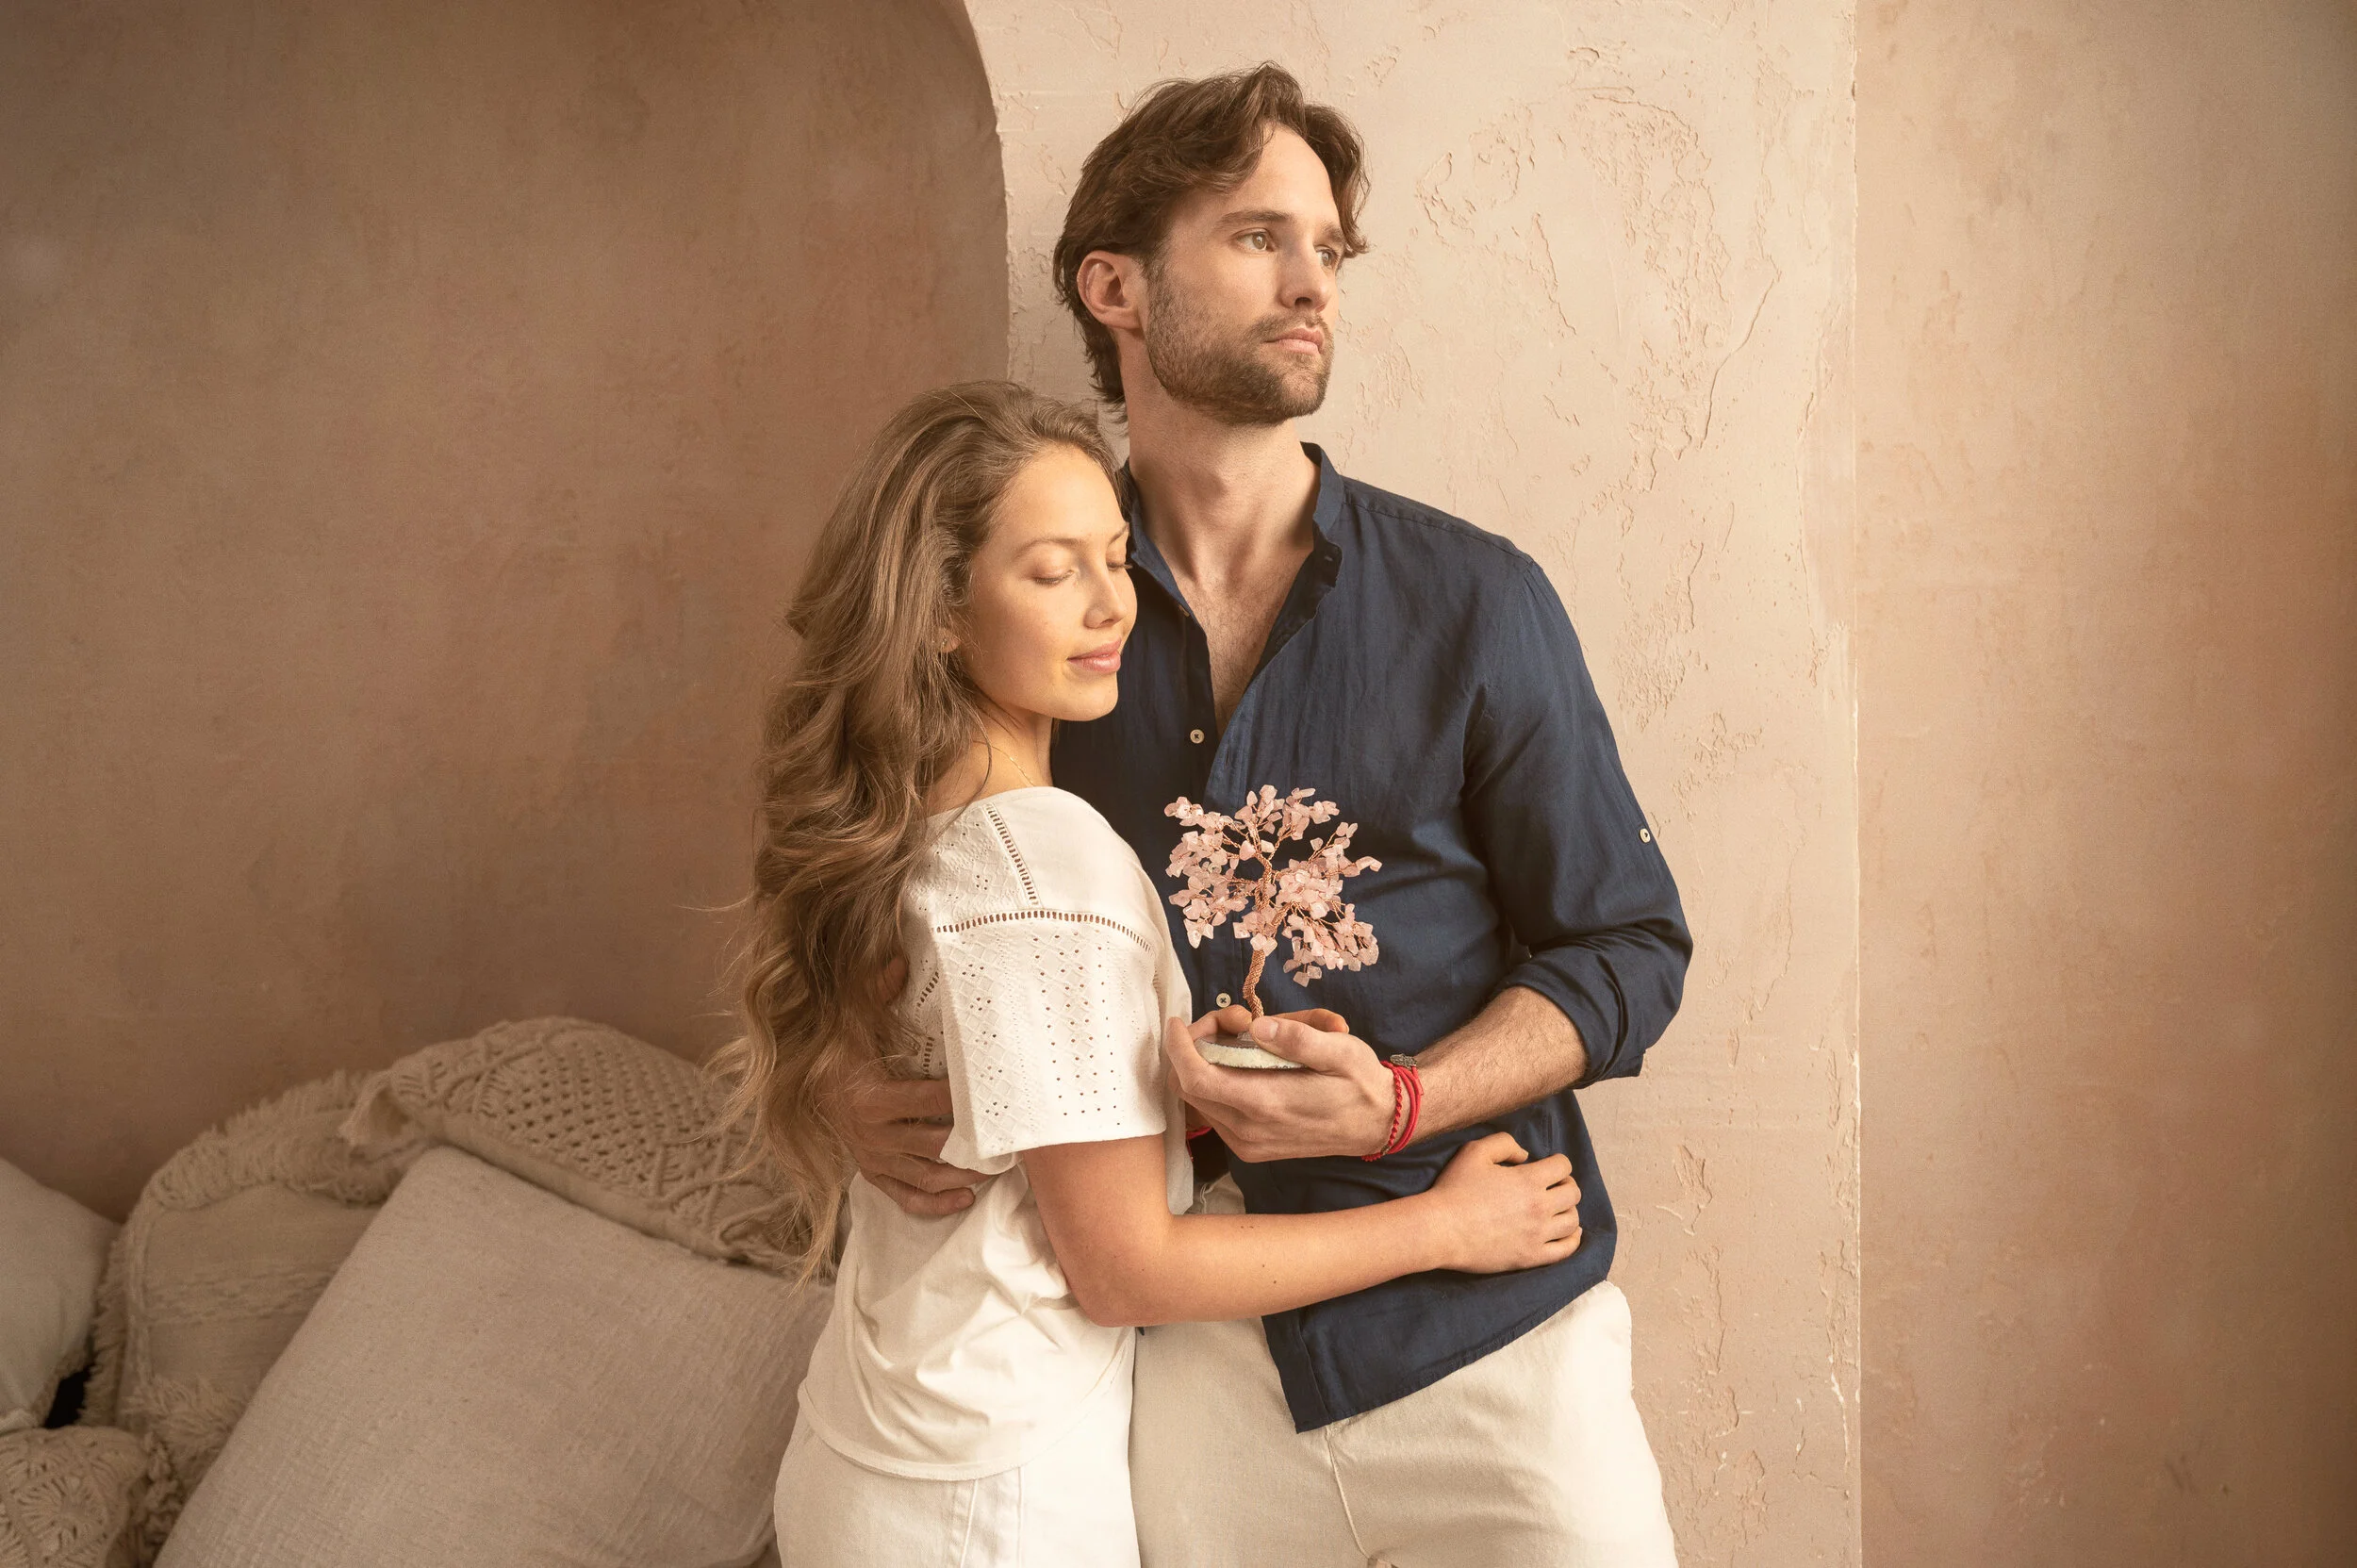
I was asked to photograph the founders of Take Care Supply at the beginning of the pandemic here in Canada. We did our part during the shoot by wearing masks at all times and photographing everyone individually and compositing later to make for a believable group shot. My heart goes out to all the frontline workers who have to wear masks for their entire shifts. We appreciate all the work our frontline workers are going to save lives.

Screen Shot 2020-04-16 at 2.32.23 AM.png
photography.mask.coronoavirues.

The Story Company

I was hired to create images that portray the collaborative nature of an advertising company. Like many of the shoots over the last couple of years, I will be working alongside a video production crew. Working together to achieve a similar product has its benefits, you just need to plan for long shoot days. The top priority during these shoots is respect for each other's time so we can both do our best to deliver great work.

On this day, we had a wonderful DOP. He lit the scenes with a beautiful light set up to capture individuals working in an environment. Most of the shots that follow were lit entirely by Arri HMI lights. If needed, I would supplement an octabank to illuminate the subjects that may have fallen away into the shadows. Most of these images were captured on the Nikon Z6 and a few others on the Fujifilm GFX50s.

DSC_2151.jpg
DSC_2264.jpg
DSC_2310.jpg
DSC_2386.jpg
DSC_2422.jpg
DSC_2708.jpg

Look Organics

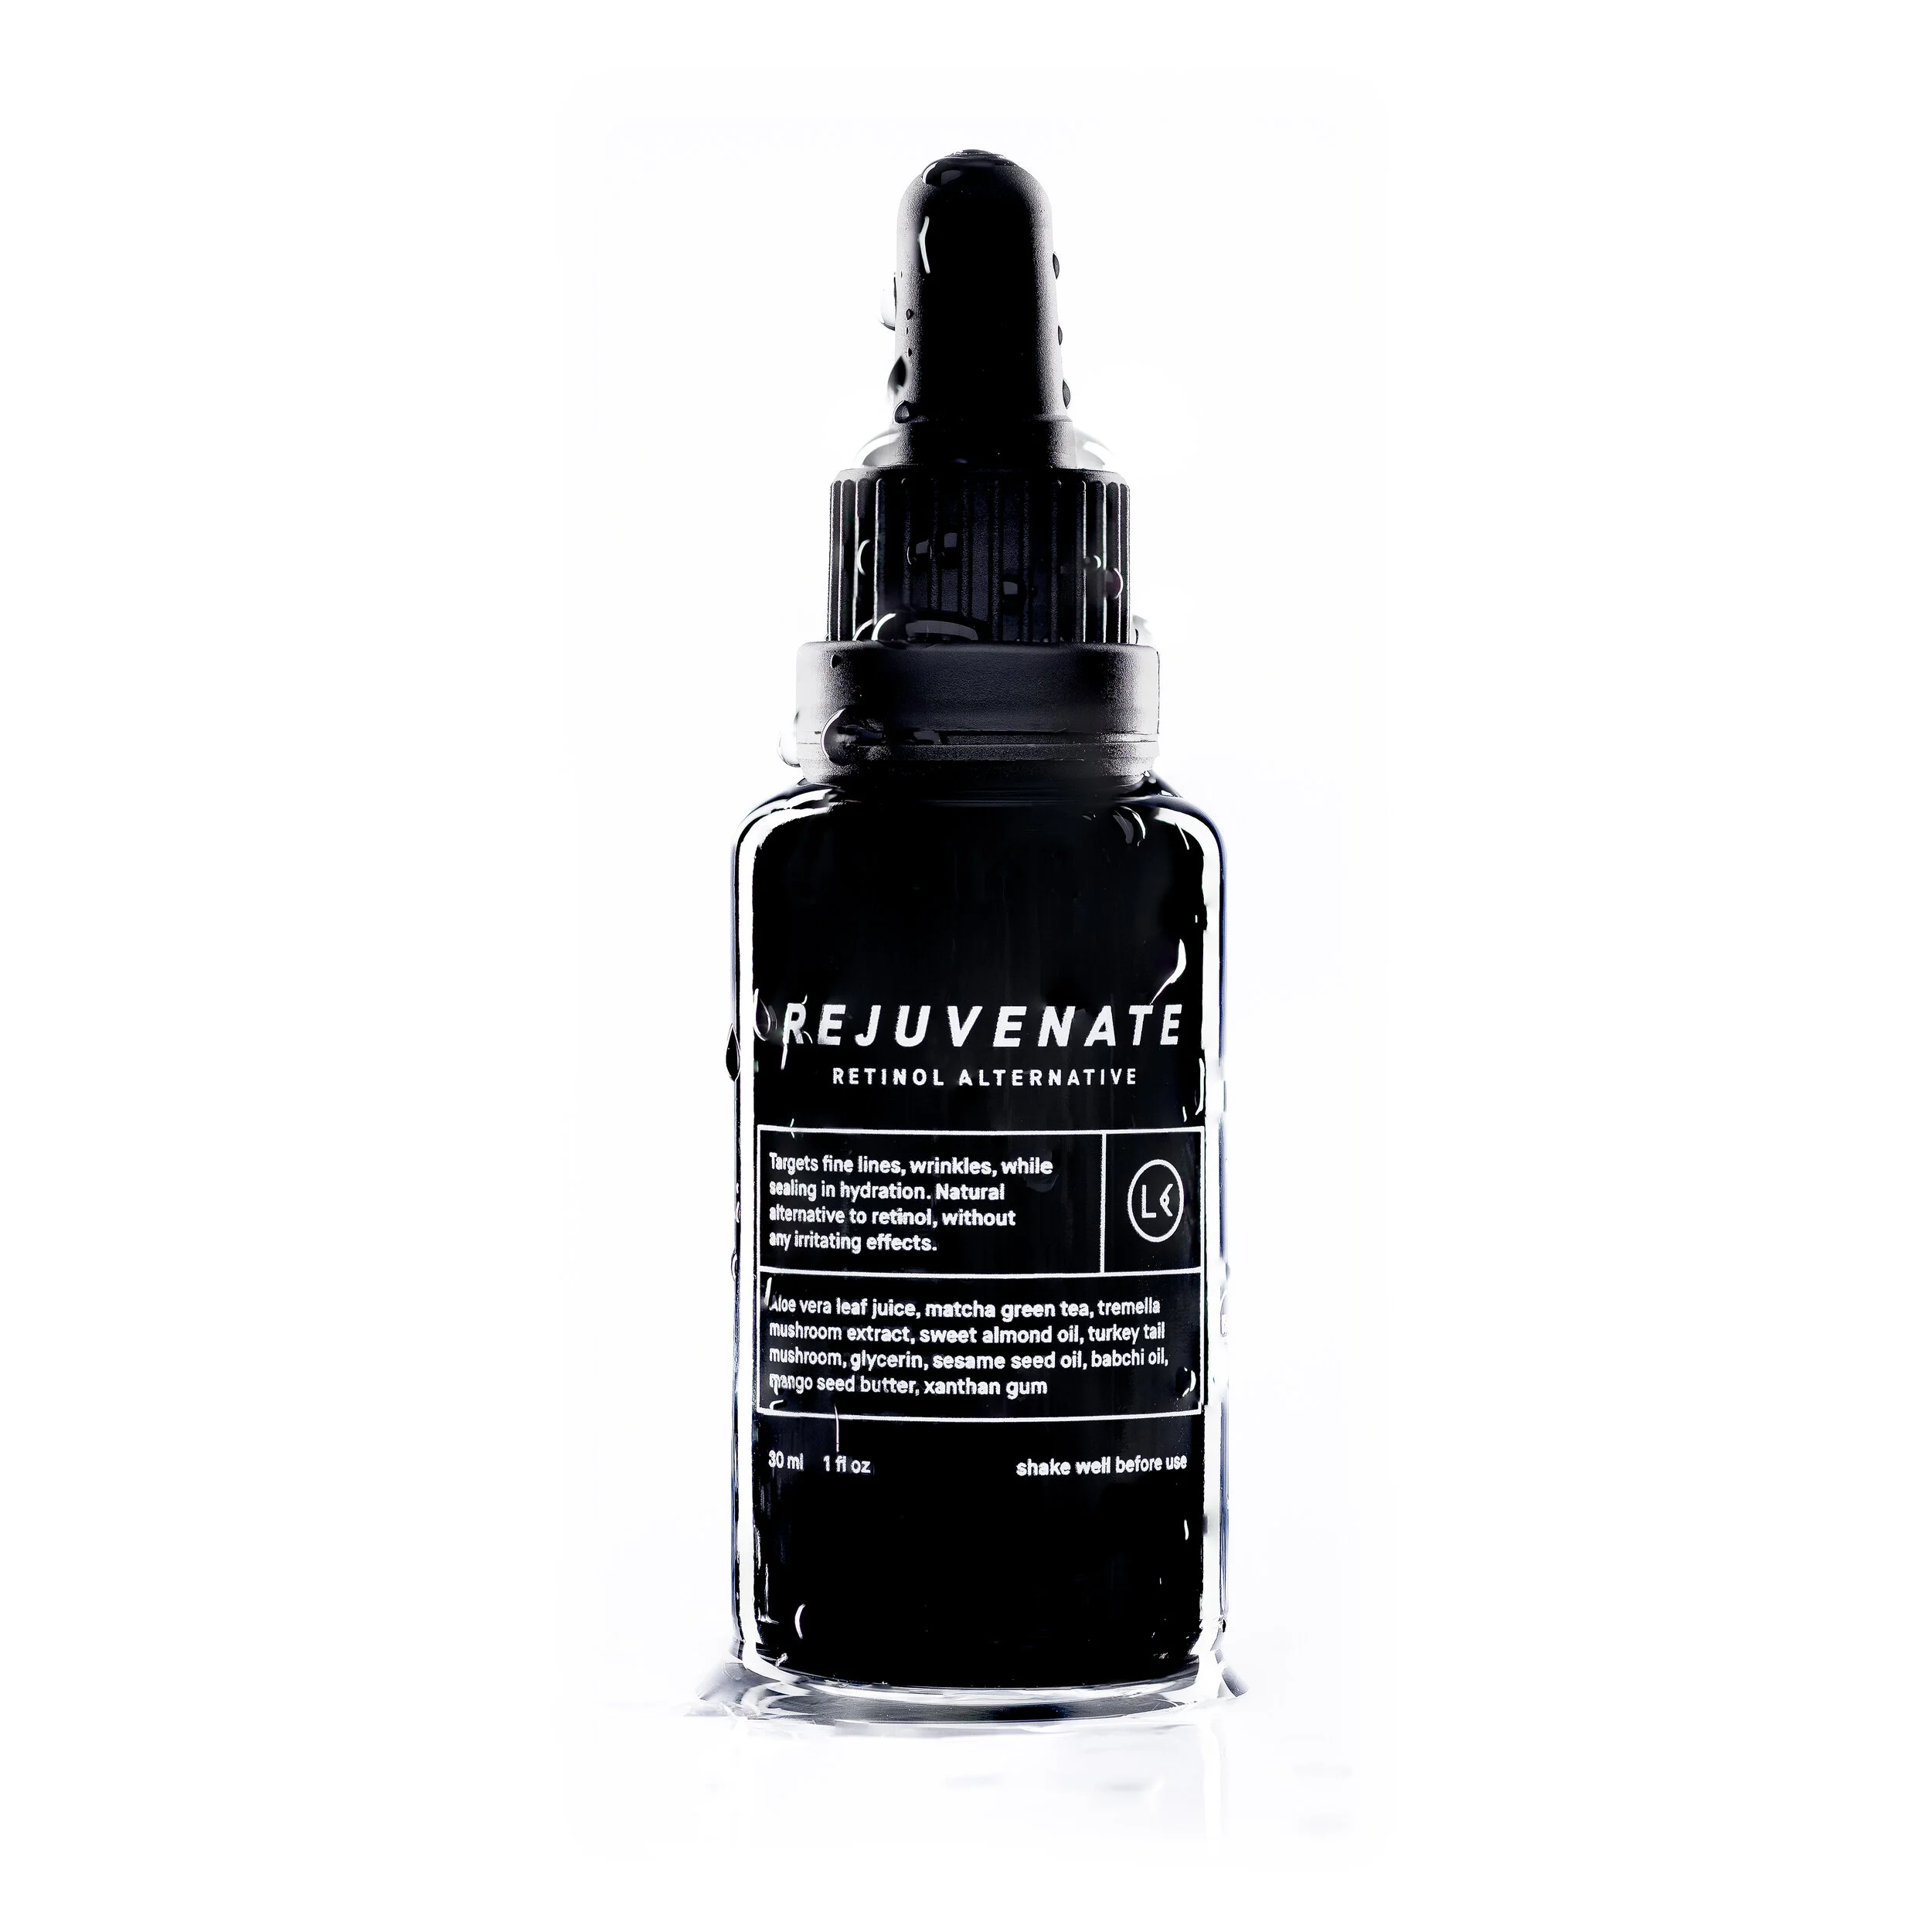
It's not easy to achieve a clean and simple product shot. Products are designed to feel good in the hand and look amazing to the eye, but when it comes to capturing them at their best, all have their challenges. This product was a challenge where a black glass bottle is like a mirror. It's hard to tell from the edited image, but almost everything, including myself, was reflected in the bottle. One way to solve this problem is to light it from behind. I wanted to show off the silhouette of the bottle. Using two strip banks on the left and right and a small white foam core upfront, I finally figured out how to light the product. Seems like a simple light set up, but it looks a little bit of trial and error to get there. This set up would eliminate most of the reflections. I went ahead and shot 8 photos that will be merged to create a sharp photo of the bottle. 

product.photography.toronto.
product.photos.listing.toronto.studio

Now the fun stuff. There was no magic here, just a bit of precious toilet paper rolled up tightly in the mouth of the bottle to hold the dropper in place. Friction can sometimes is a good thing.

creative.product.photos.studio.photography

Lastly, for a quick creative, I poured a bit of water on top of the bottle. A little bit became too much but it was worth the mess. The water adds some texture that hopefully adds interest. 

Piret - Executive PORTRAITS

Portrait, to me, are incredibly important. They stand as a bookmark in time either illustrating an achievement or notable event. When it comes to executive portraits, it’s more of a note of seniority. Preparing before a shoot and asking all the right questions really comes into play here. One question that really helps me understand a client need is where will the photo be used. I was informed that it would be used for a website initially but probed a bit. I would find out that most of the executives do a bit of speaking. With the right answers, I know we will not only deliverer tight headshots, but half poses as well. I’ve worked with designers before, and they all appreciate a bit of negative space.

business.portriat.headshot.toronto.jpg

Photographing people is what makes up most of my work. Getting to know someone with very little lead time is a skill. Not one that I’ve perfected but I do try to improve from one client to the next. One of the most important goals when doing a session is to get my client comfortable. I can’t really give tips here, but I’ll I can offer up is to be genuine. Be yourself and have a game plan. It’s completely possible to drive a conversation while directing your client to get the most natural expression and visually pleasing pose.

business.portriat.headshot.toronto

Portrait work has been a part of your work since the beginning. Your client will not always open up to you from the beginning. You will have to do some work here as well, unless they are either a dancer or done theatre. Believe me, I’ve lucked out where some clients have taken charge of the shoots before.

business.portriat.headshot.toronto

Squelch

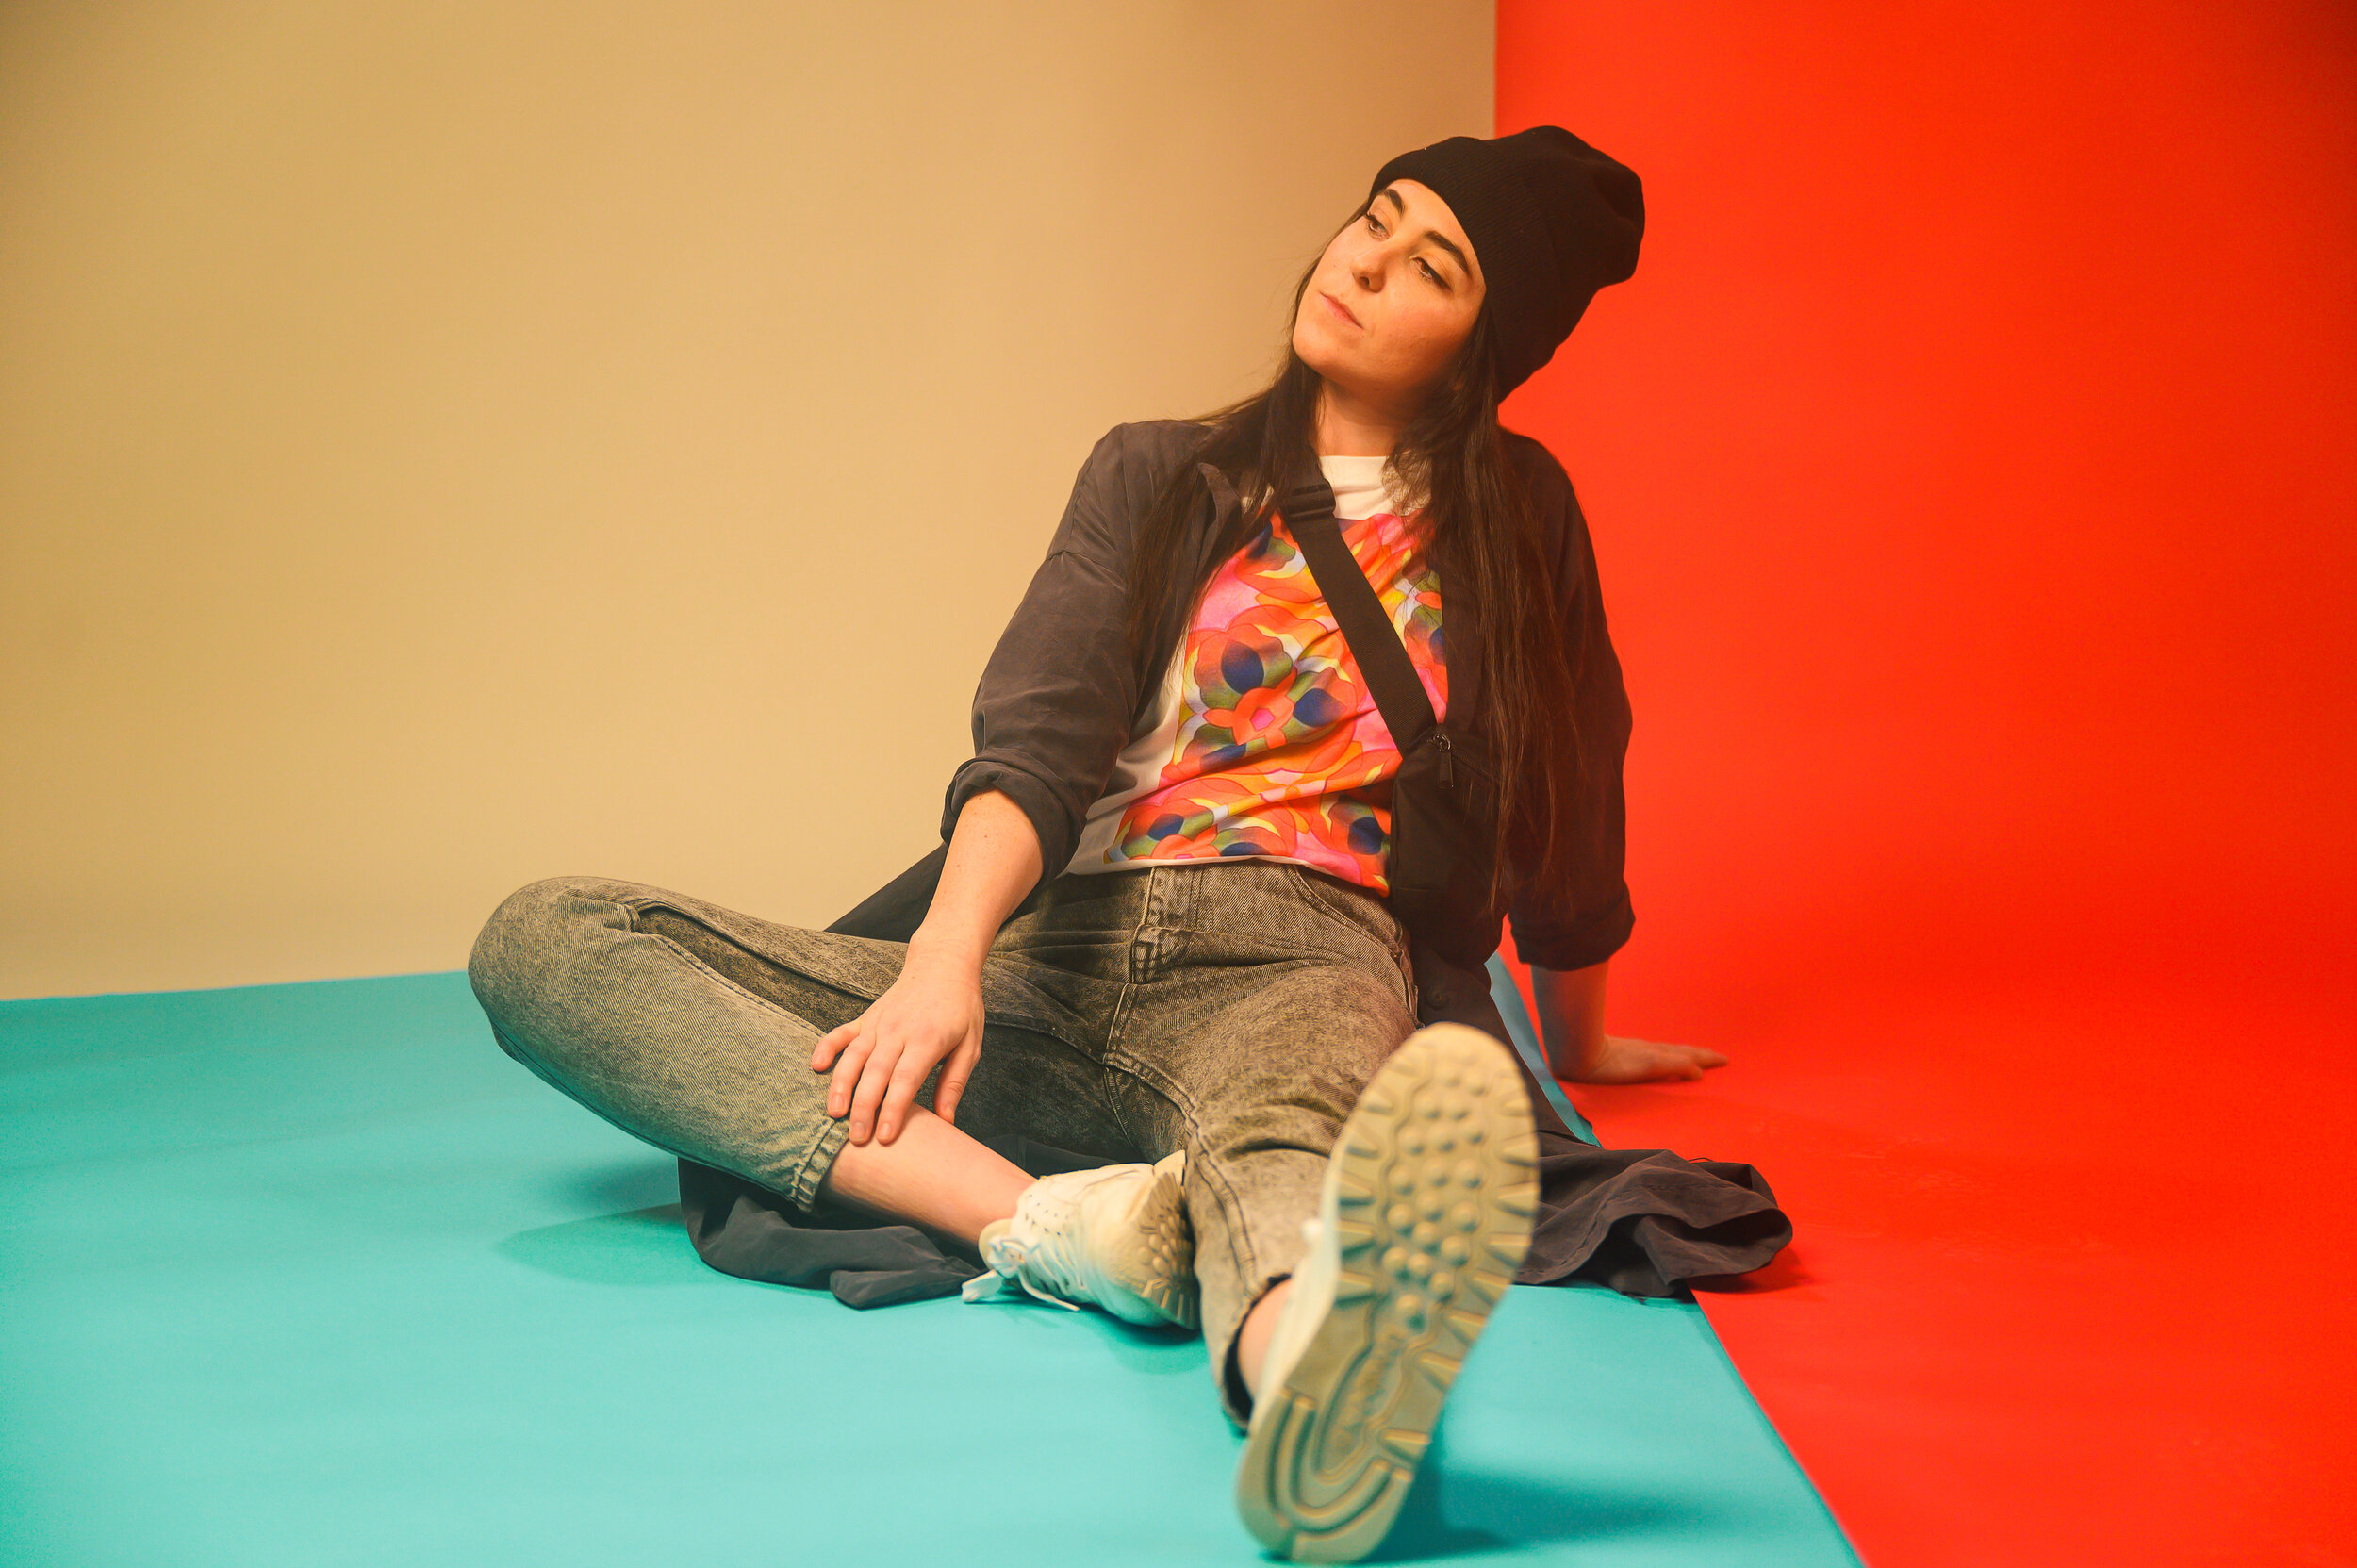
Colors. This was the basis of this shoot. I started with setting up the multiple colored backdrops and moved onto gelling the constant lights. Working with a googled color wheel, I switched out gel colors until it seemed pleasing to the eye. Sometimes it a trial and error process before you land on the right combination. A big help is the use of constant lights. You might need to shoot at a higher ISO, but seeing that you get versus waiting to shoot a photo with flash helps. 

nikonz6_squelch_stoner_studio_photography
nikonz6_squelch_stoner_studio_photography_lettereleven
nikonz6_squelch_stoner_studio_photography
nikonz6_squelch_stoner_studio_photography_behindthescenes_bts

Greentank

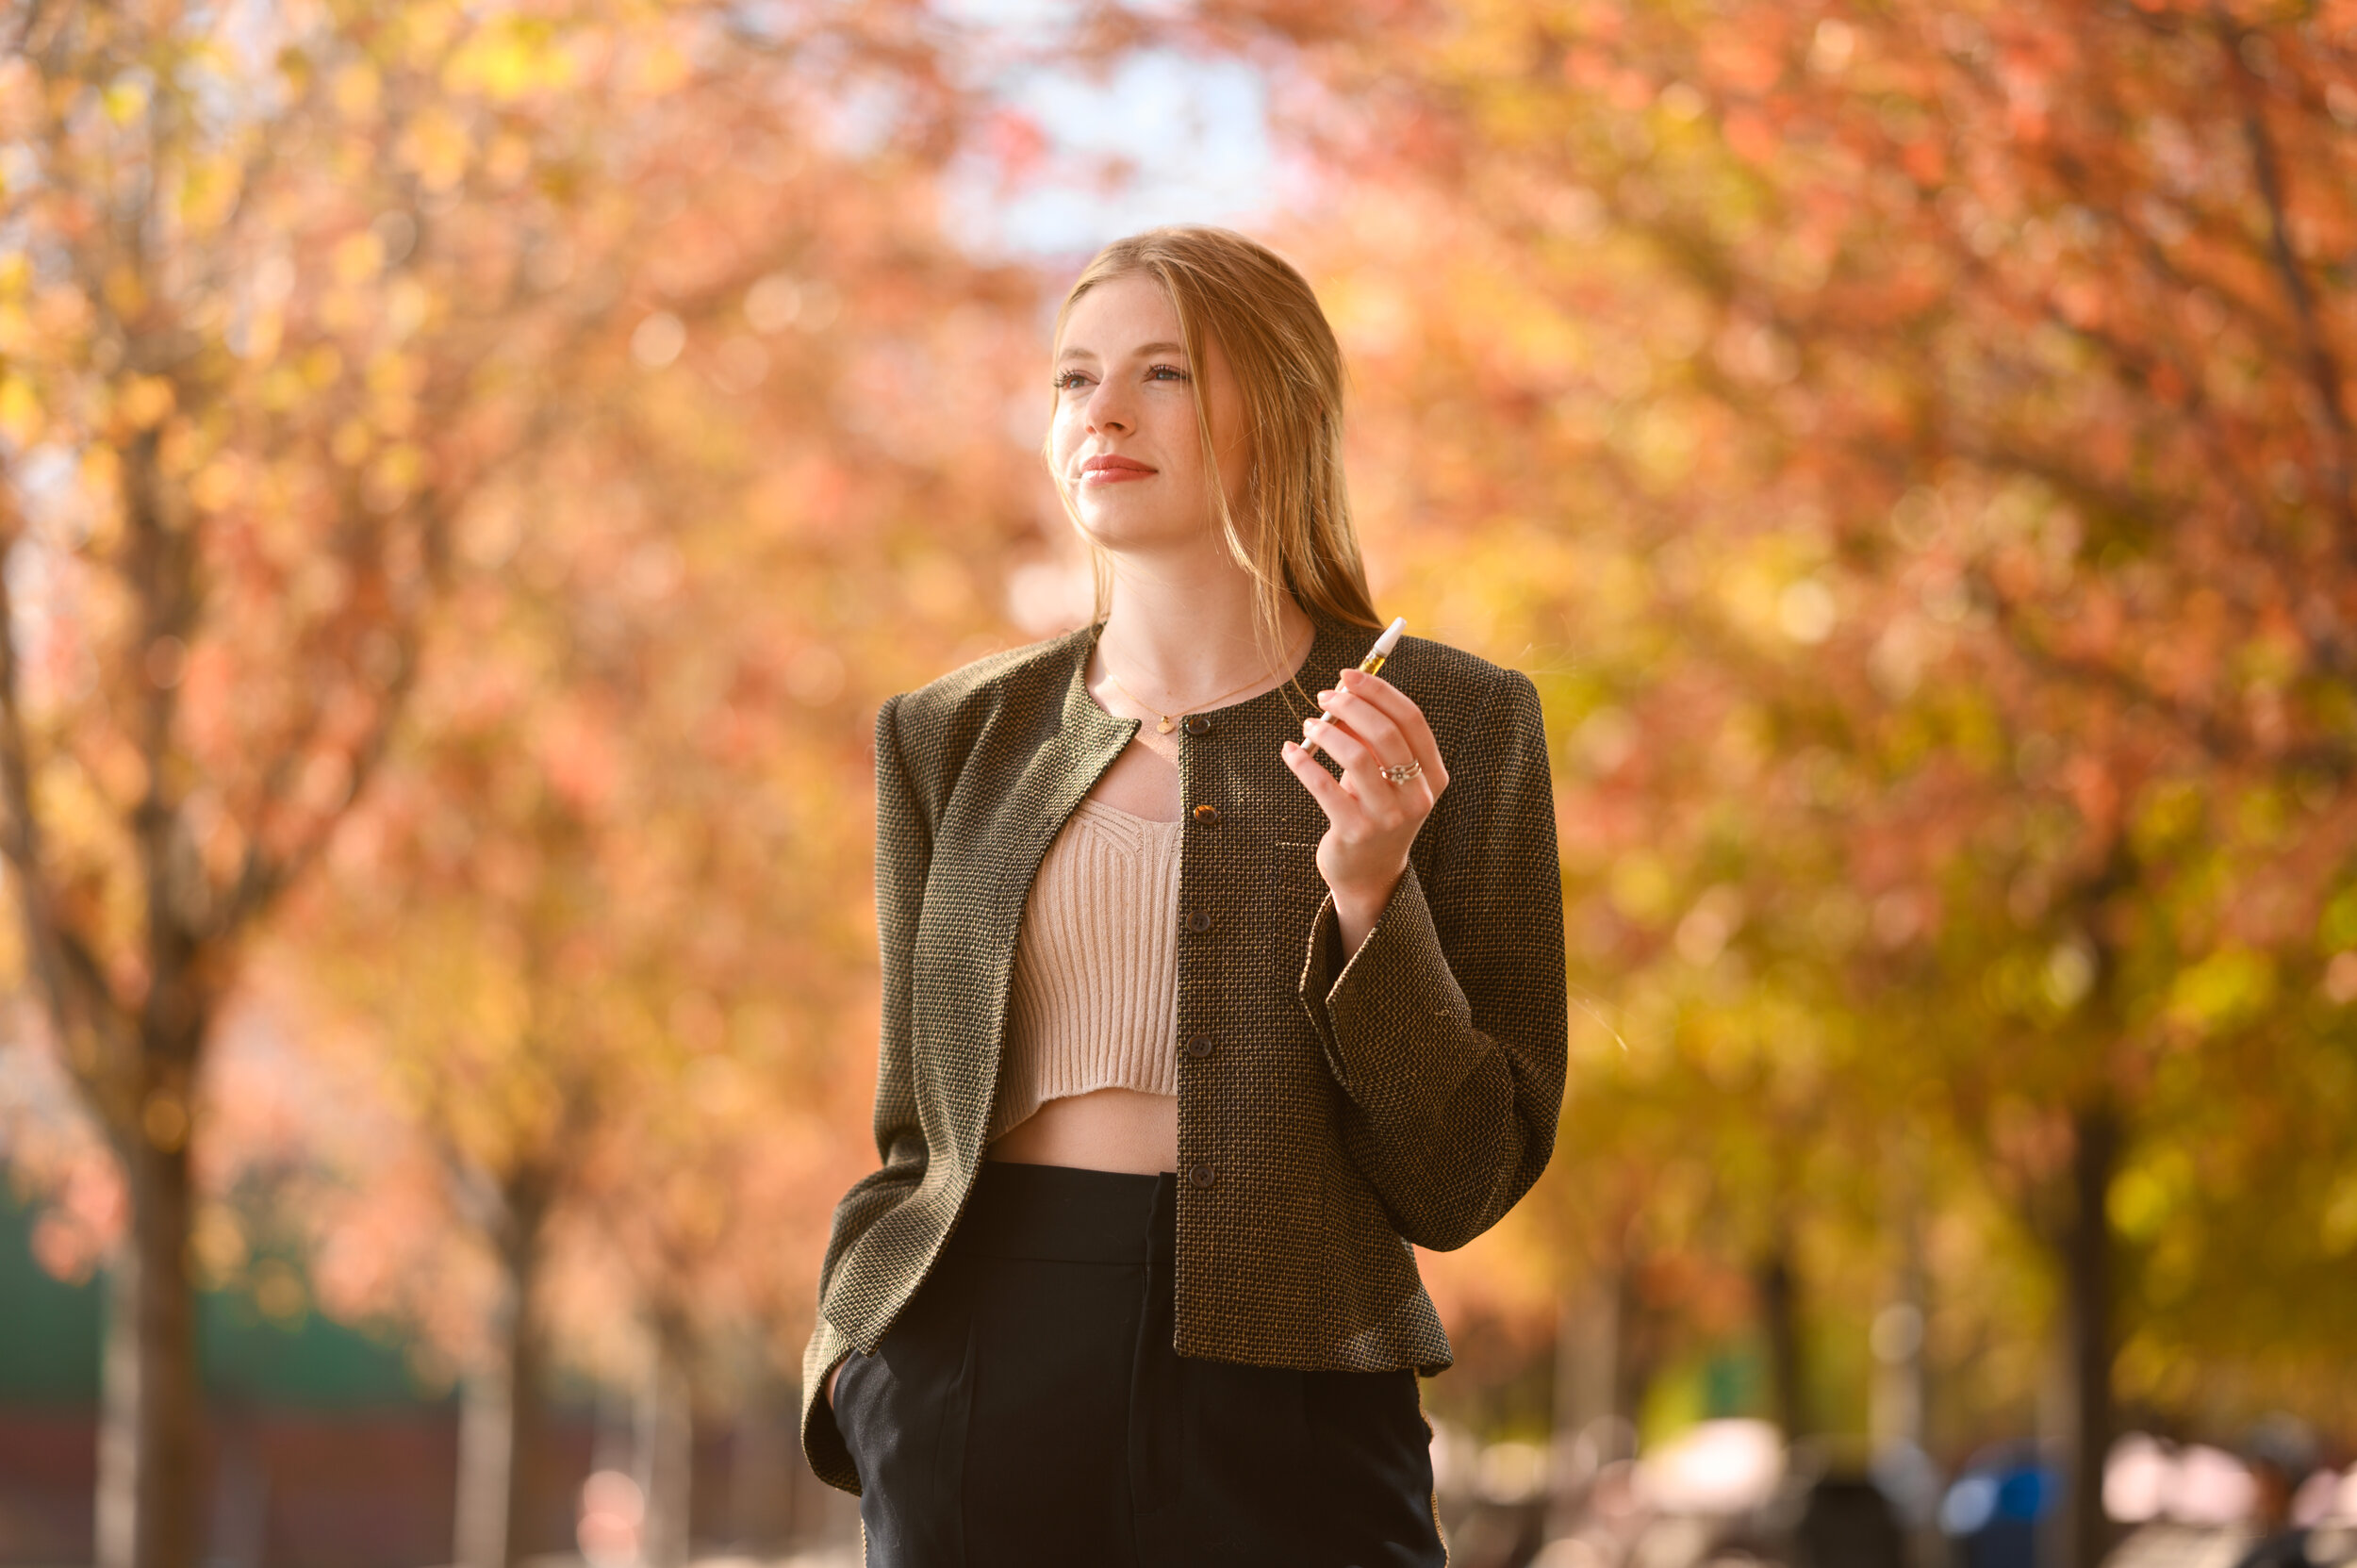
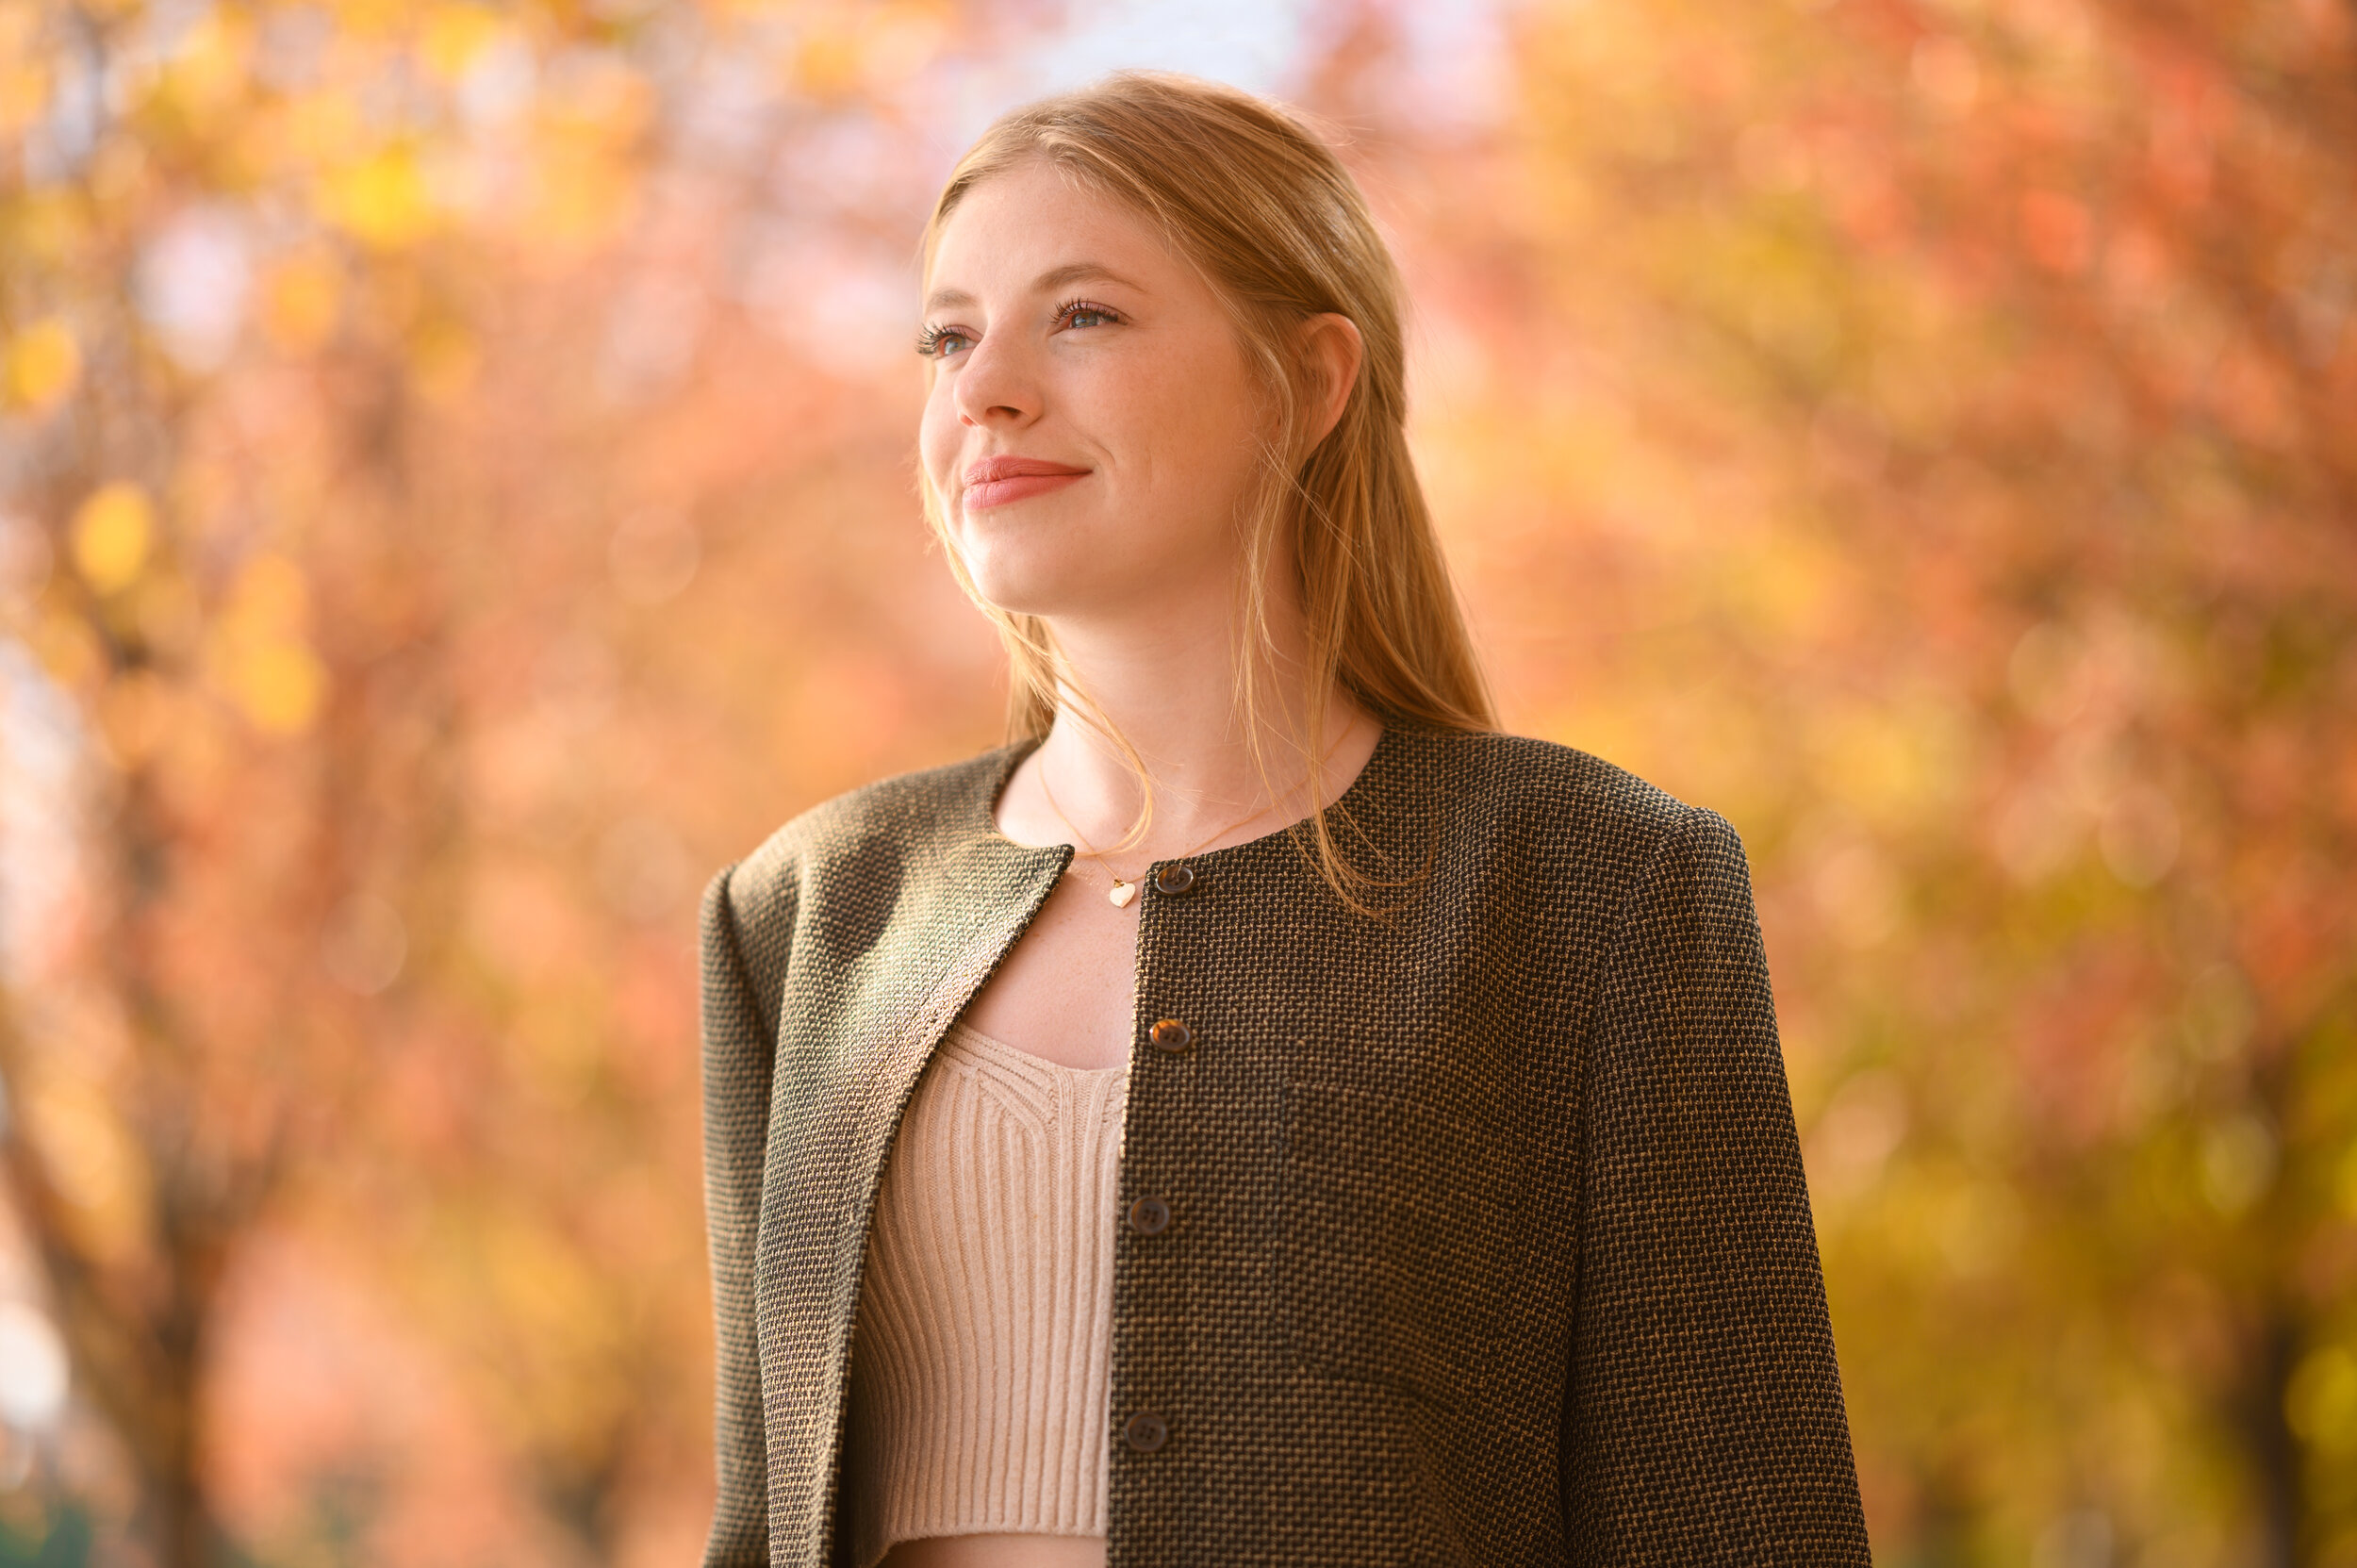
I was going to rave about Nikon’s new lenses but the lenses don’t even matter if you can’t find good light. I’ll walk you through the process of the first shot. I knew the lens I wanted to use, the 85mm Nikkor 1.8 S. This is dubbed a portrait lens for the amount of magnification it produces. 85mm+ is always great for portraits cause of the compression, it brings backgrounds closer than they seem and helps produce a photo with minimal distortion.

I saw the trees were a wonderful color but the leaves make it busy. I can reduce the tress to just their color and a softer pattern by shooting f/2. Next I consider the position of the sun. I know shooting with the sun directly hitting the models face would produce harsh shadows. Not what I wanted. Typical rule is to put the sun behind the model and expose for the shadows. I know I would be losing detail in the highlights but that’s fine, you can’t really have your cake and eat it when I comes to finding an exposure w/o flash. Lastly, to hide the busyness of chairs and garbage cans, I shot from a lower angle. There’s a bit of posing in there too but this is what runs through my head when presented with a scene. Don’t be afraid to try shooting in the sun either, you never know, it might be the style you we’re looking for.  

Out of all the locations from this two day shoot, the Financial District of Toronto offered the most interesting light. If you head out there on a day with no clouds, the sun does some magic—it could be black magic, I don’t know—but the reflecting sunlight creates some beautiful lighting effects and colours depending on what it’s bouncing off of. The Financial District is one of my top #streetphotography spots for this very reason—that is of course until security asks you to leave.

Pro Tip: go there without a flash and a small mirrorless camera and they won’t care. 

Artist Profile: George Bucur

George Bucur is a friend and an inspiration. His work is always evolving. The progression of his work is deeply rooted in the passion for automobiles. 

This is the first of an artist profile series I will be undertaking in the coming months. Throughout the years of being a photographer, I have worked and met many creatives. We all have our own story to tell and reason for pursuing our craft. 

This would be one of the first times I shoot using ProRes RAW on the Nikon Z6. It’s a given the file sizes will be huge for all that data to be retained but the flexibility might be worth it. I was able to retrieve and use shots that were completely gone due to my errors while shooting. This was a run and gun shoot which was completely handheld. This flexibility in editing was something I am only used to in photography.

All data amounted to ~350GB. When shooting N-LOG, it would have been ~130GB. It will be hard, but I will have to delete the clips following editing. ProRes RAW is simply fantastic and working with the files in Final Cut Pro 10 was fantastic. The color wheels actually do something now!

OSC: How it's Made

I always wanted to film a how it’s made video, and a couple weeks ago, i got my chance. I would be shooting manufacturing process of Outdoor Survival Canada’s down jackets. Working closely with Tammy Yiu, I would be be shooting the most interesting parts of how their products come together. Luckily, the factory was well lit, but some shots do have some supplemented lighting to add a bit of drama. All in all, this was a wonderful project and i hope it sheds some light on the jackets we depend on to stay warm during these winter months.

BATL with Day Job

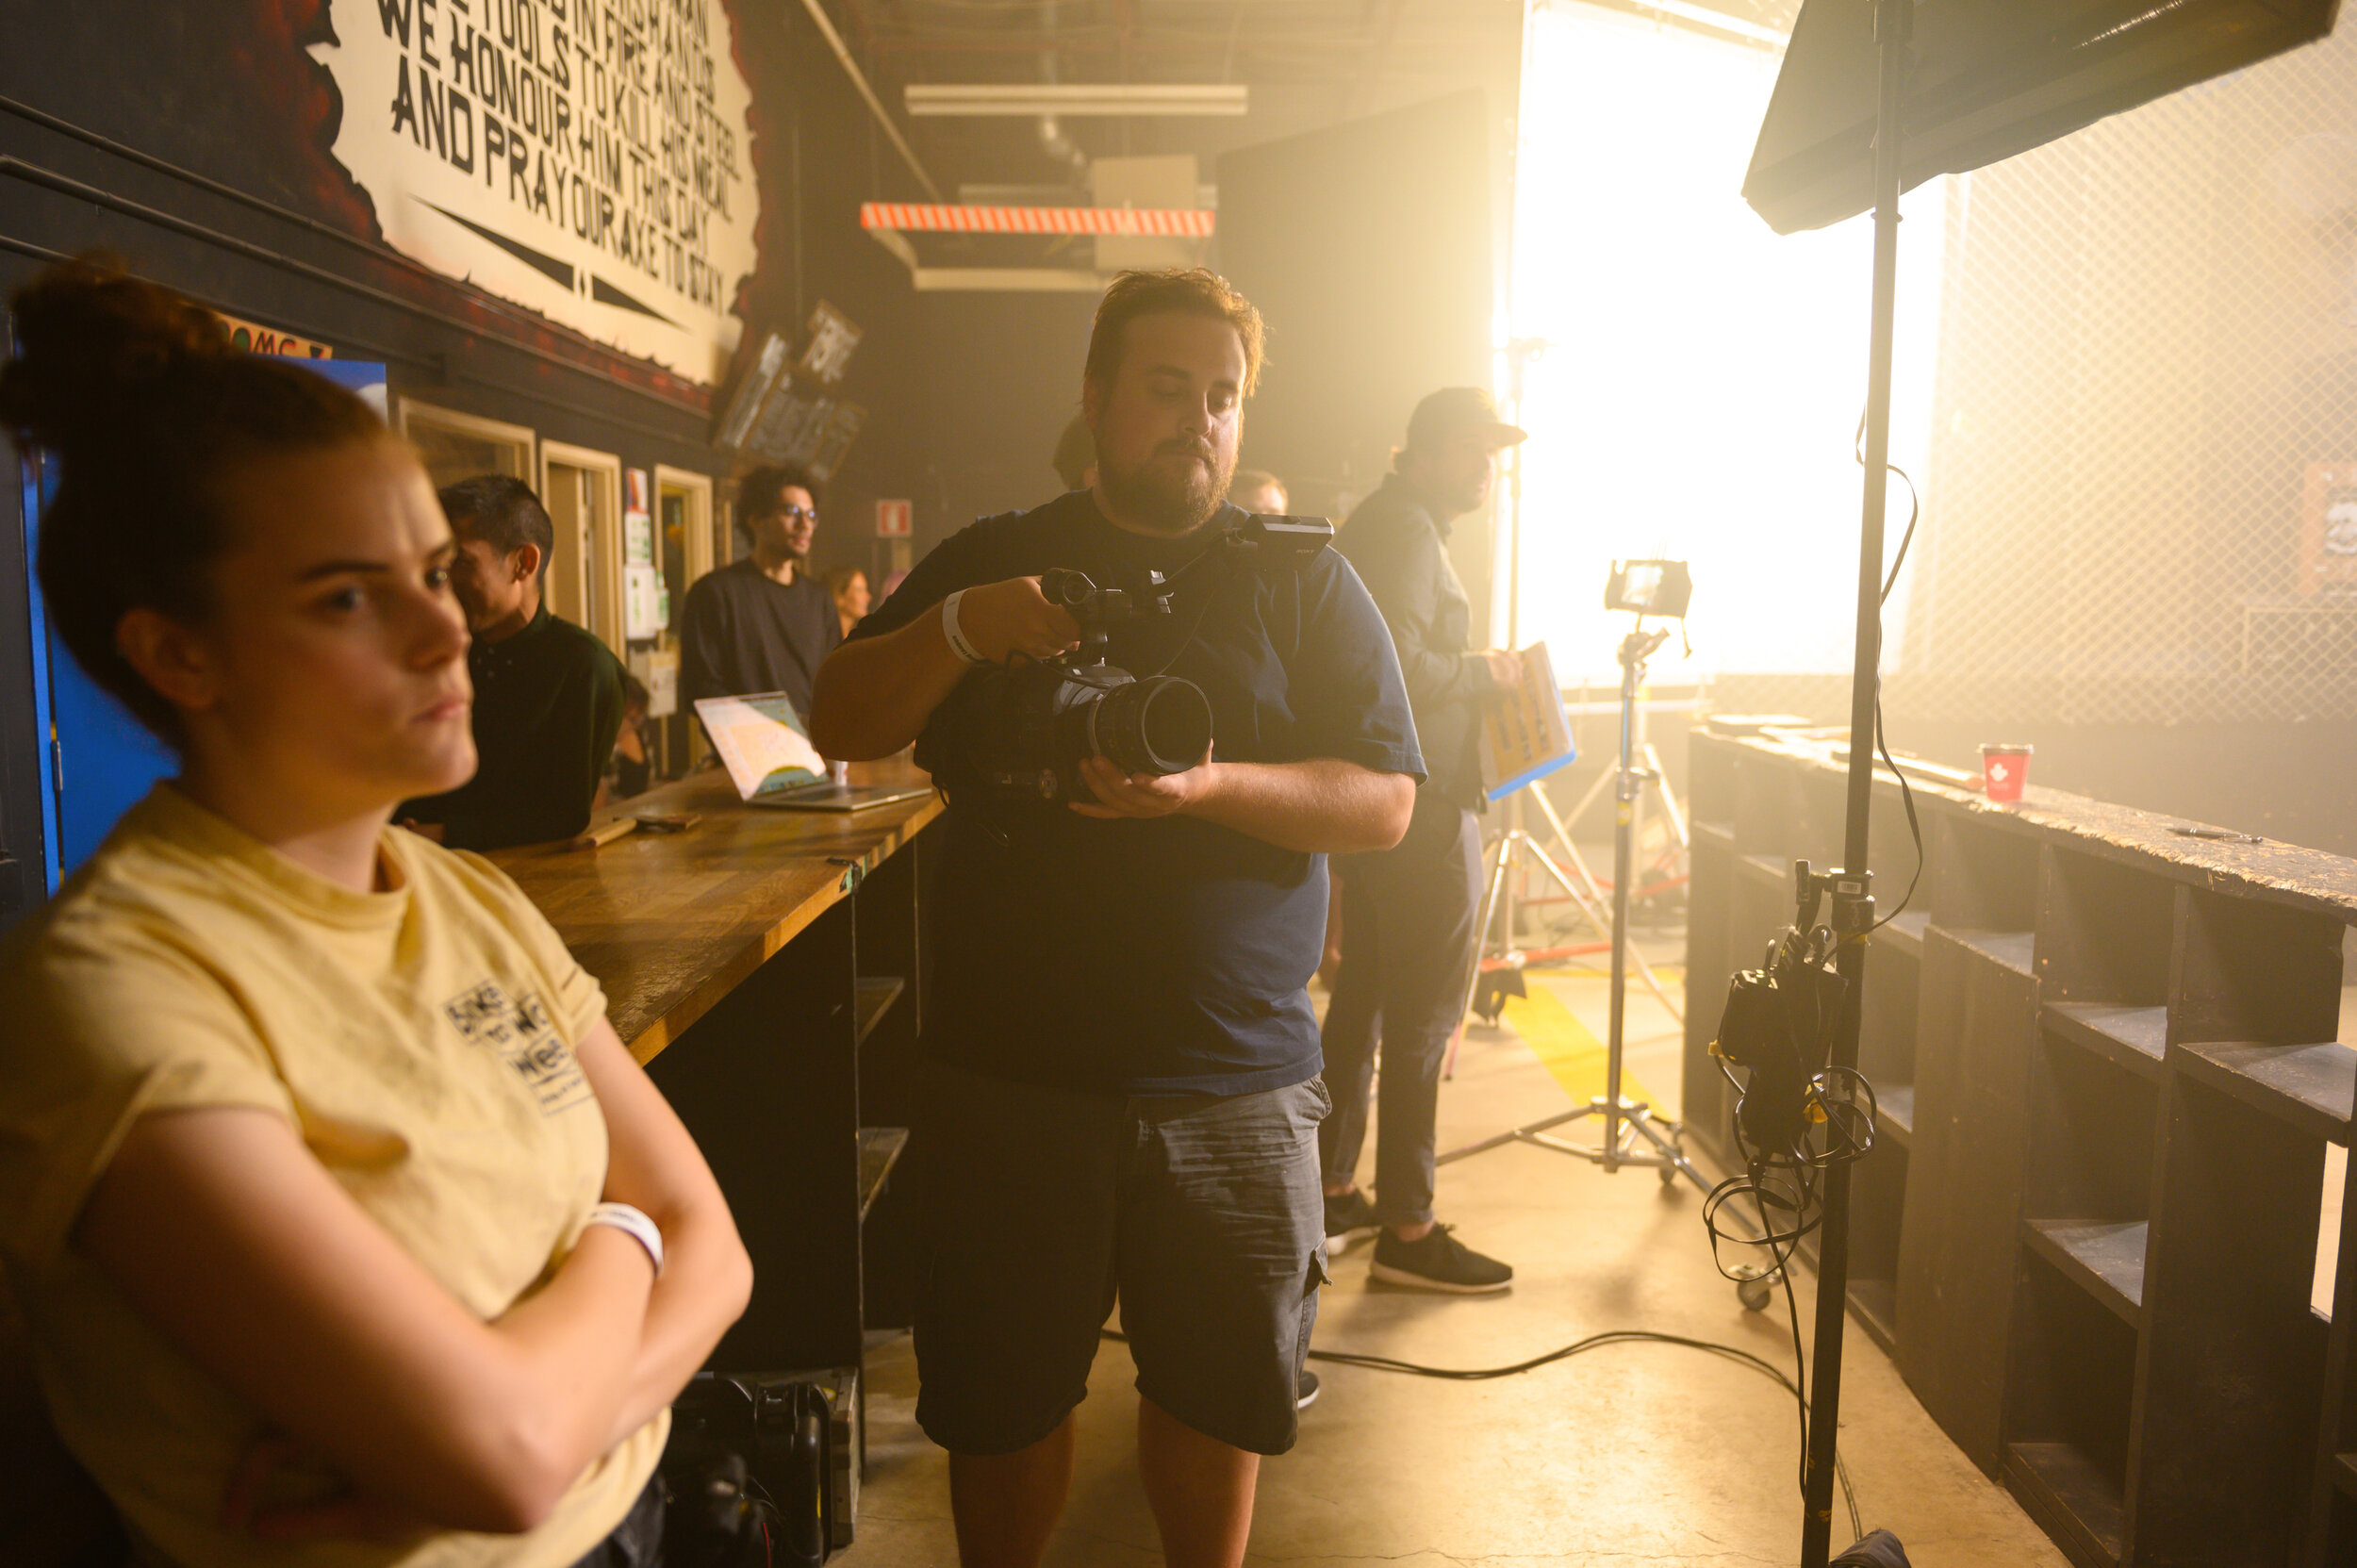
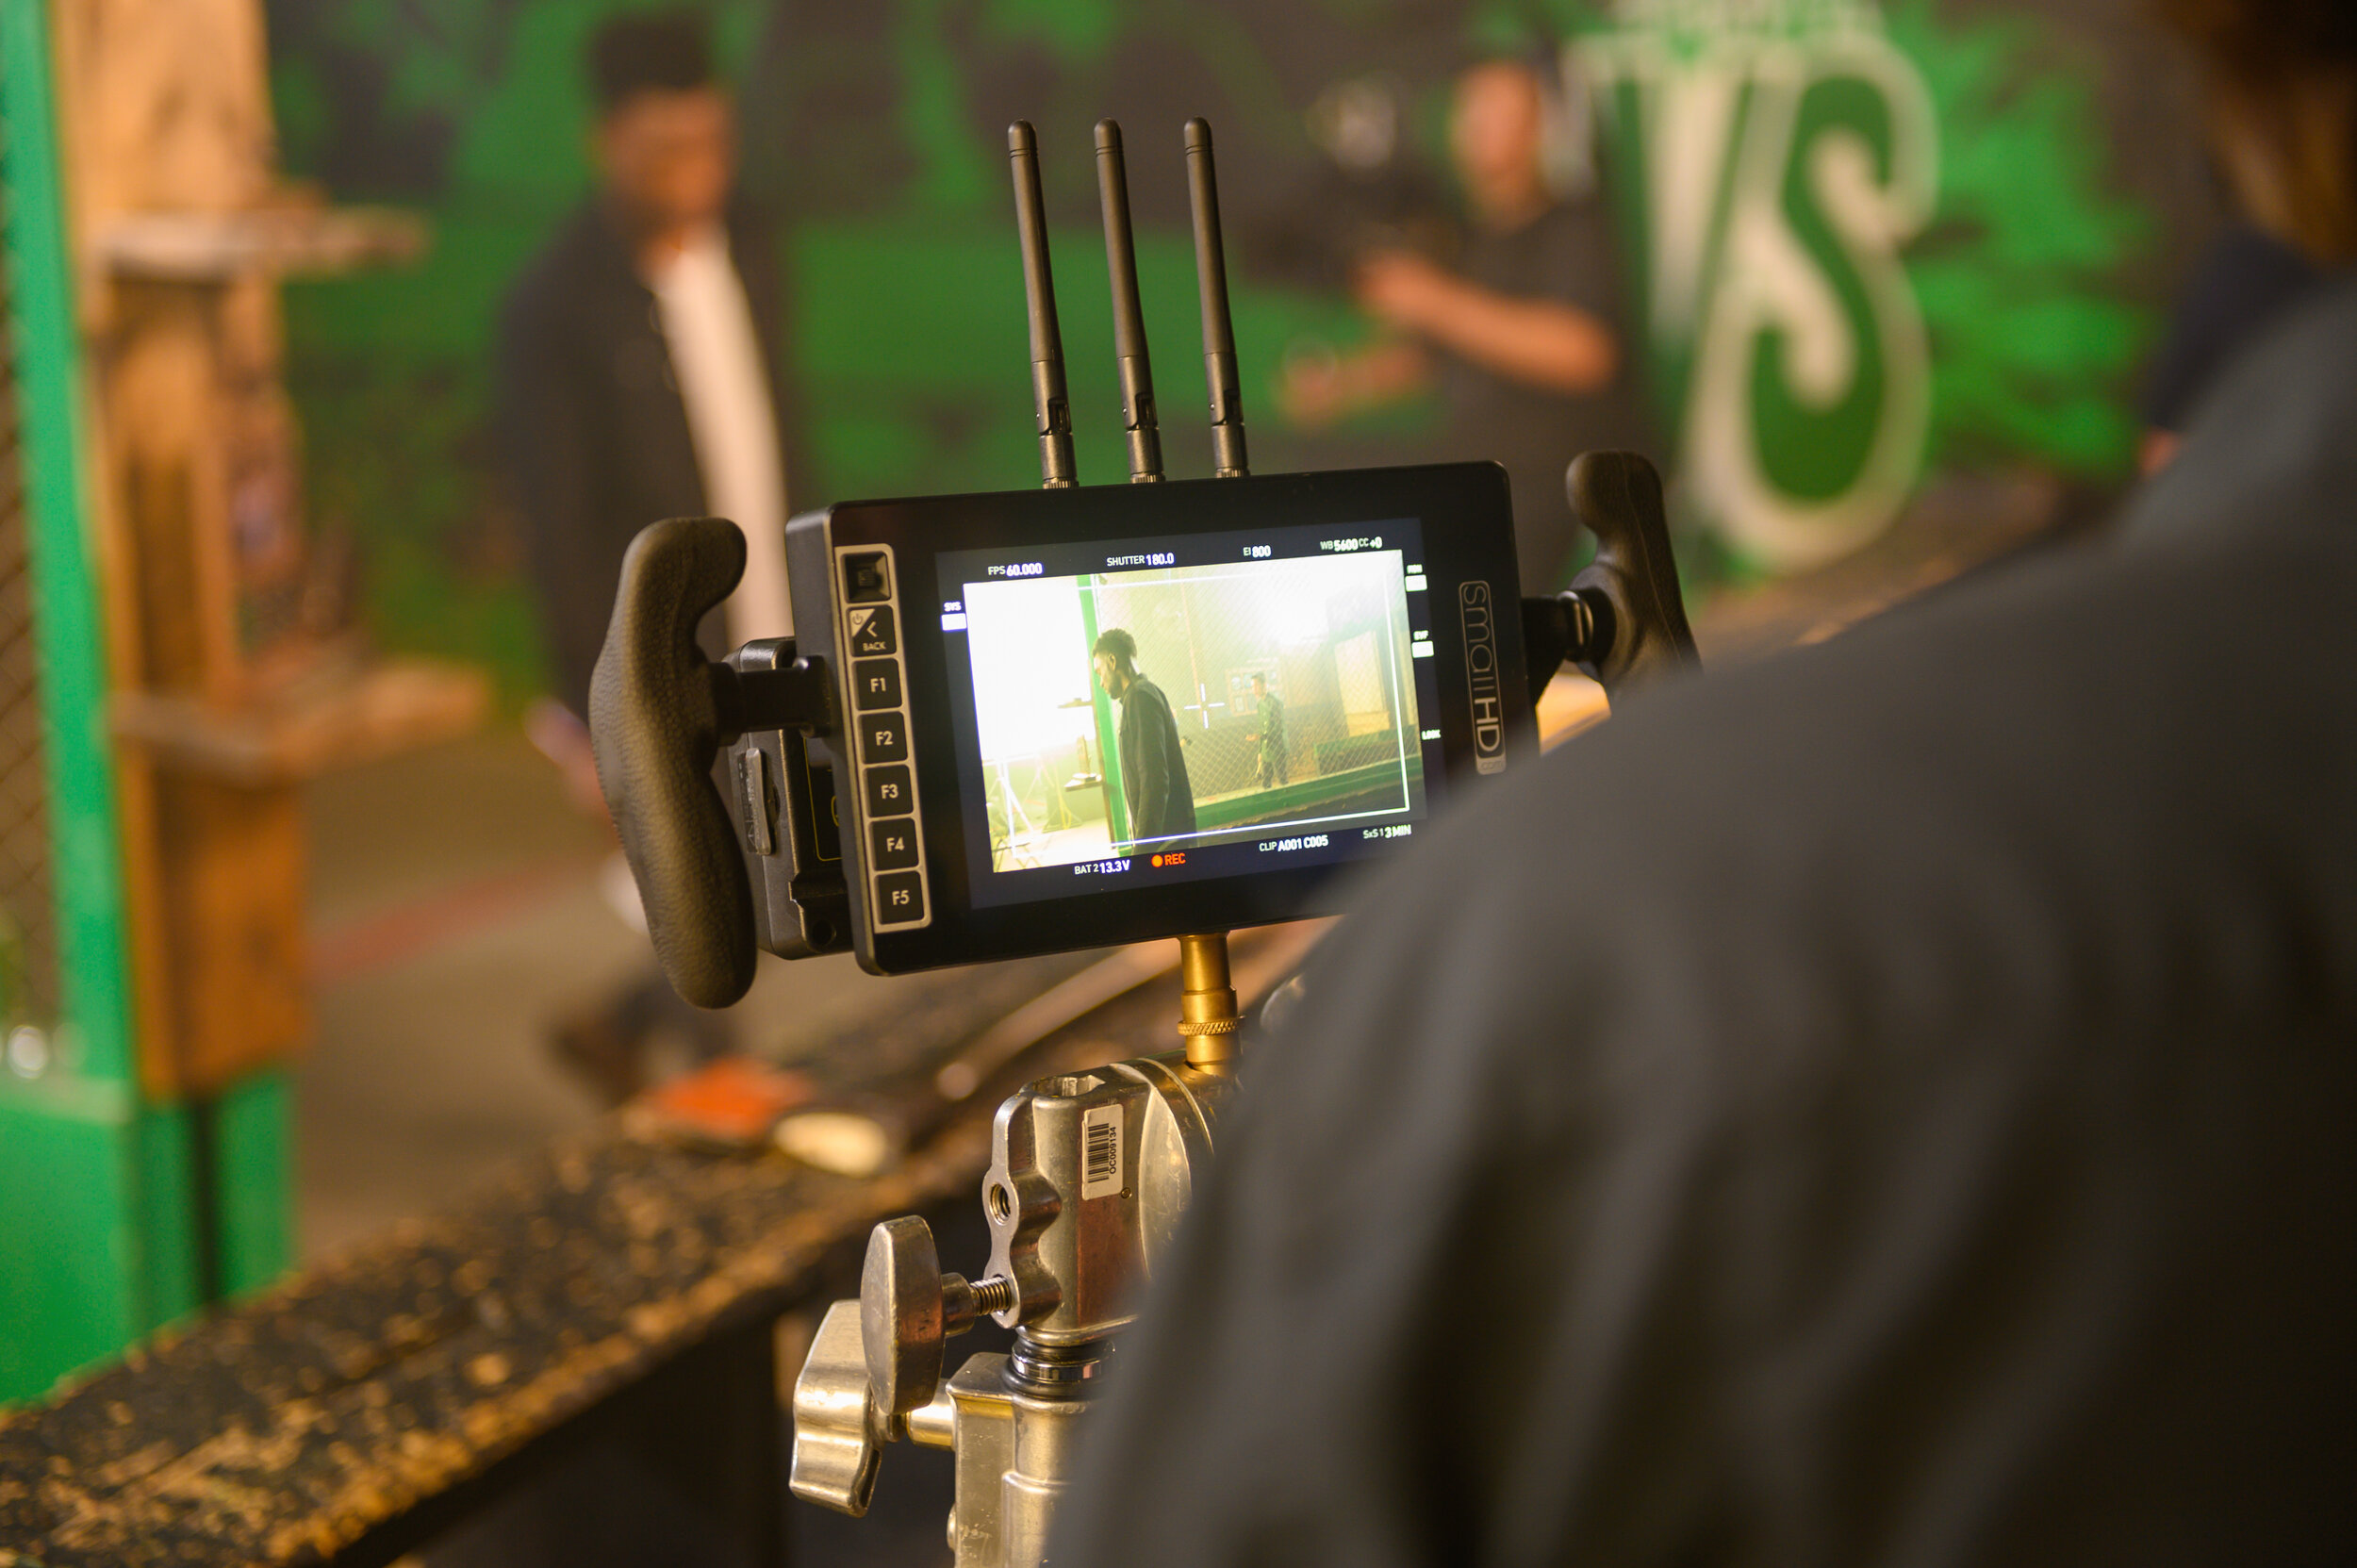
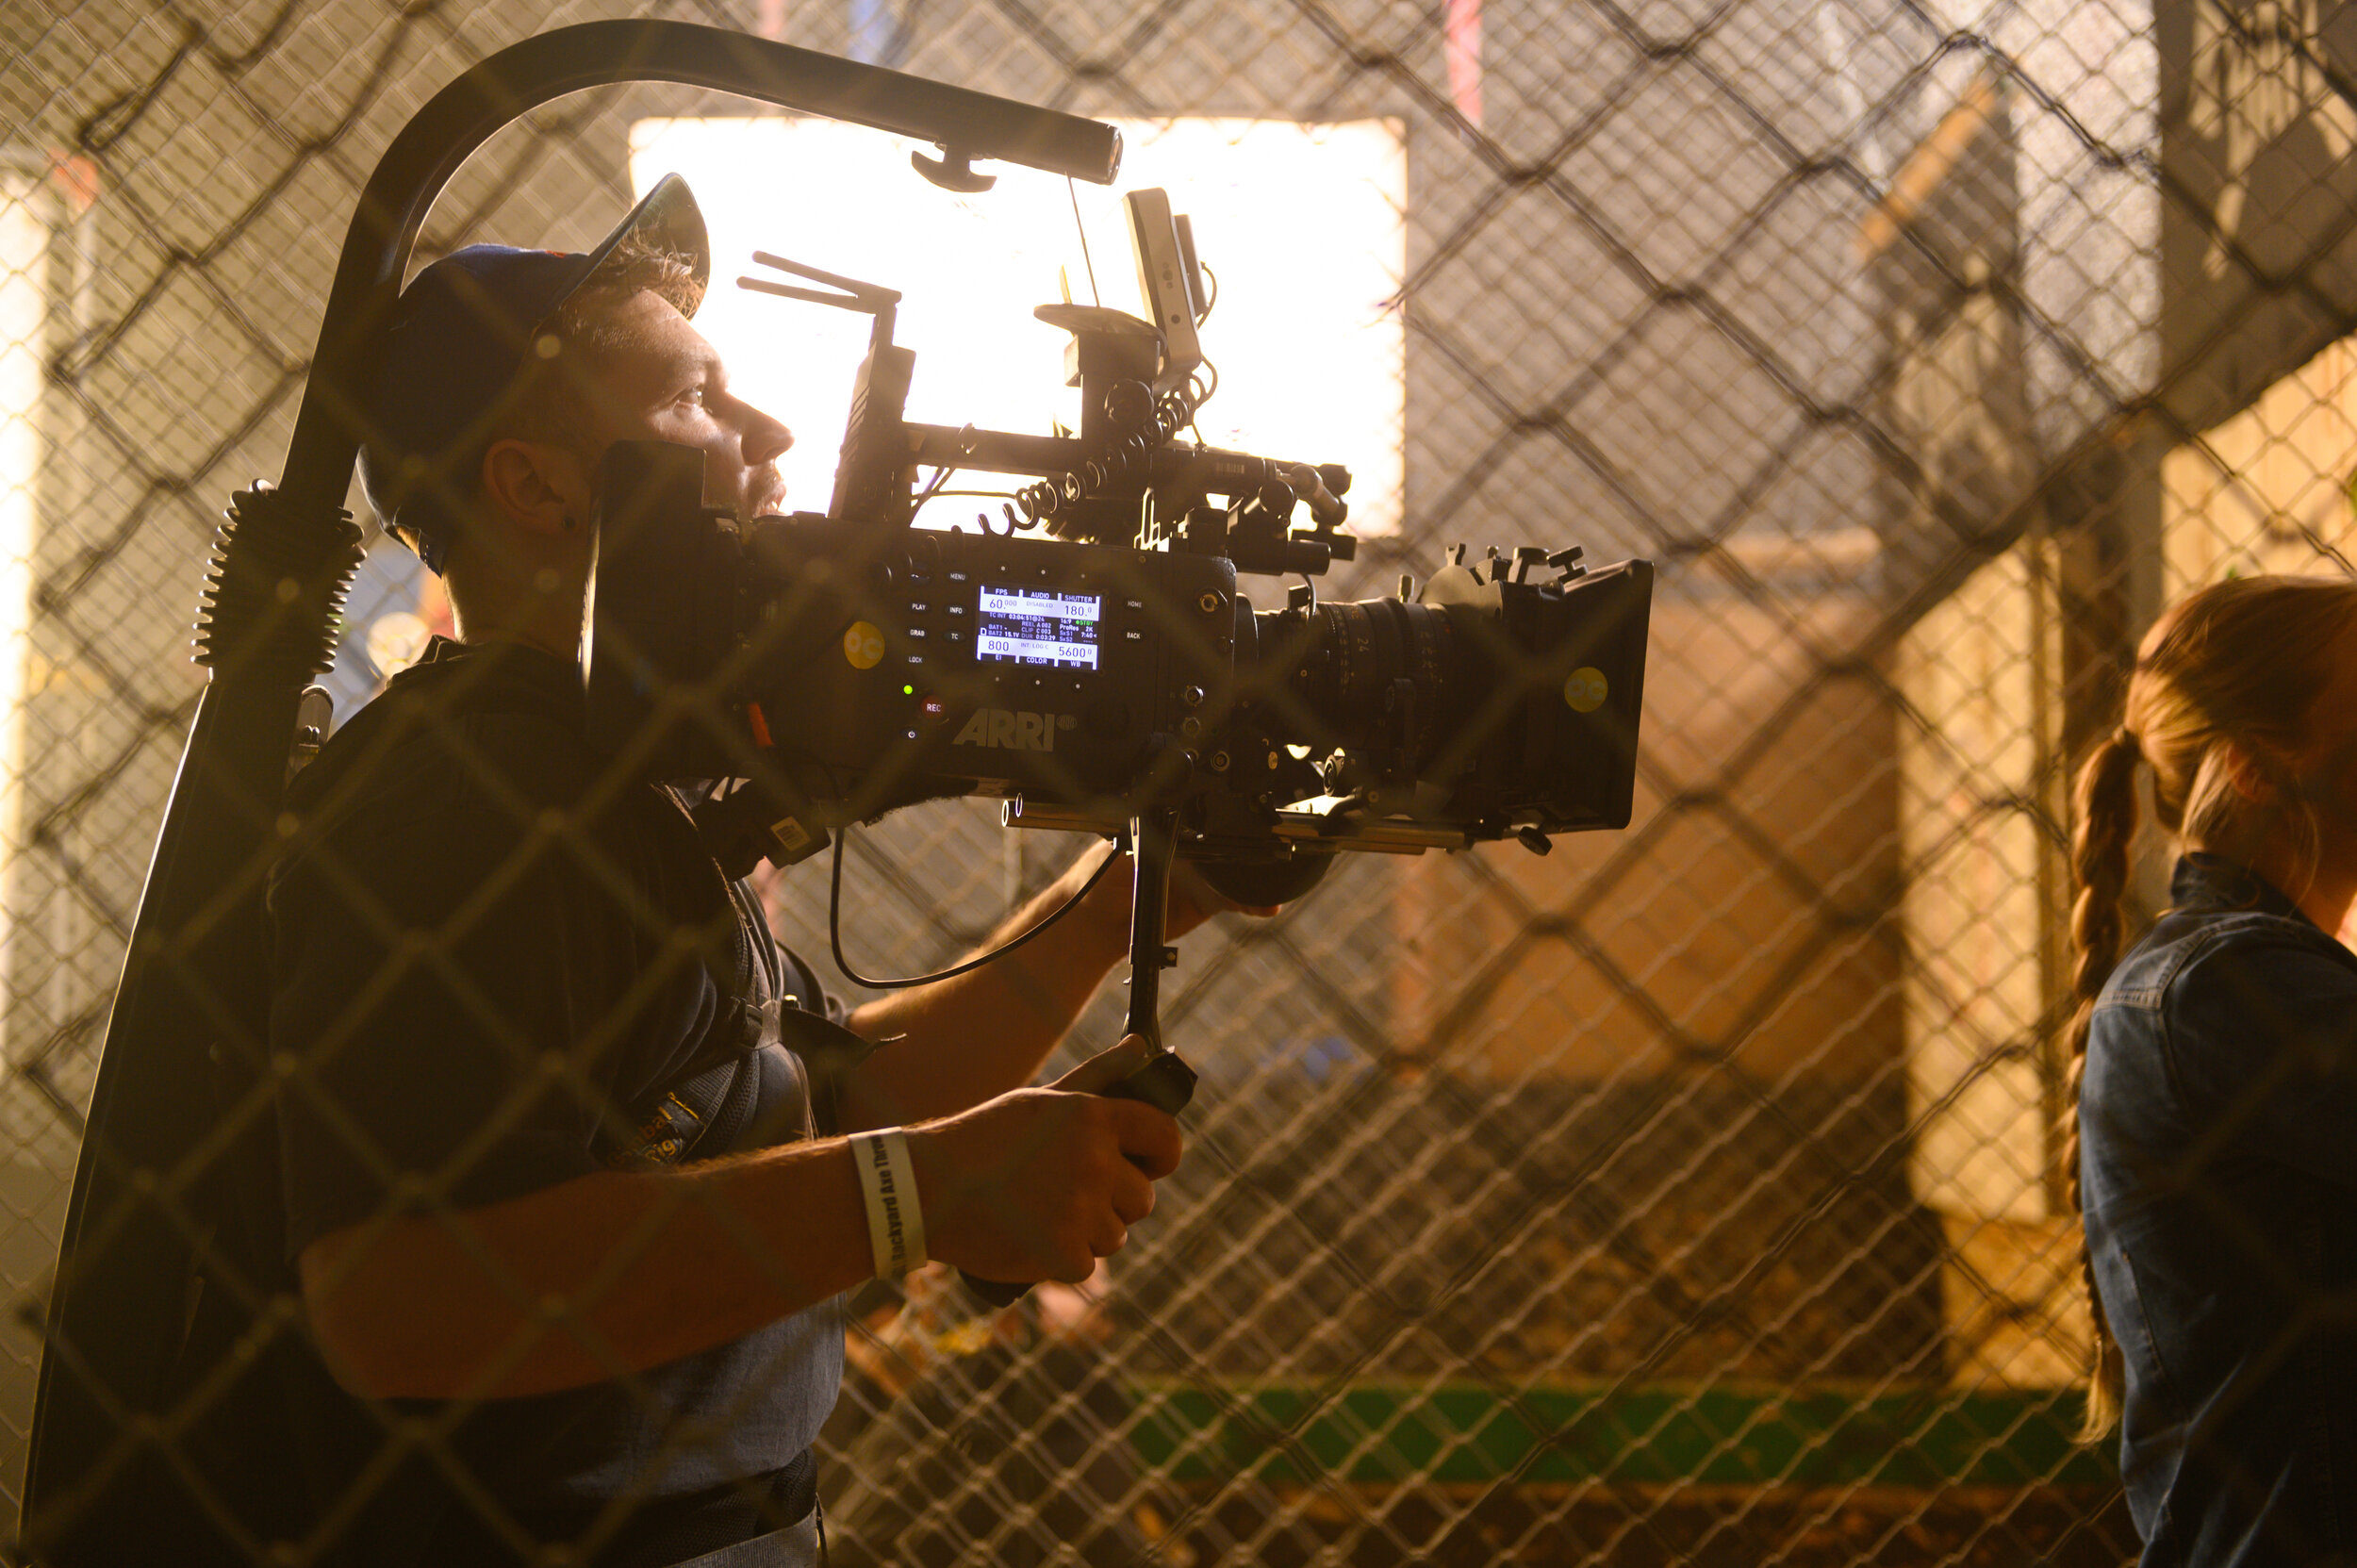
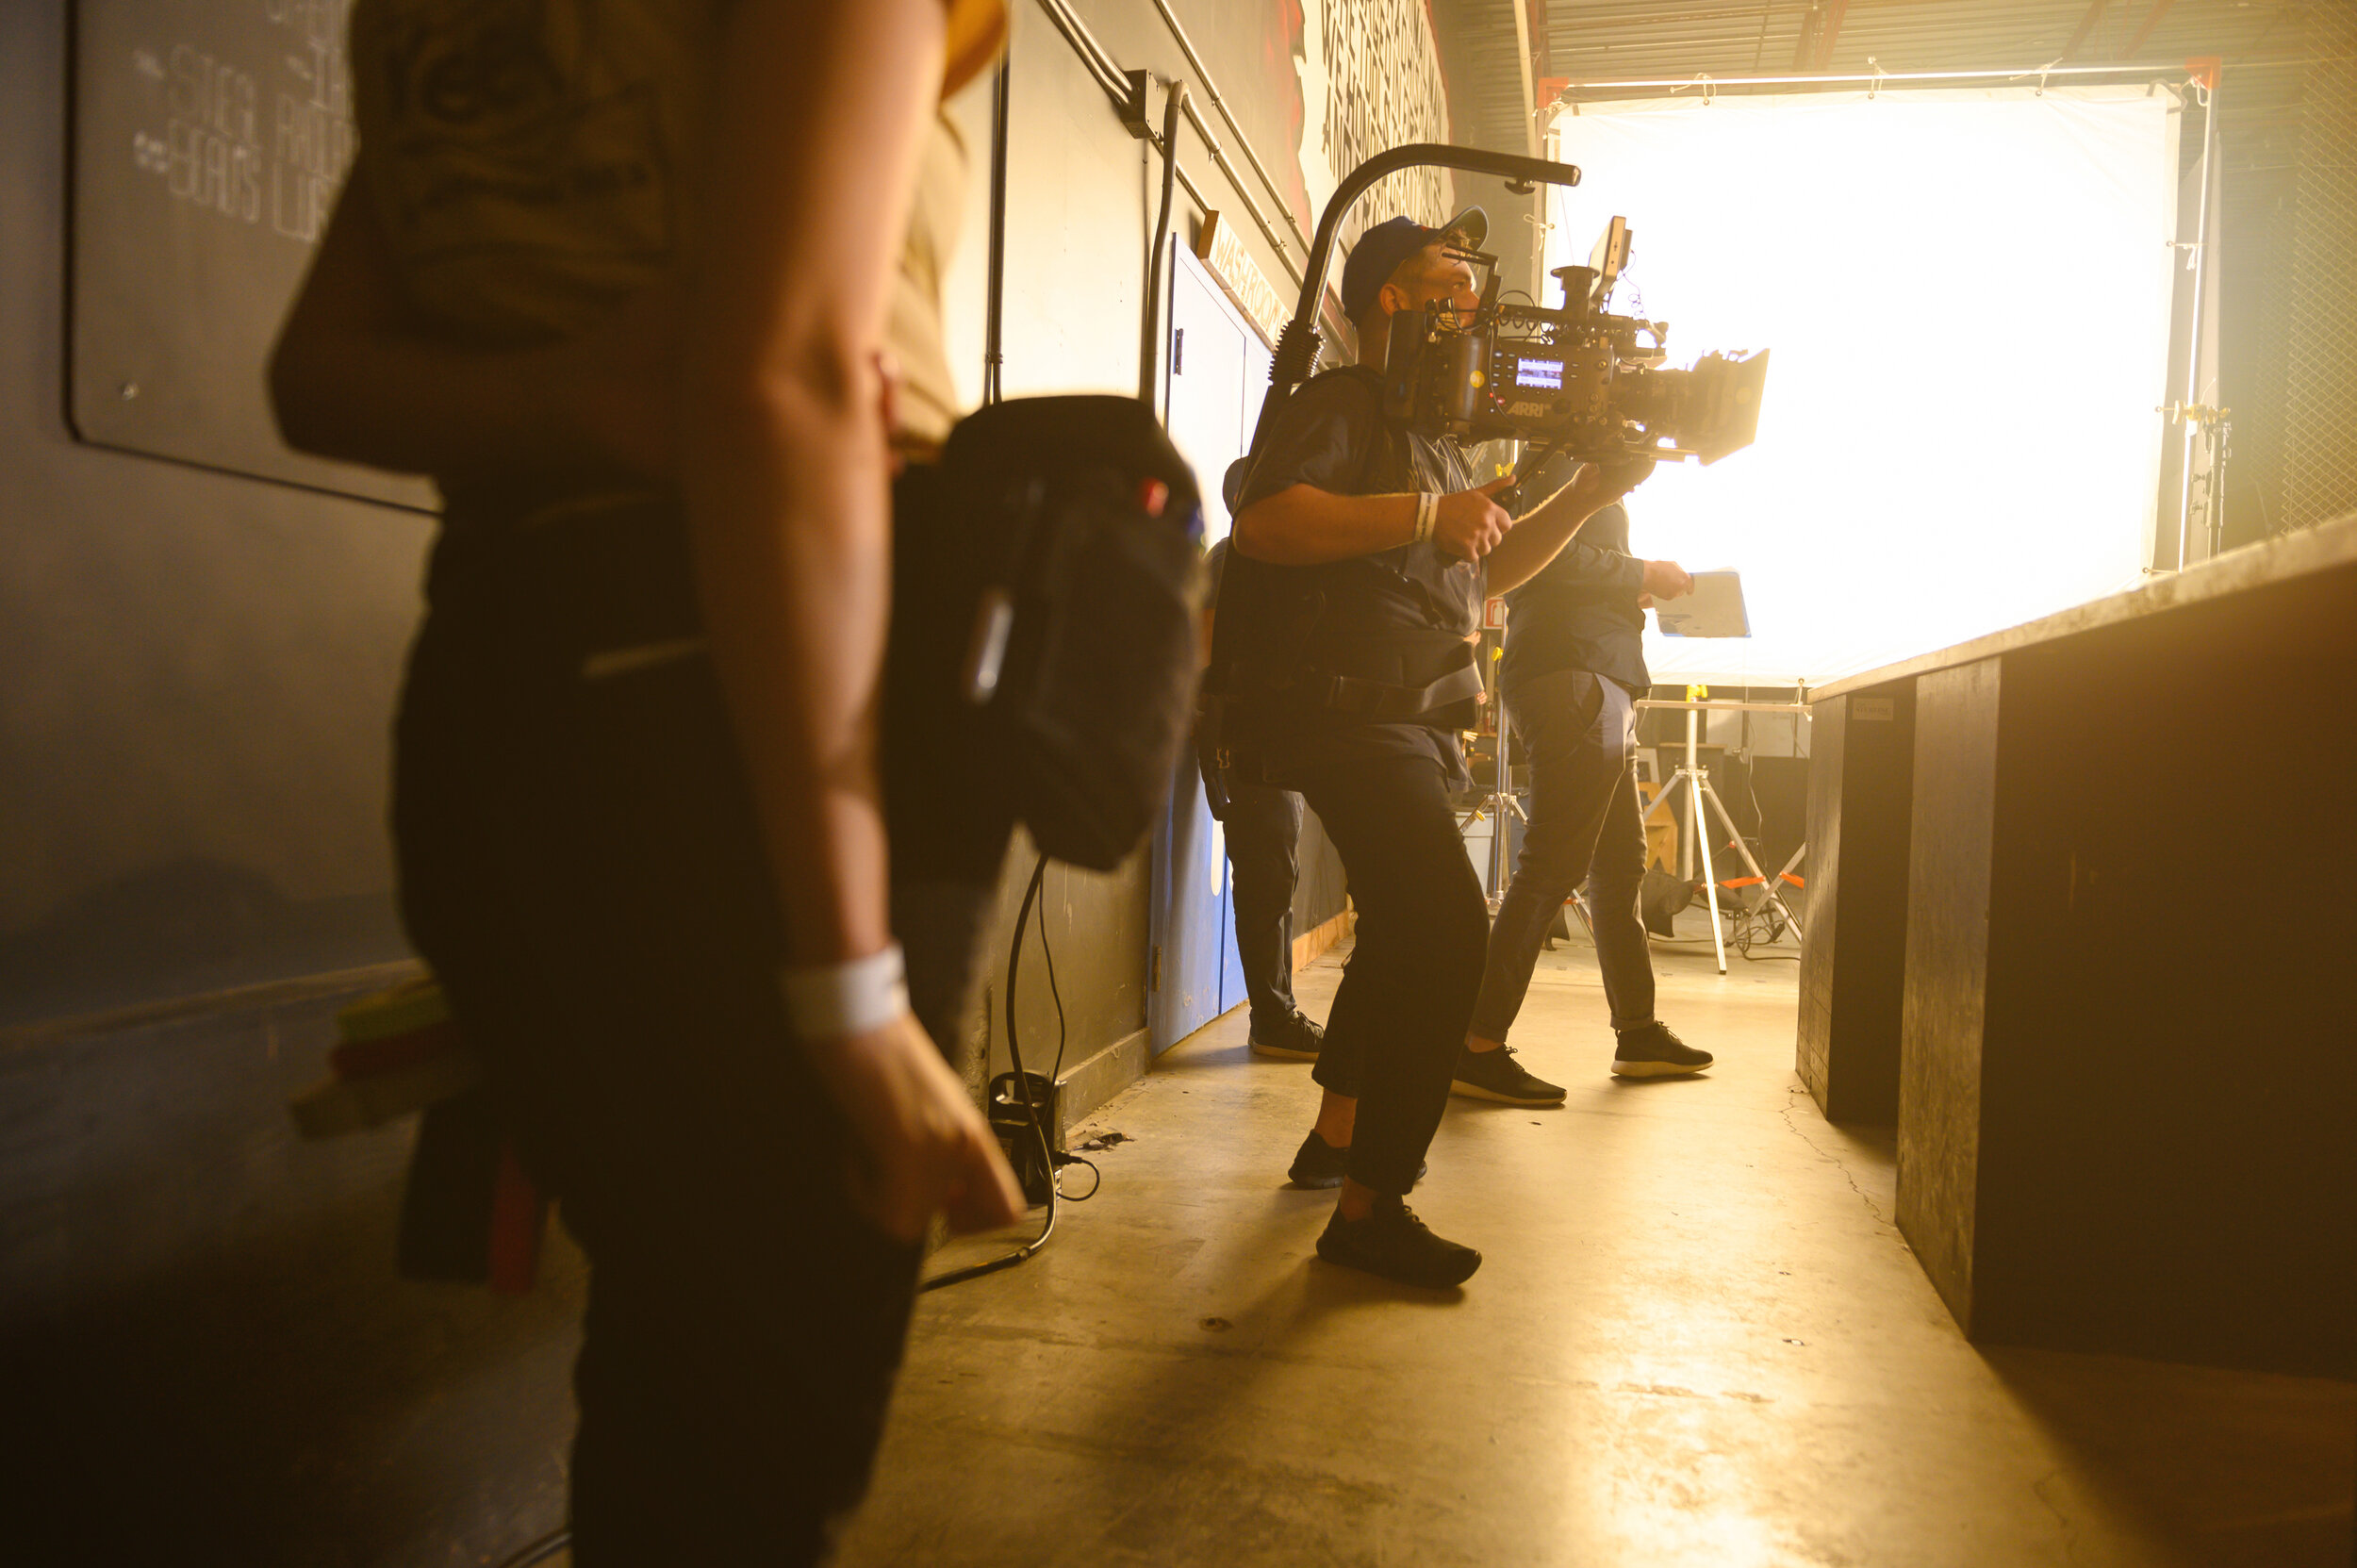
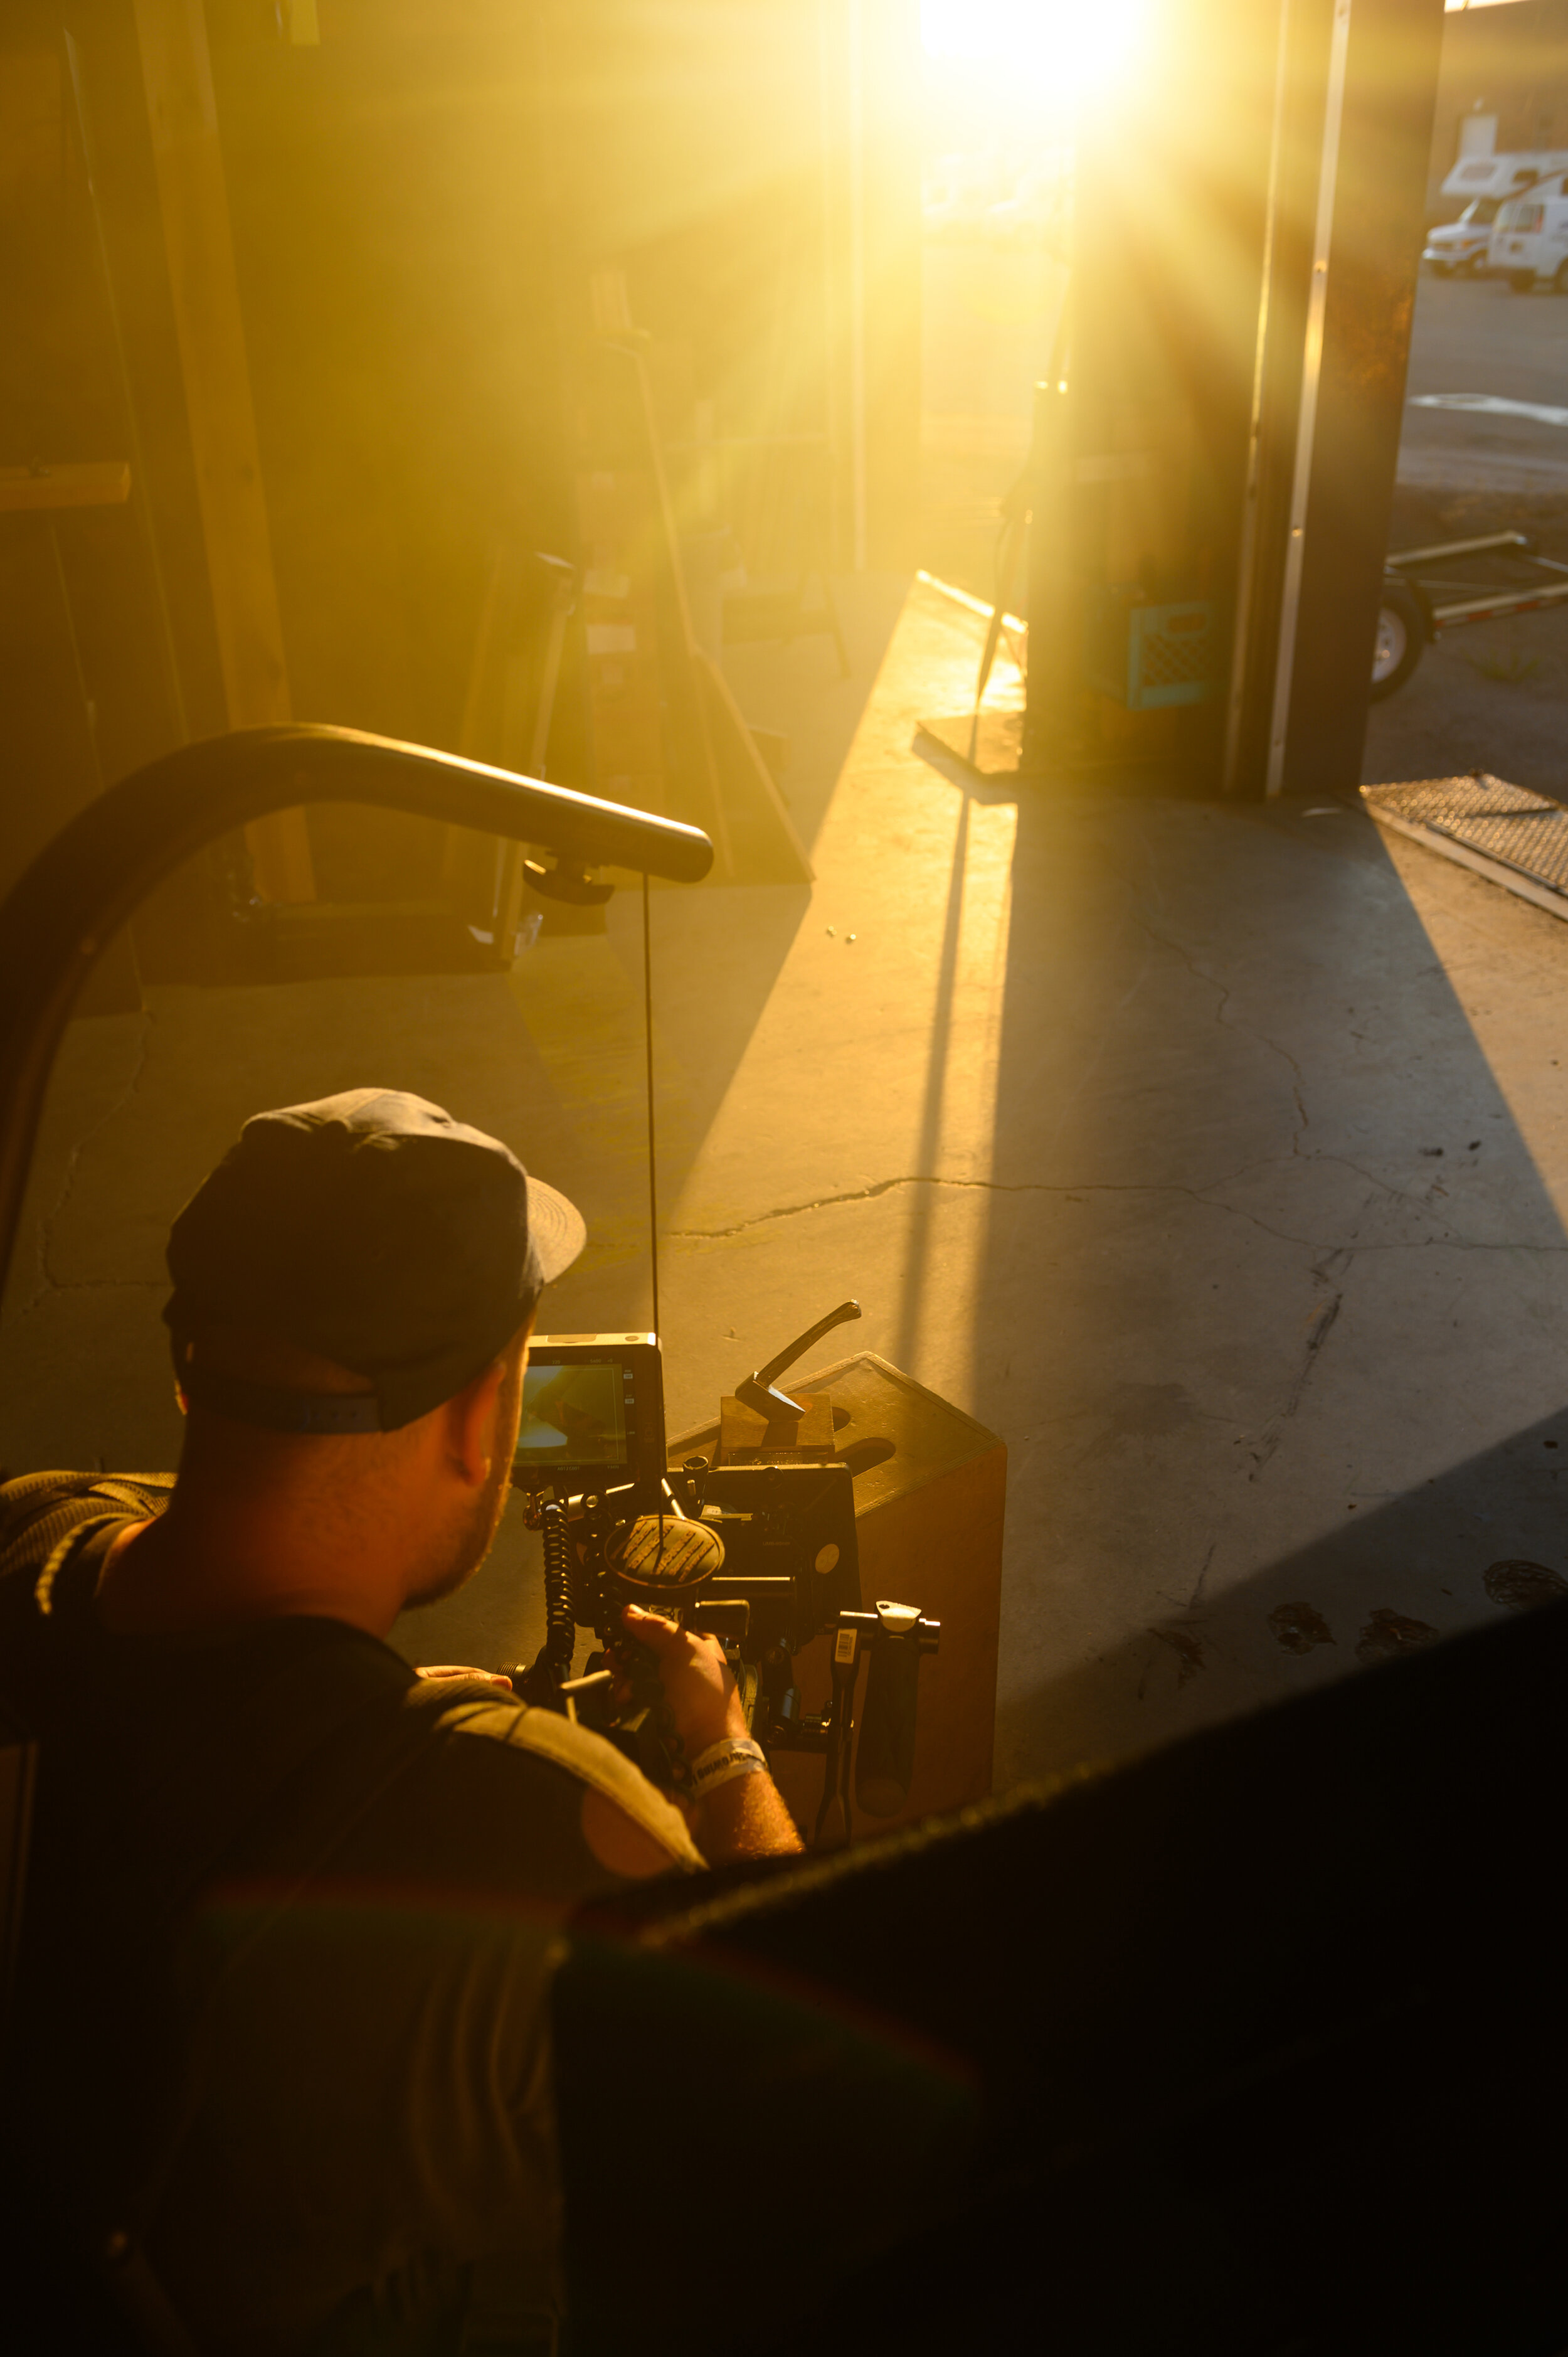
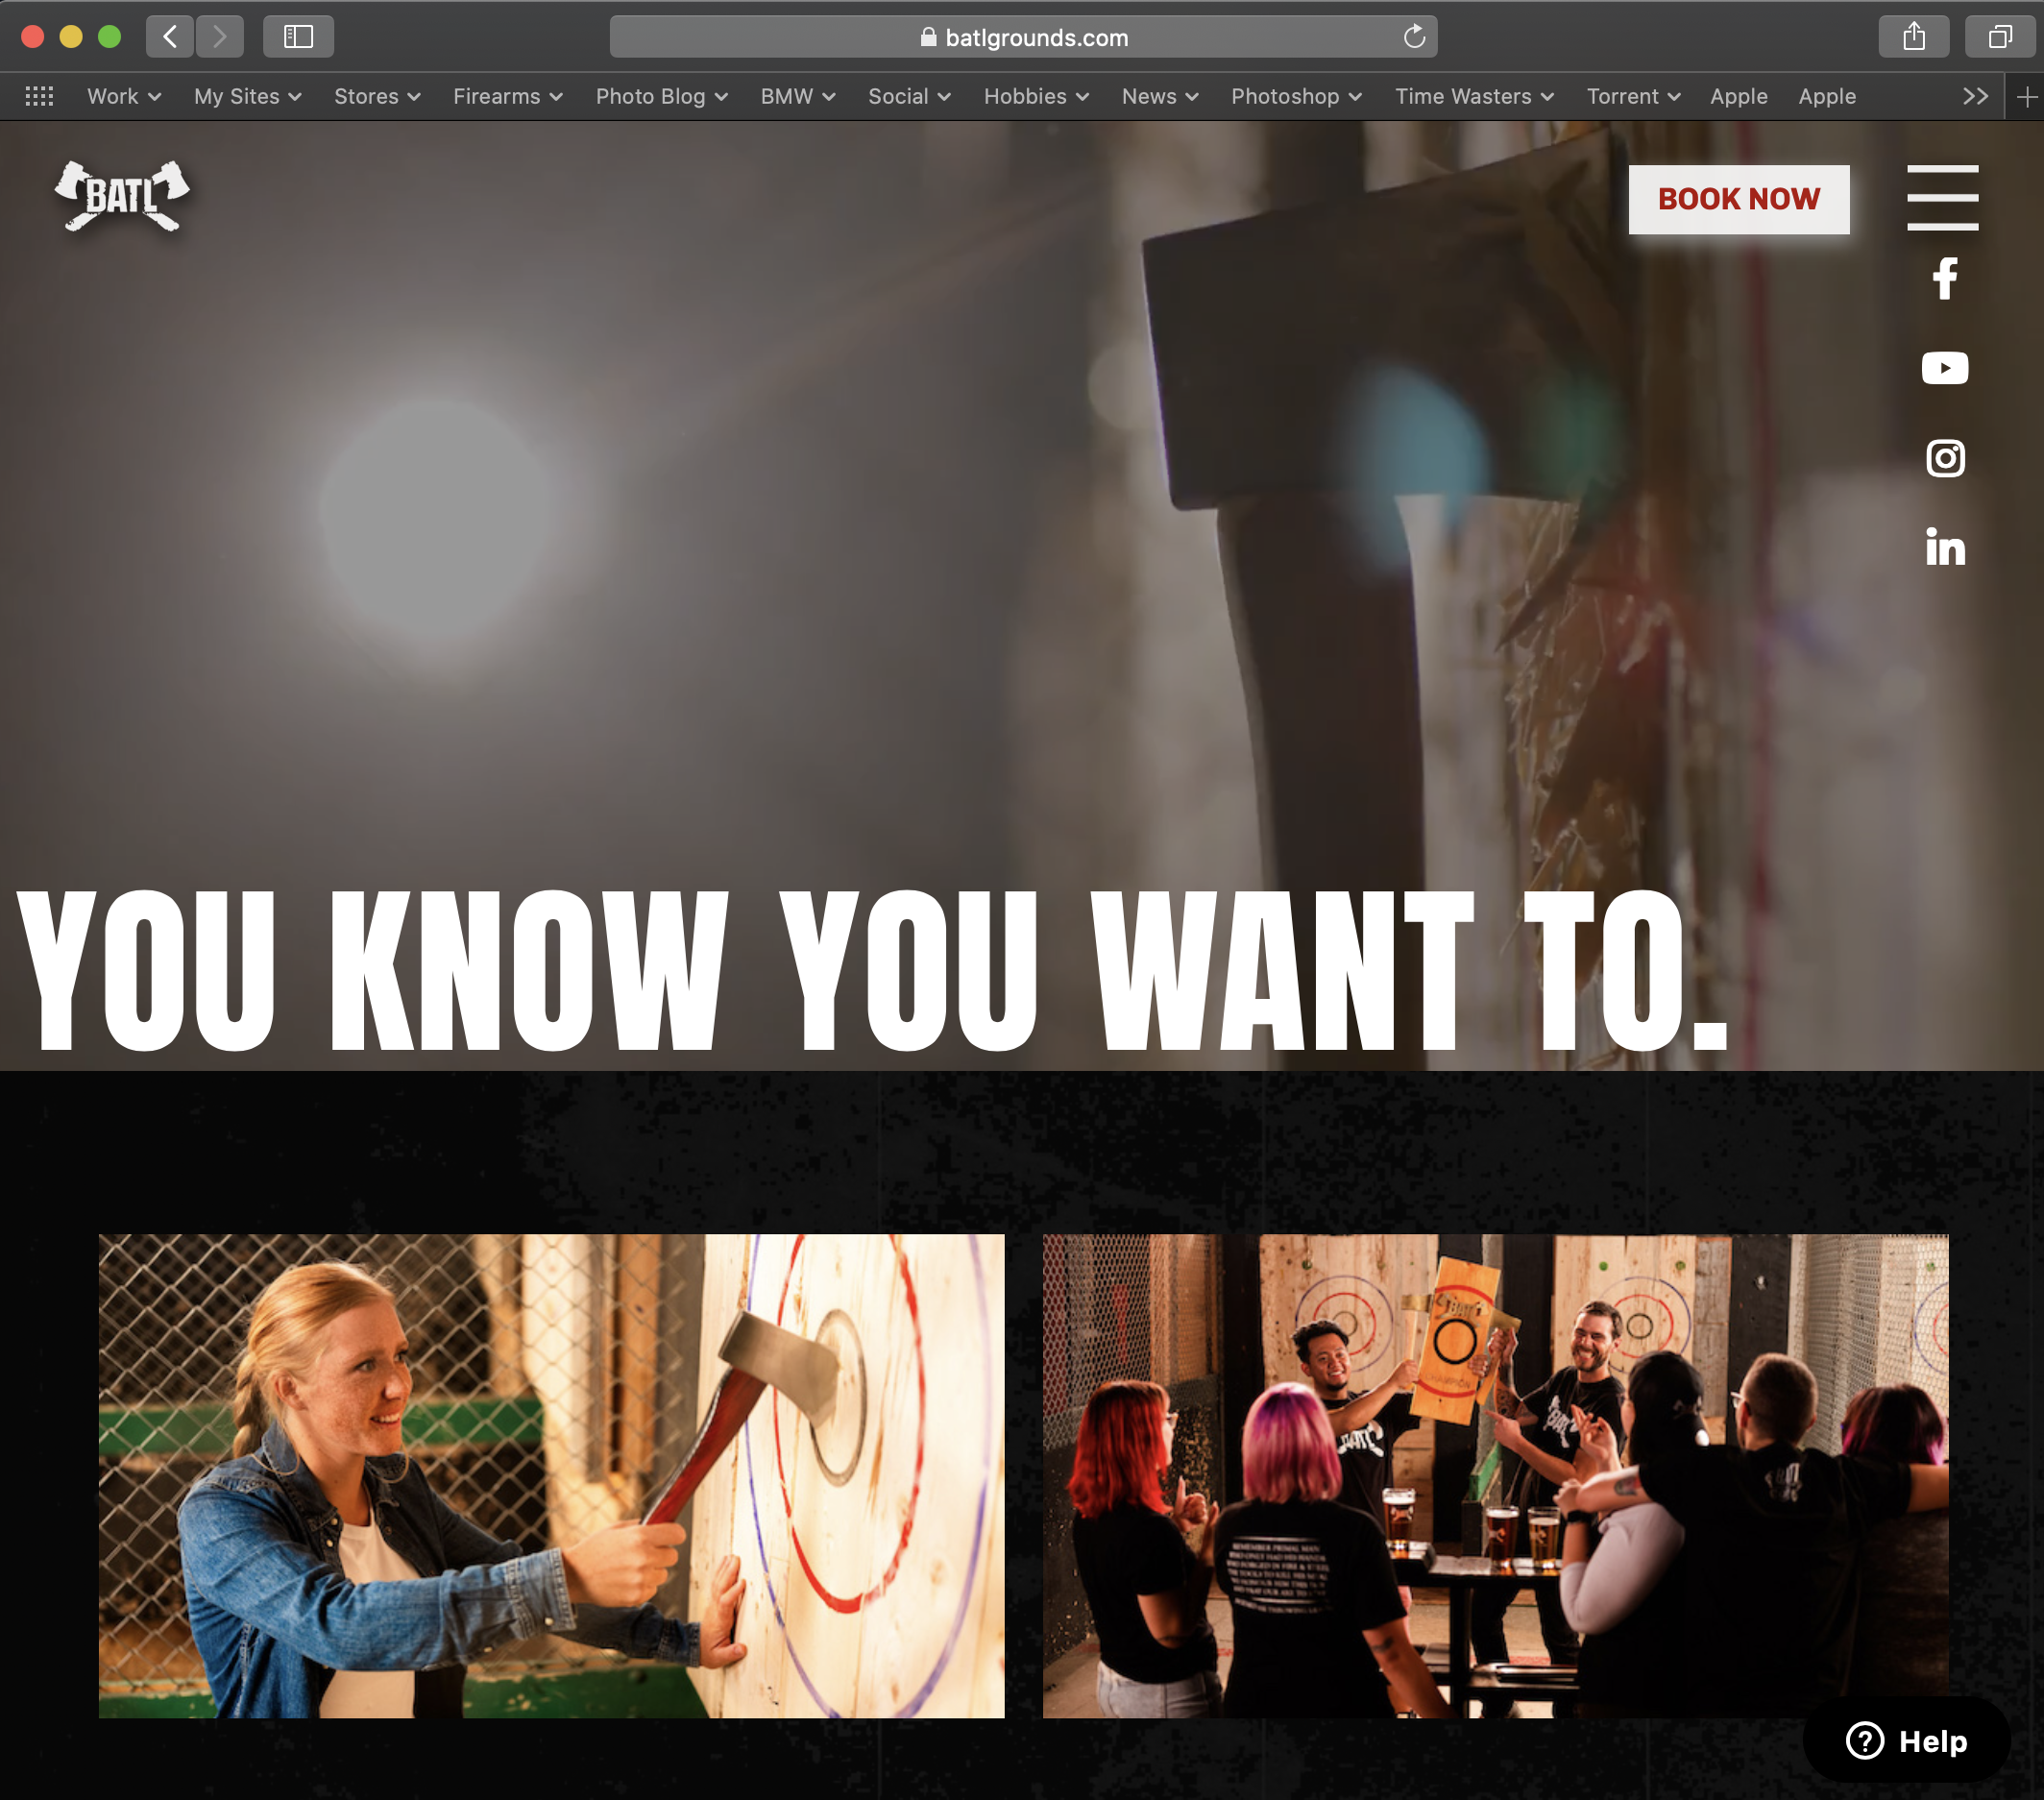
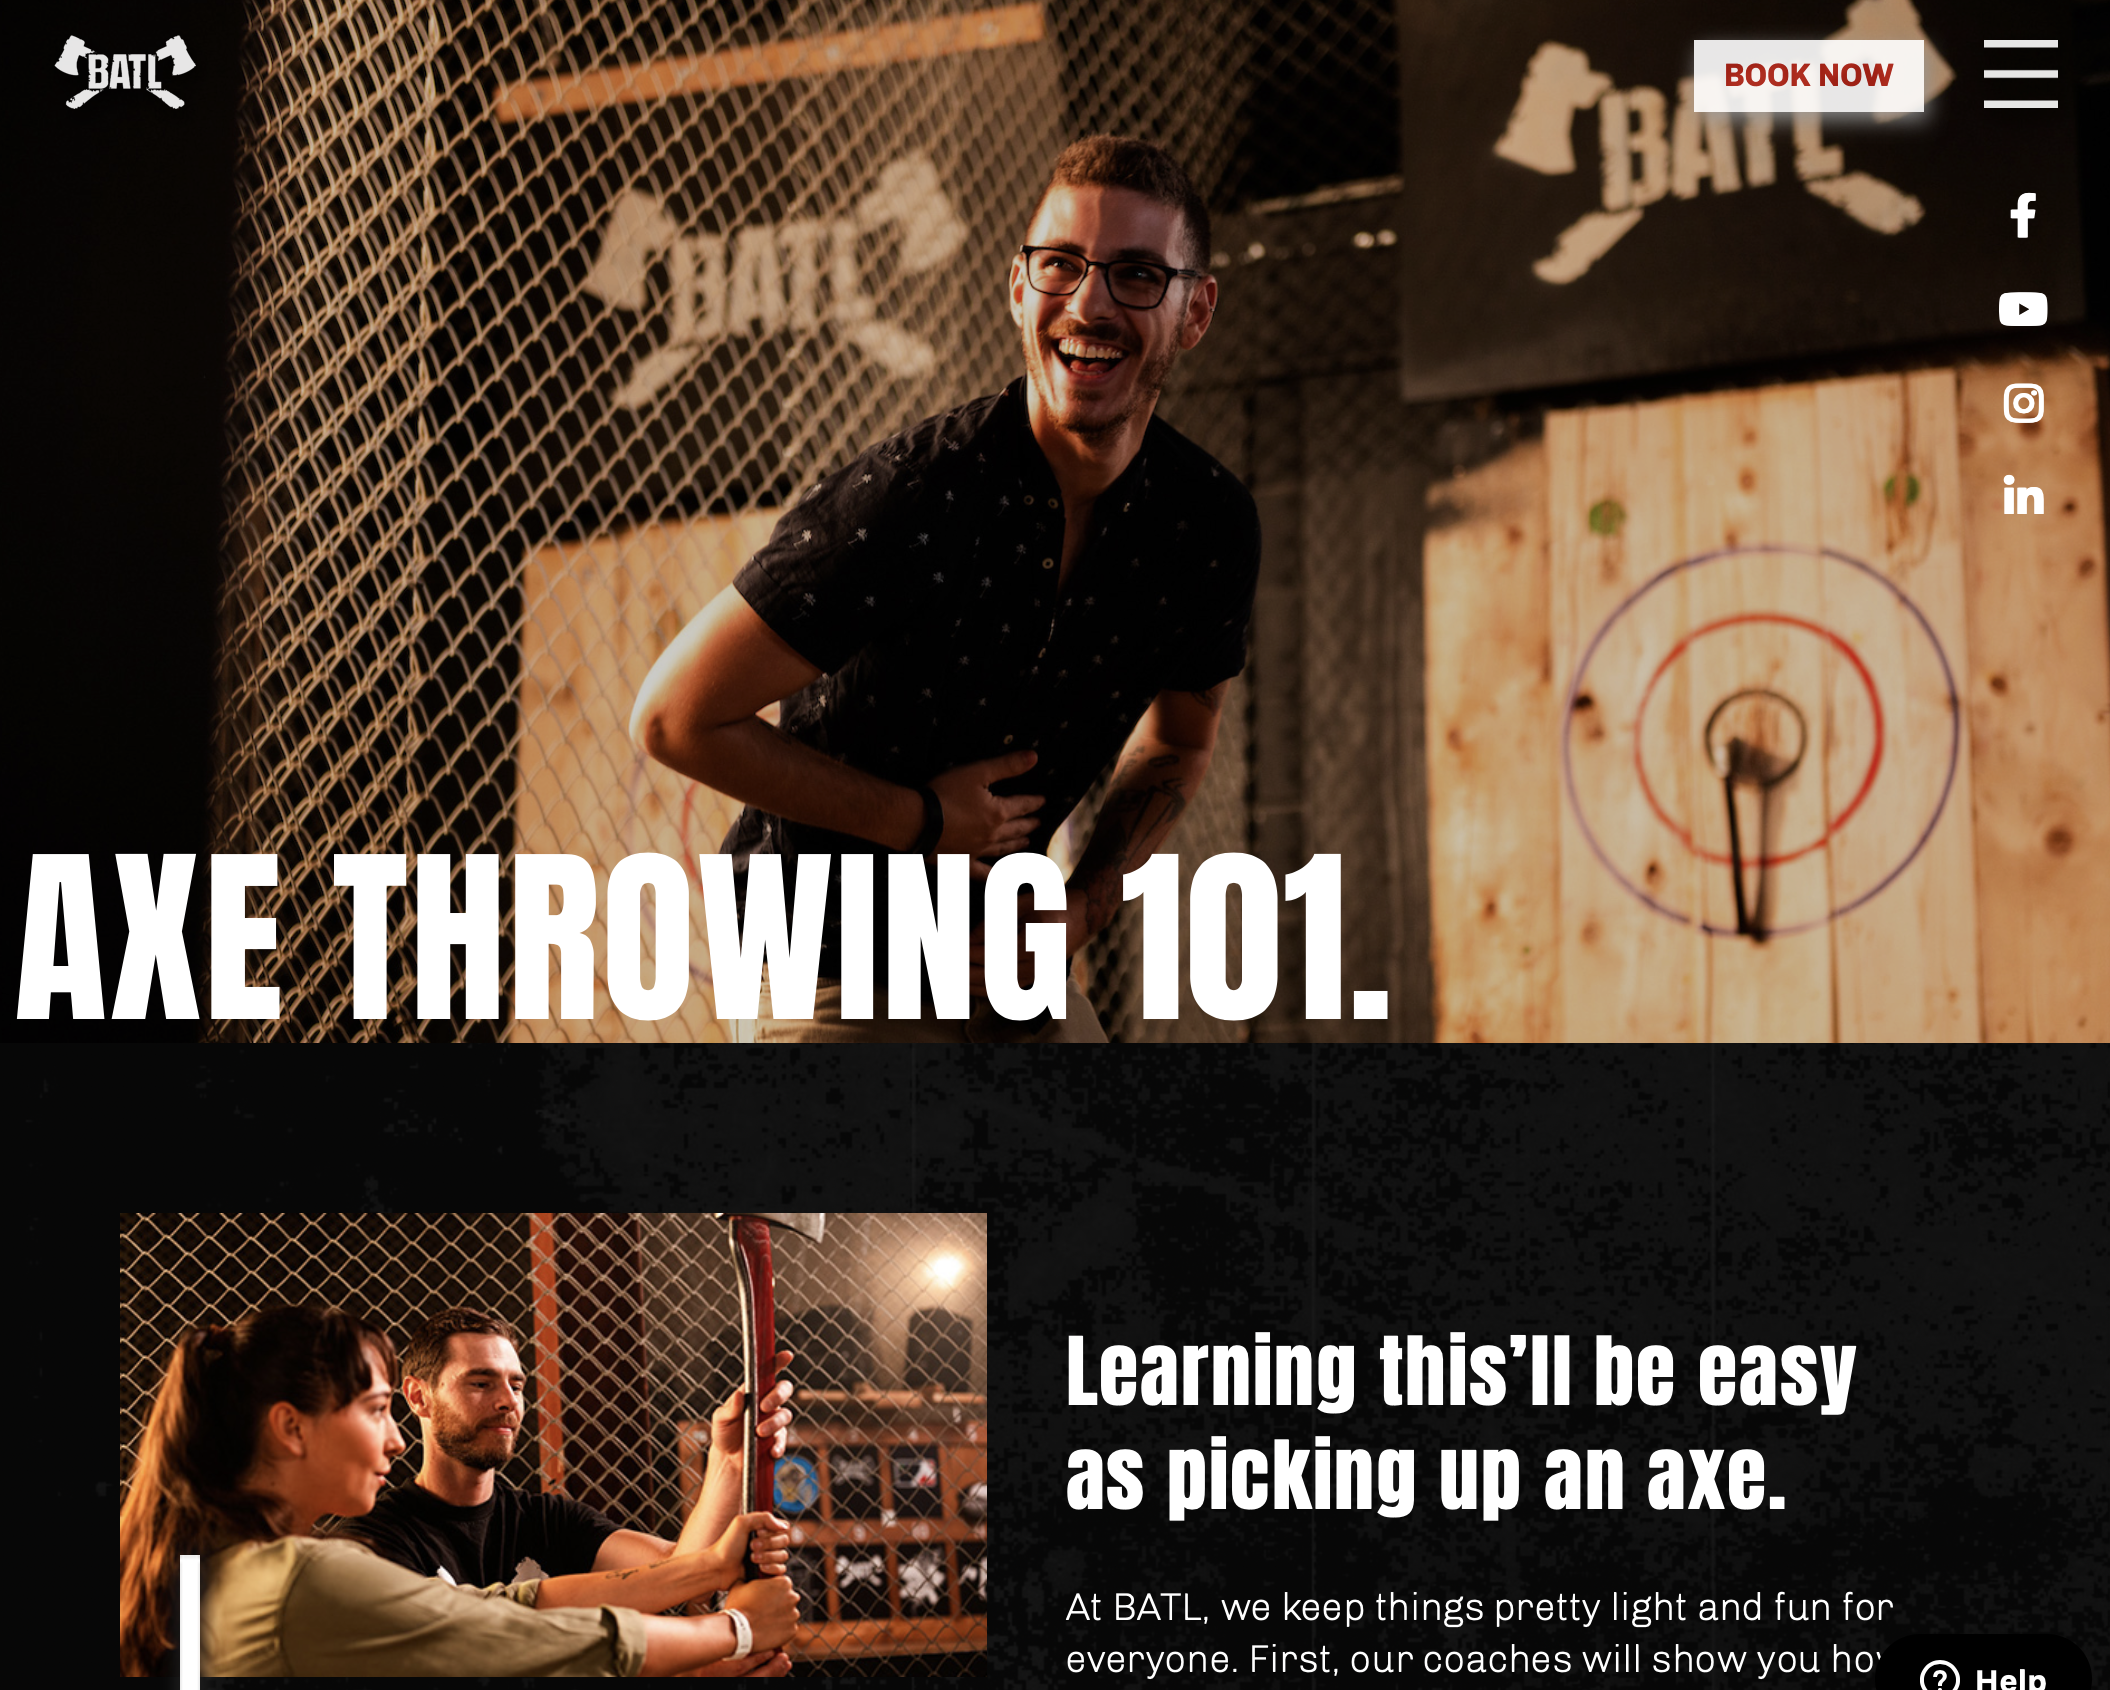
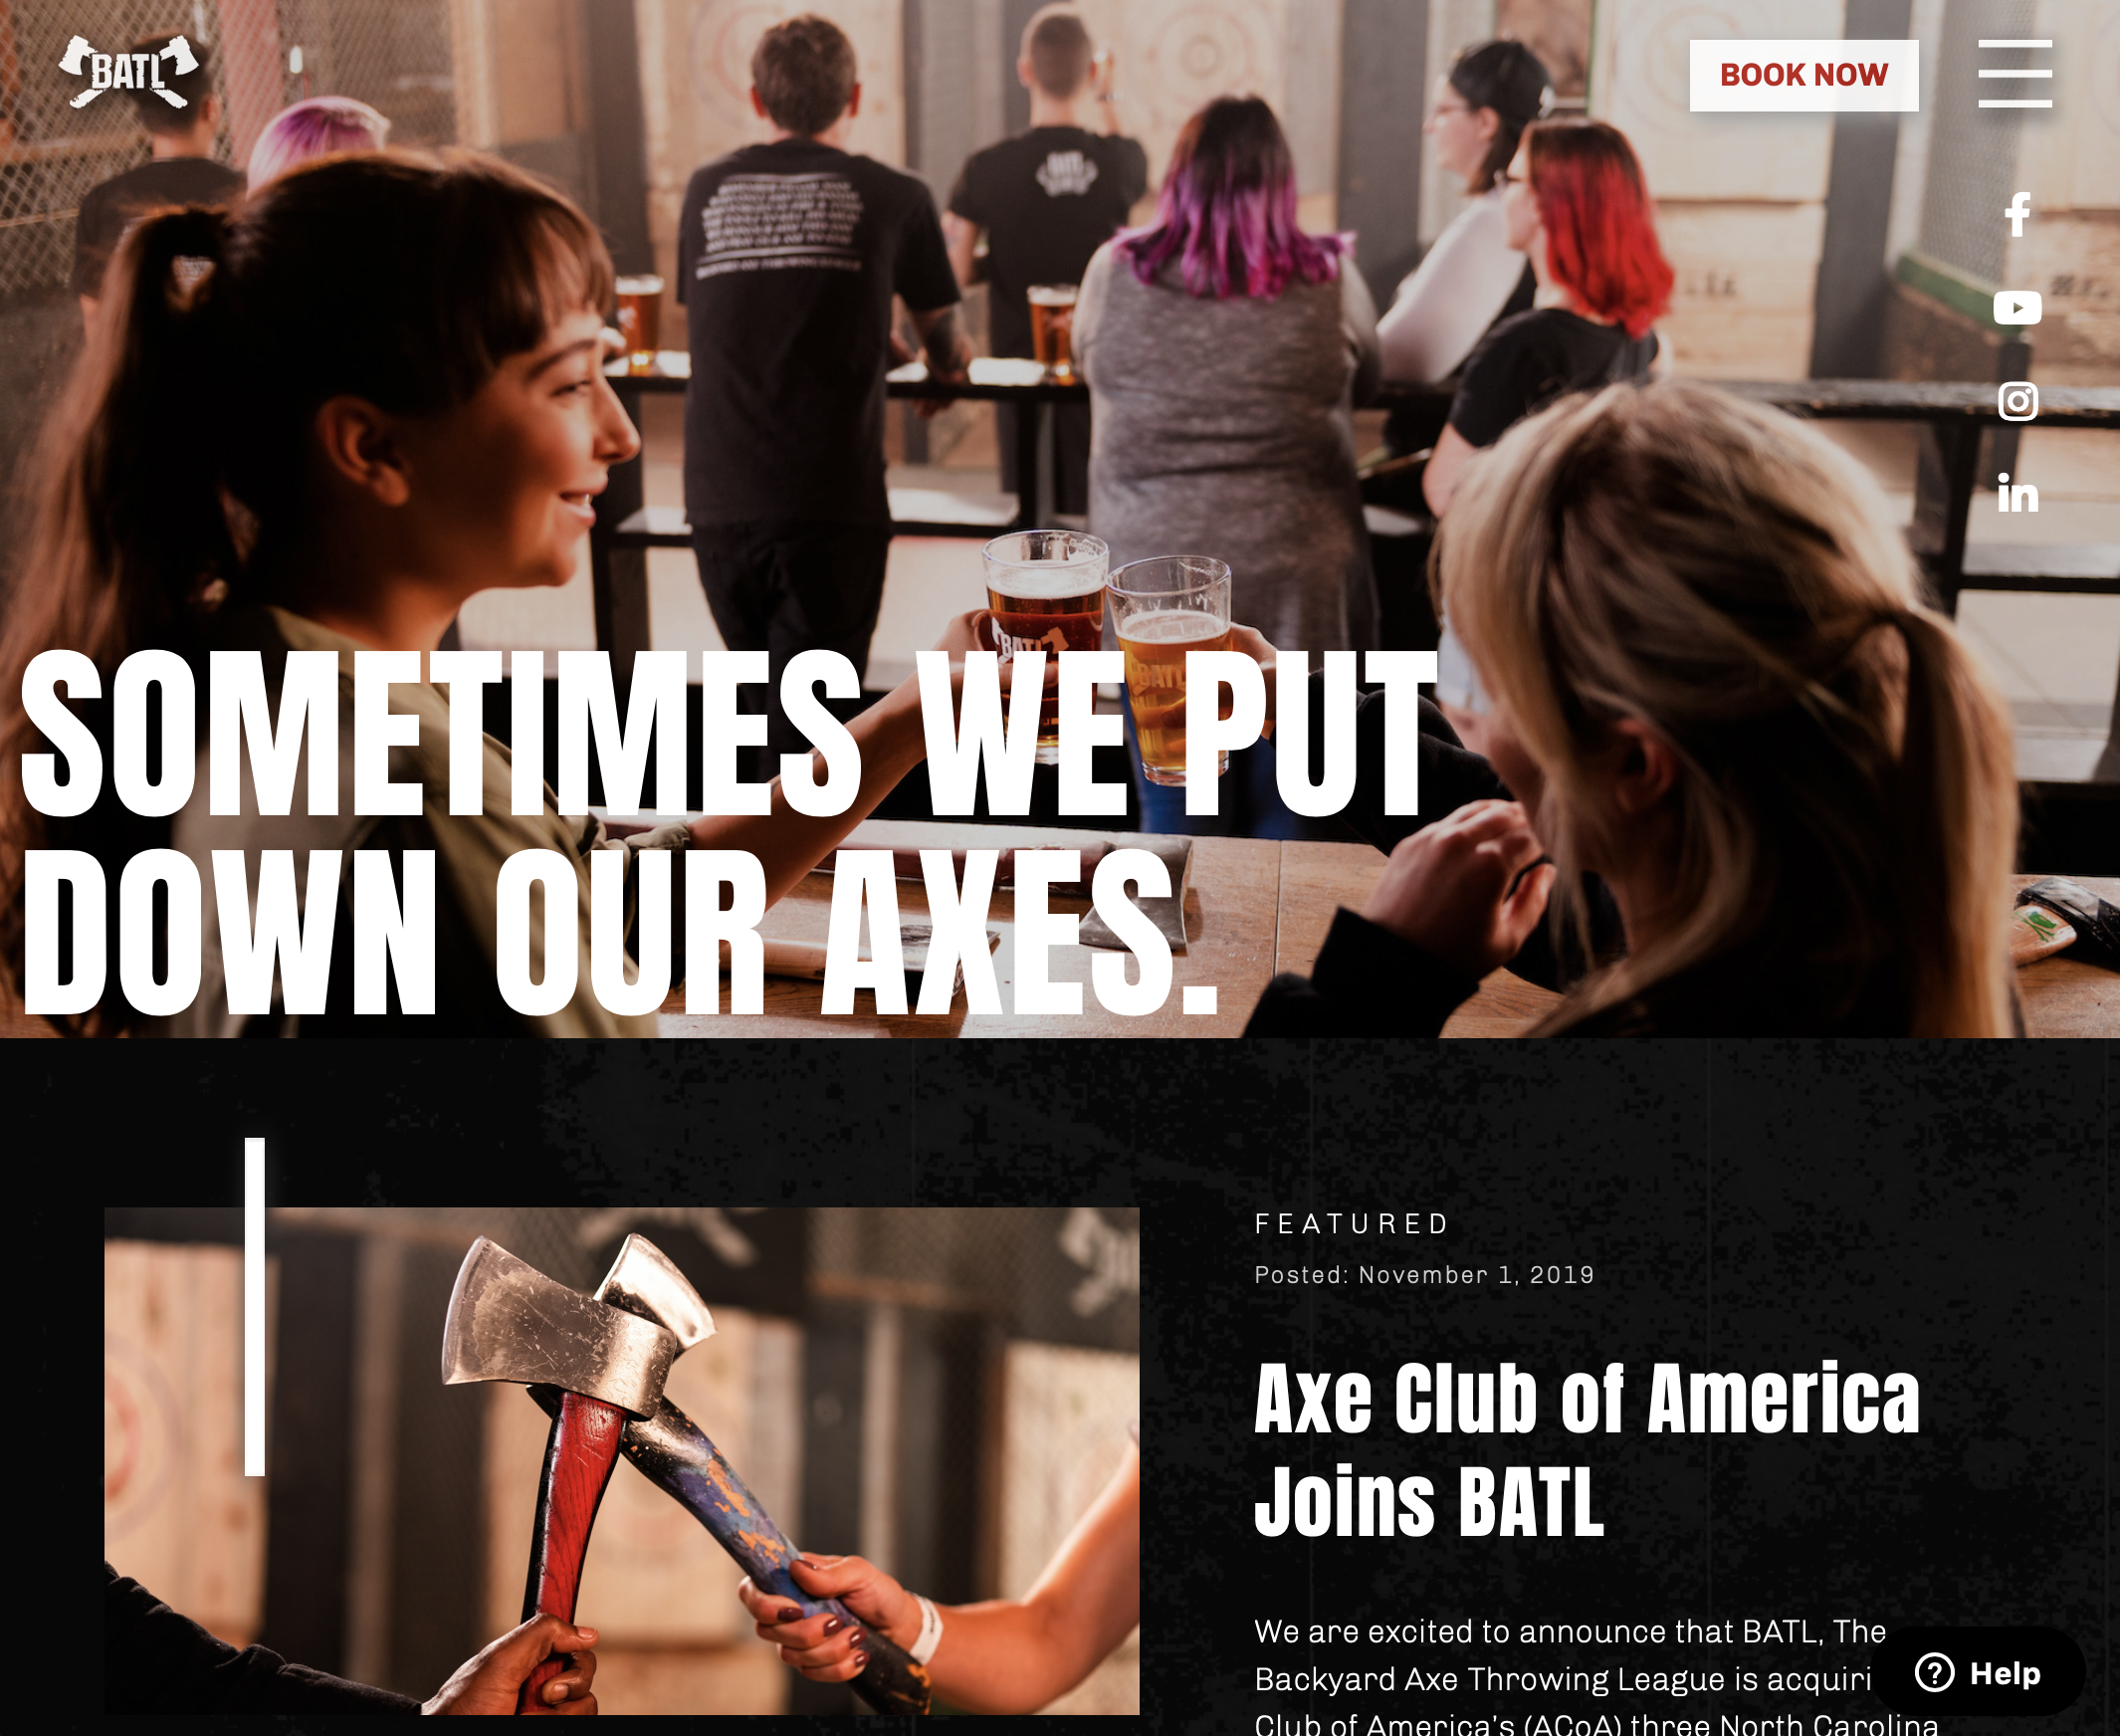
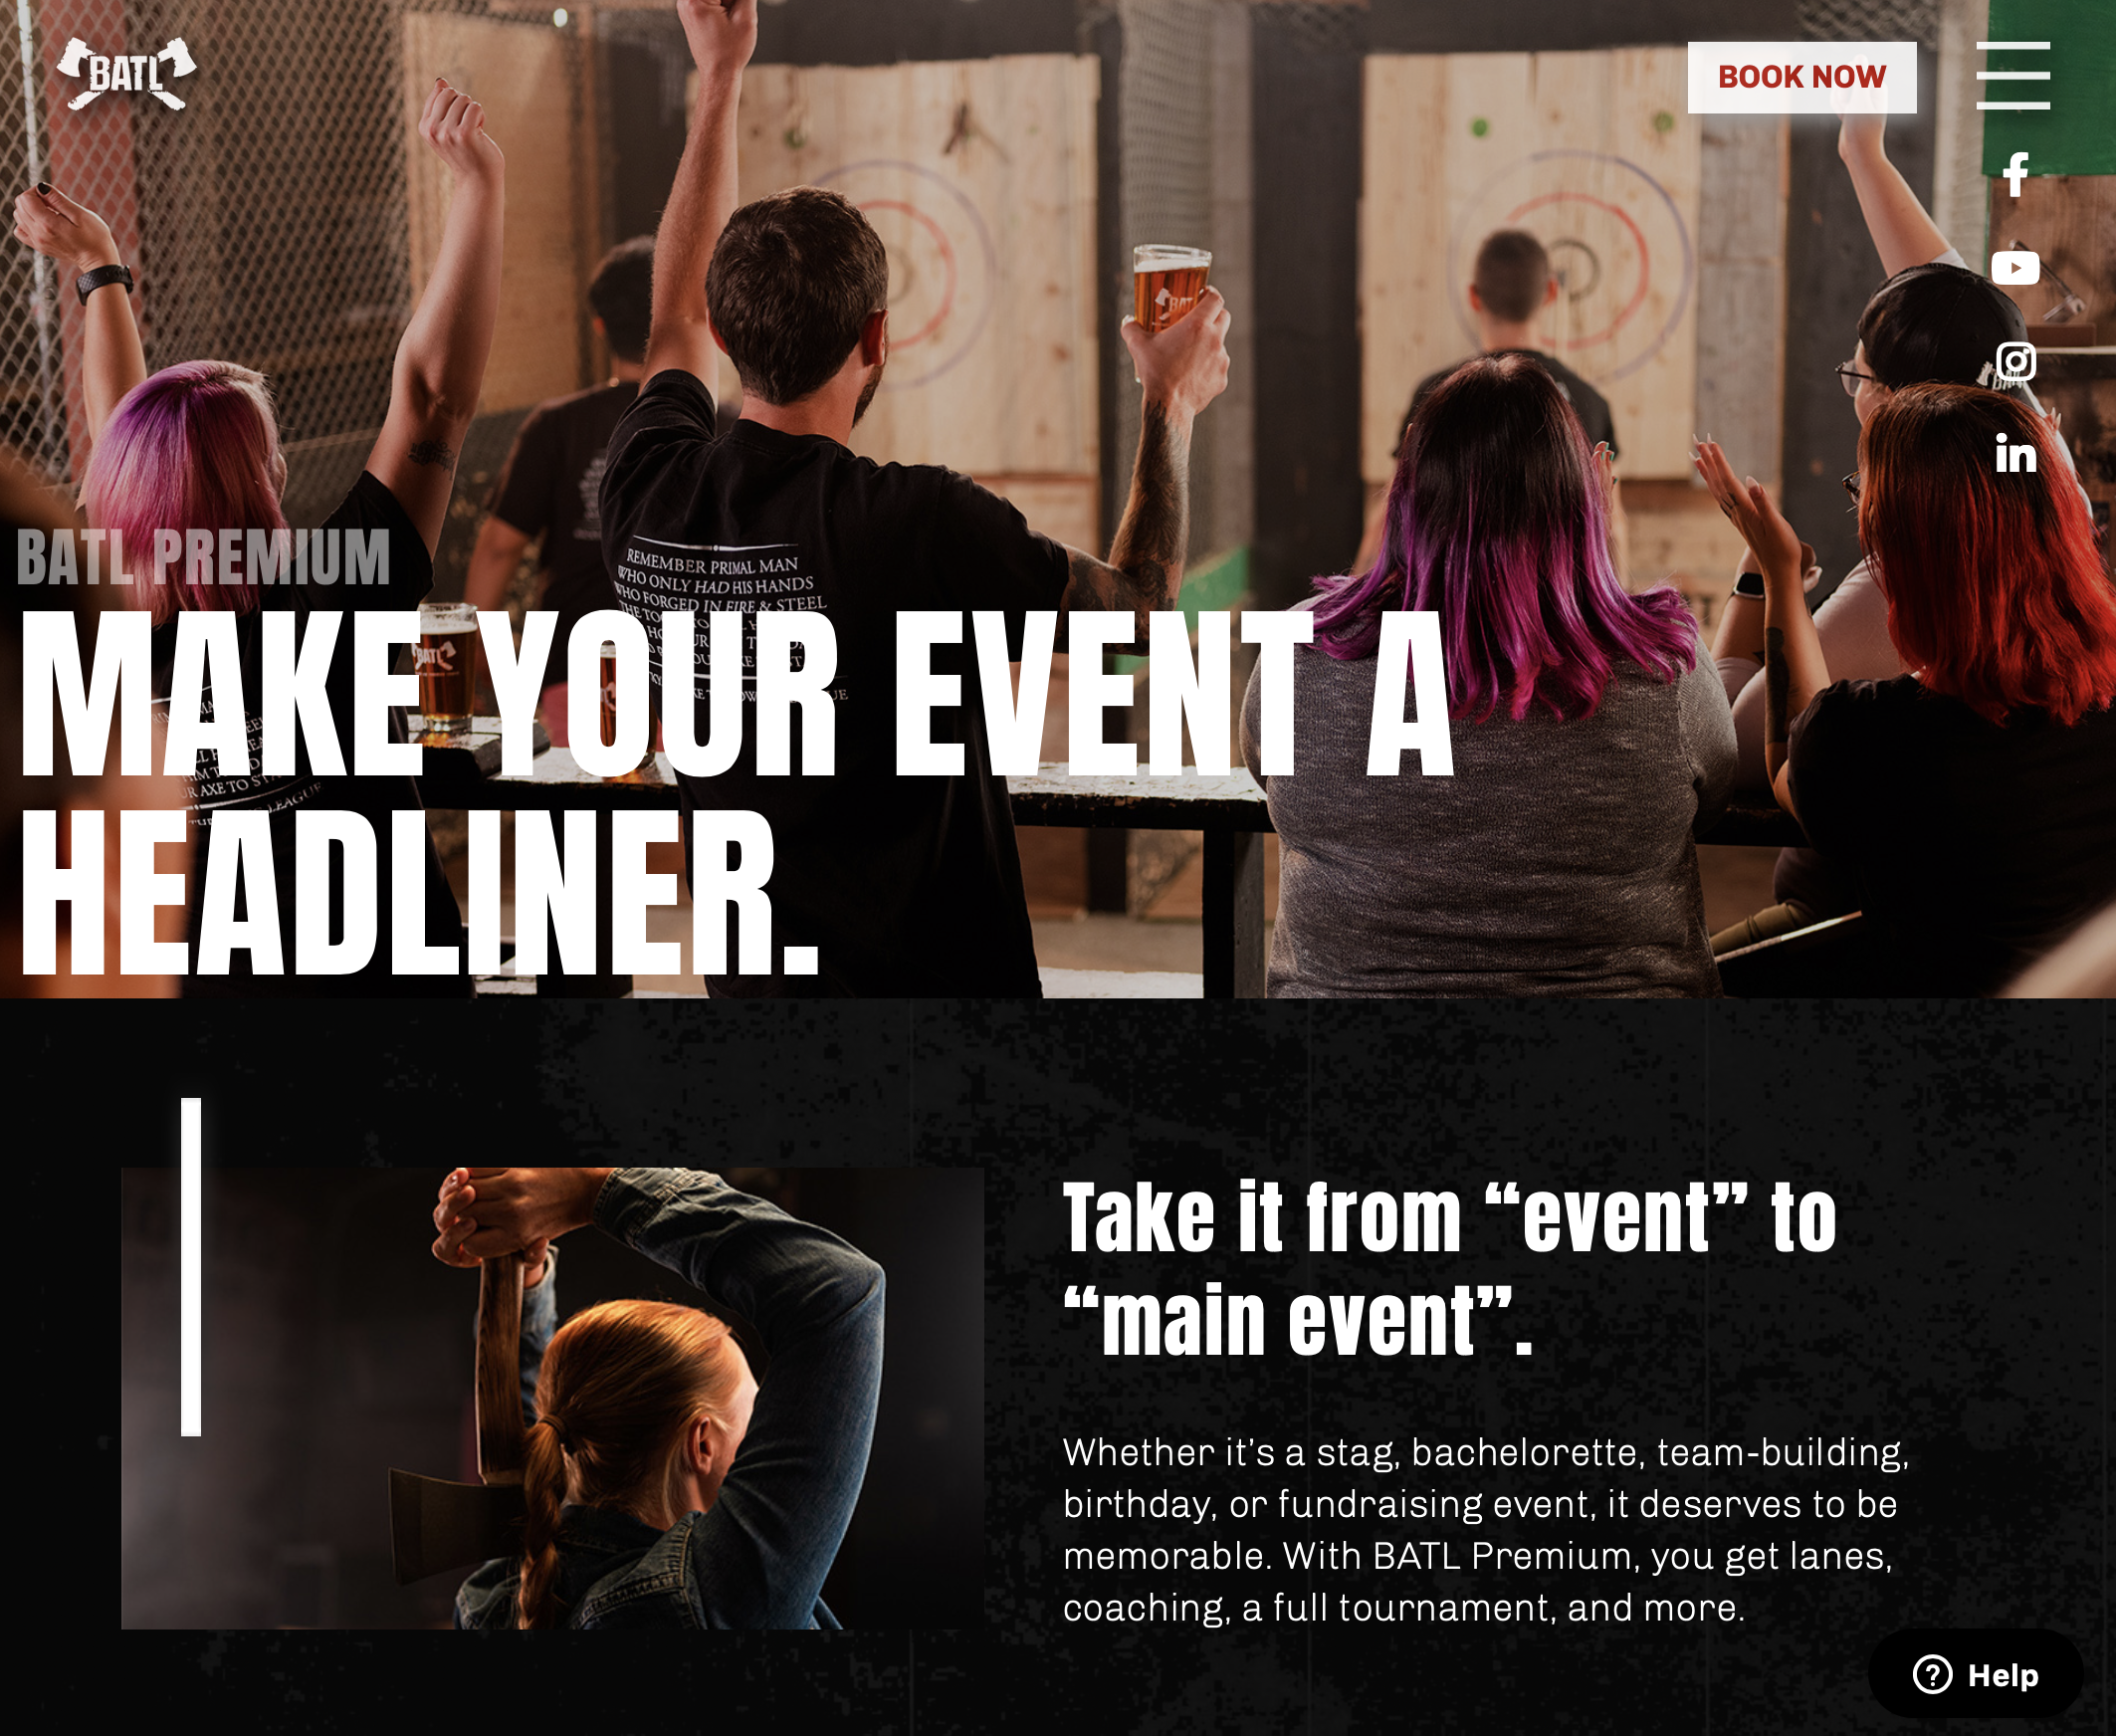
Working along side Abacus & Day Job, we created some real magic for BATL. This was a shoot that took a lot of planning to make it possible. Most of the lighting you see in the upcoming post was a team effort with a mix of constant light and flash. This shoot was split video and photo, I’ll be including some behind the scene shots. To produce something special, it always takes a team. This shoot was no exception. 

batlground_axethrowing_fujifilm.jpg

Have you ever fake celebrated at one point? We do it all the time in our line of work. The countless time I’ve had to ask people I don’t know to cheer is probably ridiculous but it’s part of the job. Making this shot work took some beautiful set styling done by Abacus along with food prep. That food is for display only. Once we were done with it, it was all covered in beer so yeah, display only. 

batlground_axethrowing__food_fujifilm.jpg
batlground_axethrowing_fujifilm.jpg

The BATL project will stand as one go the largest production shoots I’ve done in recent years. Working alongside the wonderful people from Abacus Agency and Day Job was an absolute pleasure. Usually, when video and photo are combined, time management is meticulous. You have two teams competing or time on a scene. It’s not impossible, but the basic respect for each team to create has to be there. The management on this shoot was wonderful, and if all other shoots could go this smooth, I would be a very happy creator. Special shout out to Day Job & Abacus and others to making this shoot one to remember. 

DSCF9781-1.jpg

partial.gallery

This project stands as one of my first video projects ever with dialog this year. I worked closely with Tammy Yiu of Partial for both the planning and editing phase. Working on the project brought to light all the areas I need to work on, starting with the interview process, audio, and not mixing picture profiles when it comes to using two cameras. These are just a few issues I’ve learned over the year after jumping into cinematography. I can also go into detail about the things I’ve learned in Final Cut but now I’m being told that I should use Premier since it’s the industry standard. I always knew you can never know everything, but you try. Perpetual learning is always been a core value for me. Learning new things through trial and error and/or research is the only way to keep up or stay ahead. This was only a stepping stone as I learn more and look at shooting better projects in the future.

Behind the Scenes: Garry Tran

Running alongside Garry Tran, I did my best to keep up to cover his photoshoot. This is a little video covering the shoot from location to location at the best time of the day. During the shoot, we had overcast, rain, and a beautiful sunset to finish off. These changes in lighting conditions made for an interesting shoot both in photo and video.

I chose to do this one using Nikon LOG so I had to run an Atomos Ninja V. I went from the Ronin-S to a SmallRig for handheld shots while having the monitor mounted can be a real challenge. Weight isn’t fun, especially on the Ronin-S but shooting LOG is worth all the effort because it helps retain detail. I always slack a little bit when it comes to blogging but this video was shot in the summer. running around with a loaded Ronin-S gets you sweaty quick. I don’t know about you guys, but when it comes to trying to think of the next creative angle or shot on the go, it just adds to my sweat production. Overall, I had a wonderful time shooting this shoot from behind a camera, but recording motion.

You can check out Garry’s Instagram here: garry.zip

My First 85mm. Nikon nikkor Z 85mm f/1.8 S

Back on par with gear talk. Once you get a couple of photographers and videographers together, it an endless conversation about what we own, what we used to own and what we would like to one day own. This year, for me I managed to rebuild my kit to go fully mirrorless. I took a chance on the new Nikon Z6 at the end of last year and soon after, I dropped the Nikon D4 for another Z6. I know the cameras don’t look like much when you compare them to their parents, but it’s better in every way. Along with smaller more flexible cameras came the new series of lenses that deliver on their promises to be Better and sharper then their f-mount ancestors.

Nikkor_85mm_z_s_f1.8_nikon_z6

The new Nikkor Z 85mm f/1.8 S has been a masterpiece on the couple of jobs I’ve worked with it. The weight, the sharpness and bokeh has been outstanding. The 5-axis stabilization makes for smooth experience when compared to DSLRs. One of the best features of shooting mirrorless, apart from the size is seeing is believing. By that, when you look at your monitor and set your exposure, what you see is what you get. Nailing your exposure right out of camera is a huge time saver.

Nikkor_85mm_z_s_f1.8_nikon_z6

Because what you see is what you get, I have begun using more content light over slash in darker situations. Flash still has its roll in my work, especially in studio. In studio, it can be a bit of a challenge seeing when you have the aperture stopped down, but there’s a setting in camera to help with those situations. The image above is shot with a Aputure 300D MKii with a small octabank on it camera left. The best thing about constant light is seeing exactly what the photo will look like between shots. I find that you can also balance your lighting with ambient light to either build interest or highlight your subject.

Nikkor_85mm_z_s_f1.8_nikon_z6

I don’t usually bad mouth my Fujifilm GFX50S because its a great camera that produces amazing photos but, that continuous focus option should just not exist. The most simple tracking focus tasks end up failing and you are left with 1 GB of out of focus shots. The Nikon Z6 has this down pat, like all my past DSLRs. Being able to track, even at long focal lens is a godsend. The new S lenses from Nikon are quick to focus an for video purposes, super quiet. Nikon did a great job with the new 85mm f/1.8 S and I can’t wait for the what’s coming next year.