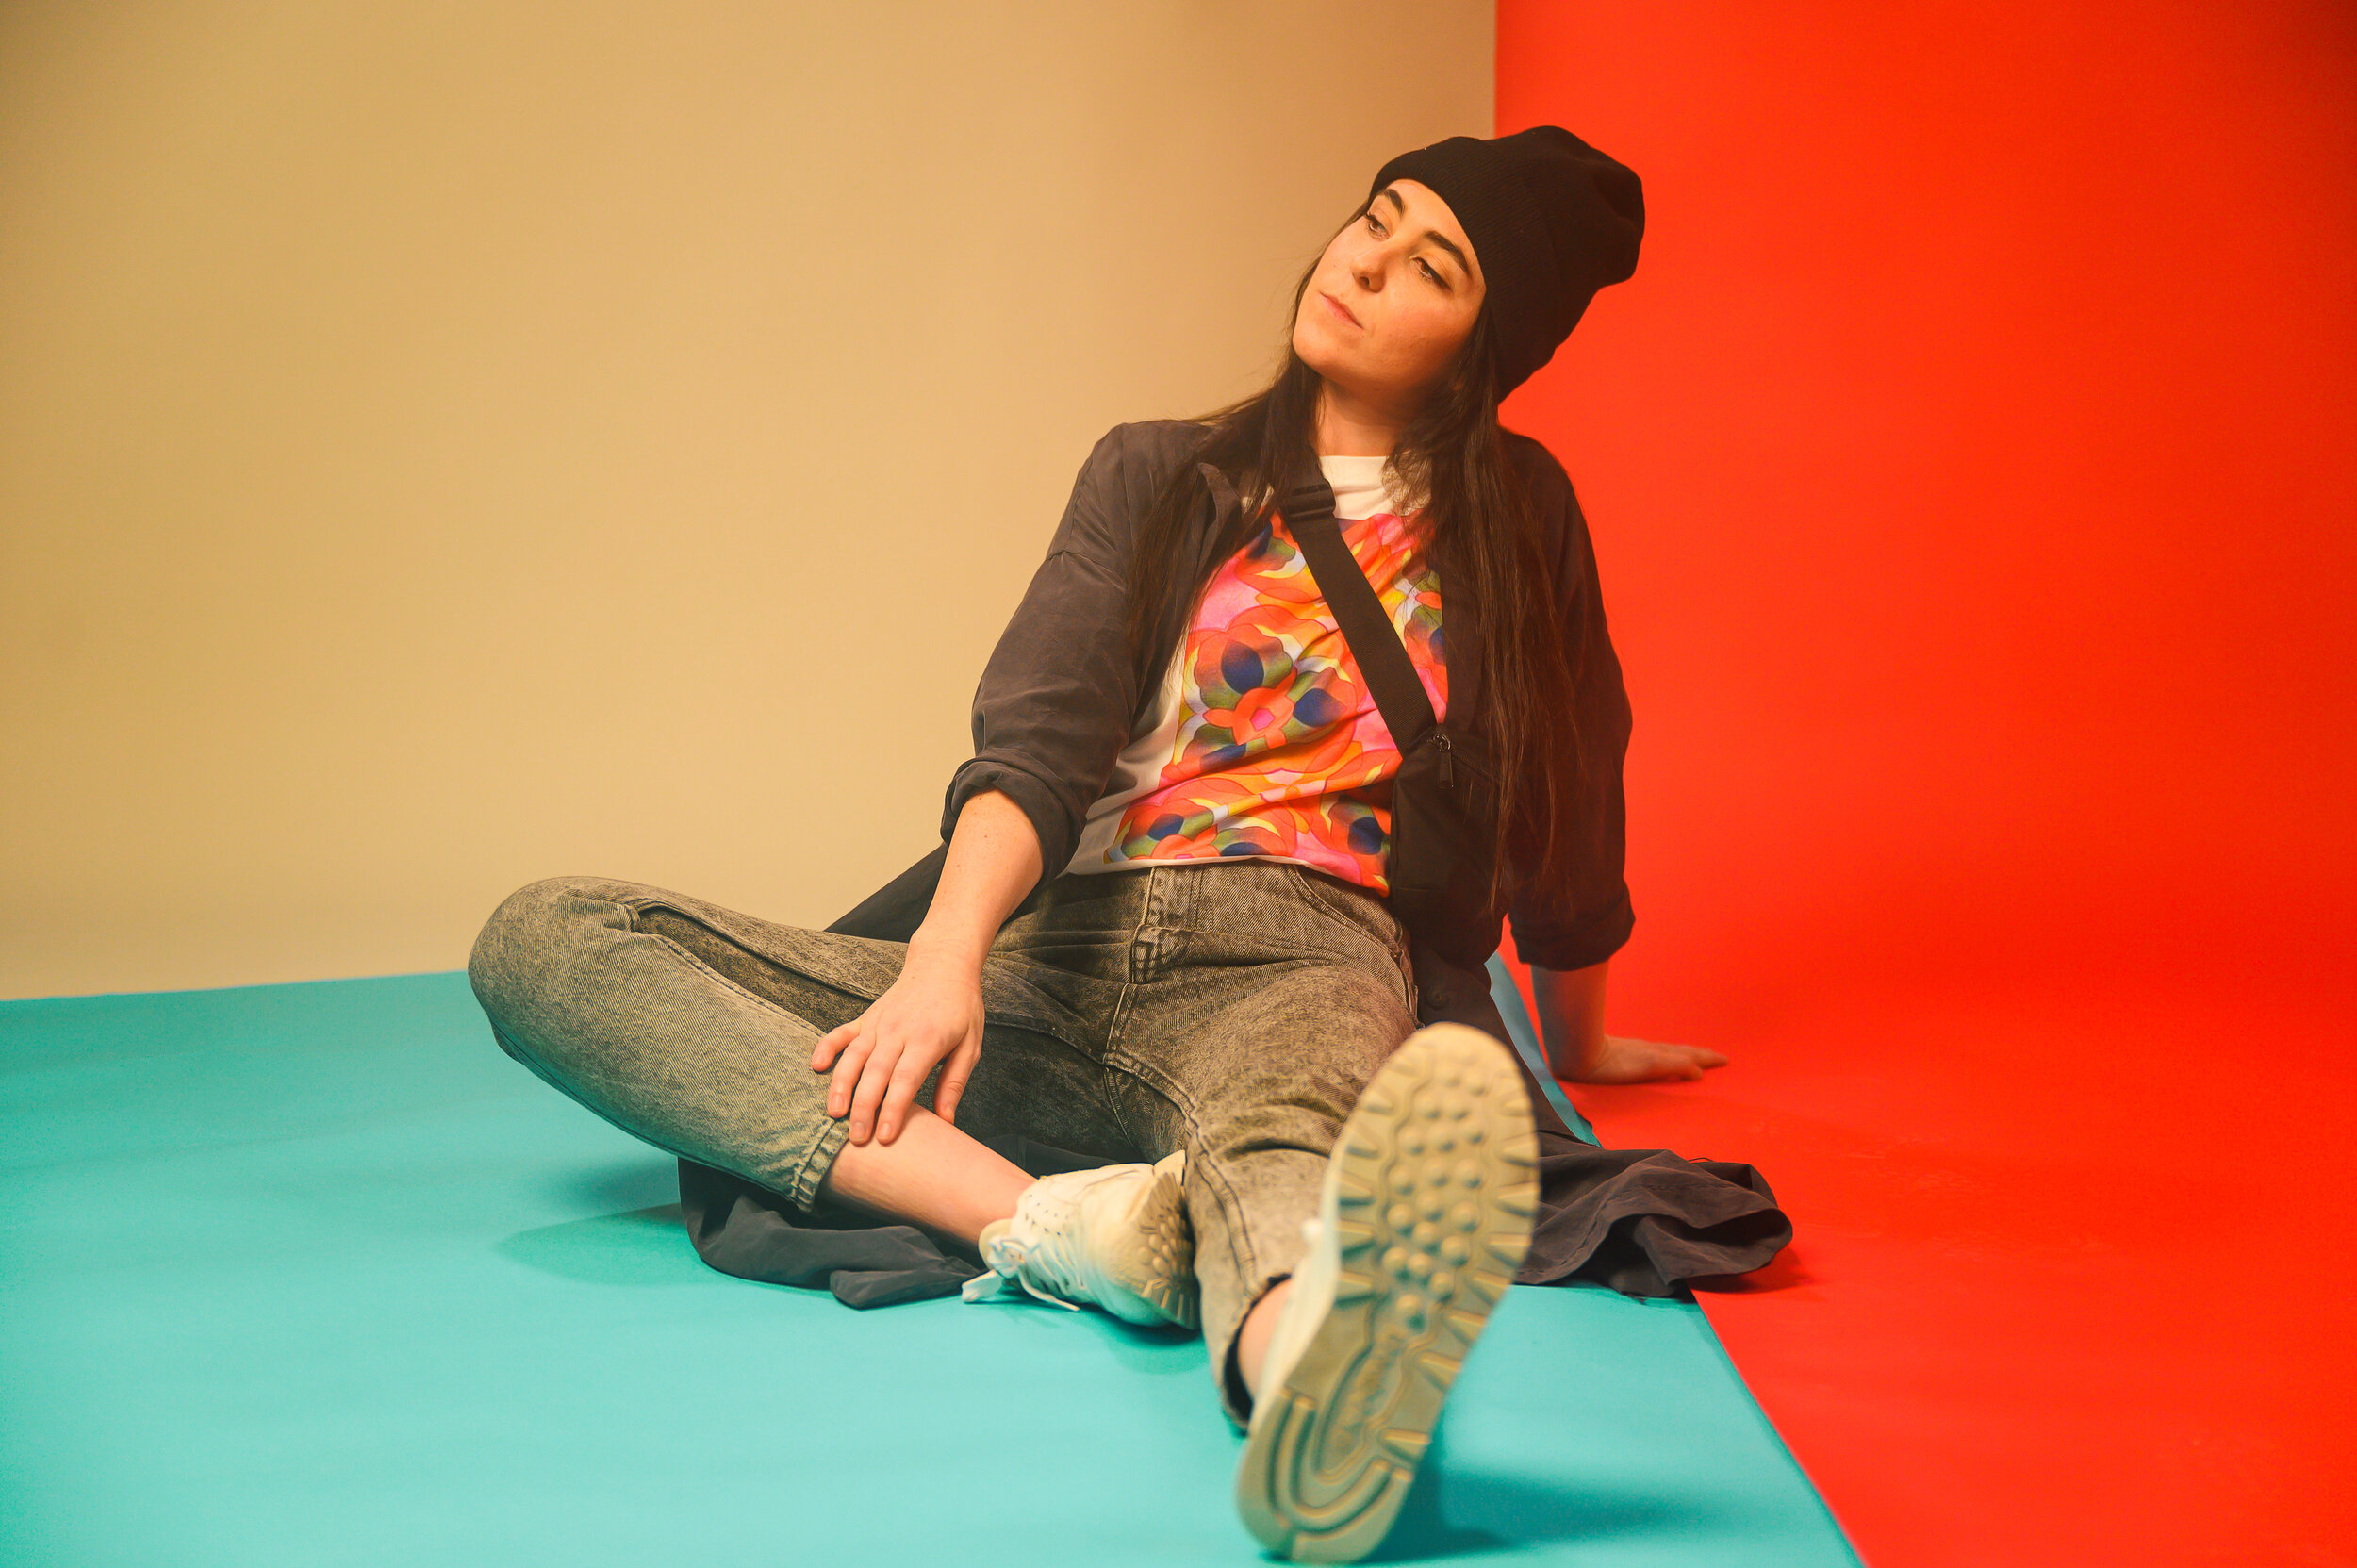
Colors. This was the basis of this shoot. I started with setting up the multiple colored backdrops and moved onto gelling the constant lights. Working with a googled color wheel, I switched out gel colors until it seemed pleasing to the eye. Sometimes it a trial and error process before you land on the right combination. A big help is the use of constant lights. You might need to shoot at a higher ISO, but seeing that you get versus waiting to shoot a photo with flash helps.
Multiple Exposures - ACP Customs
One of the first realizations when it comes to lighting cars and motorcycles is size. These subjects are way larger than a person. The only way to combat this issue is either to use many lights or the much cheaper way, light painting. Combining multiple exposures really helps create a more balanced photo.
Making sure everything is placed the way you like it by taking the time to compose the shot. Cementing that tripod in place is key. Slight shifts of the camera, even when hitting the shutter button can spell hell later in Photoshop. Having to alight and free transform until everything lines up can be tough. Prevent this issue by using a remote trigger.
Once you are happy with your composition, leave everything as is. When it comes to workflow, thinking ahead will save you a ton of time. As I lite the bike by section, I was mindful of the key light position. Lighting the bike completely would result in a flat image.
Fujifilm GFX50s + GF 63mm f/2.8 merged Pano
In post-production, the best thing about having multiple layers is the control. You now have full control over how bright any section of the bike can be. Fully lighting the bike wouldn't be as interesting, but this is subjective. The first image consists of about 6 images combined together. It's a fun test of my computer power, where 6 images stacked is a whopping 660MB o,r a whole bootleg movie from Kazaa. And that's just the working files. In the end, the extra effort placed on lighting and combining allows you to create a tailored image.
Product Work
Shooting products are honestly one of harder subjects to shoot. Once you decide on the background and the base, it honestly becomes a game of inches with lighting. I usually tend to work with large modifiers that produce soft light, but when it comes to product, the opposite is needed. Hard light tends to produce the best gradients. To achieve gradients, grids are needed. Almost all lights used were grided. A tight grid was used to highlight the company name on the lid. I cannot stress the importance of using a modeling light, its the only ay to see what you will if you are placing the light
Myodetox + Nike
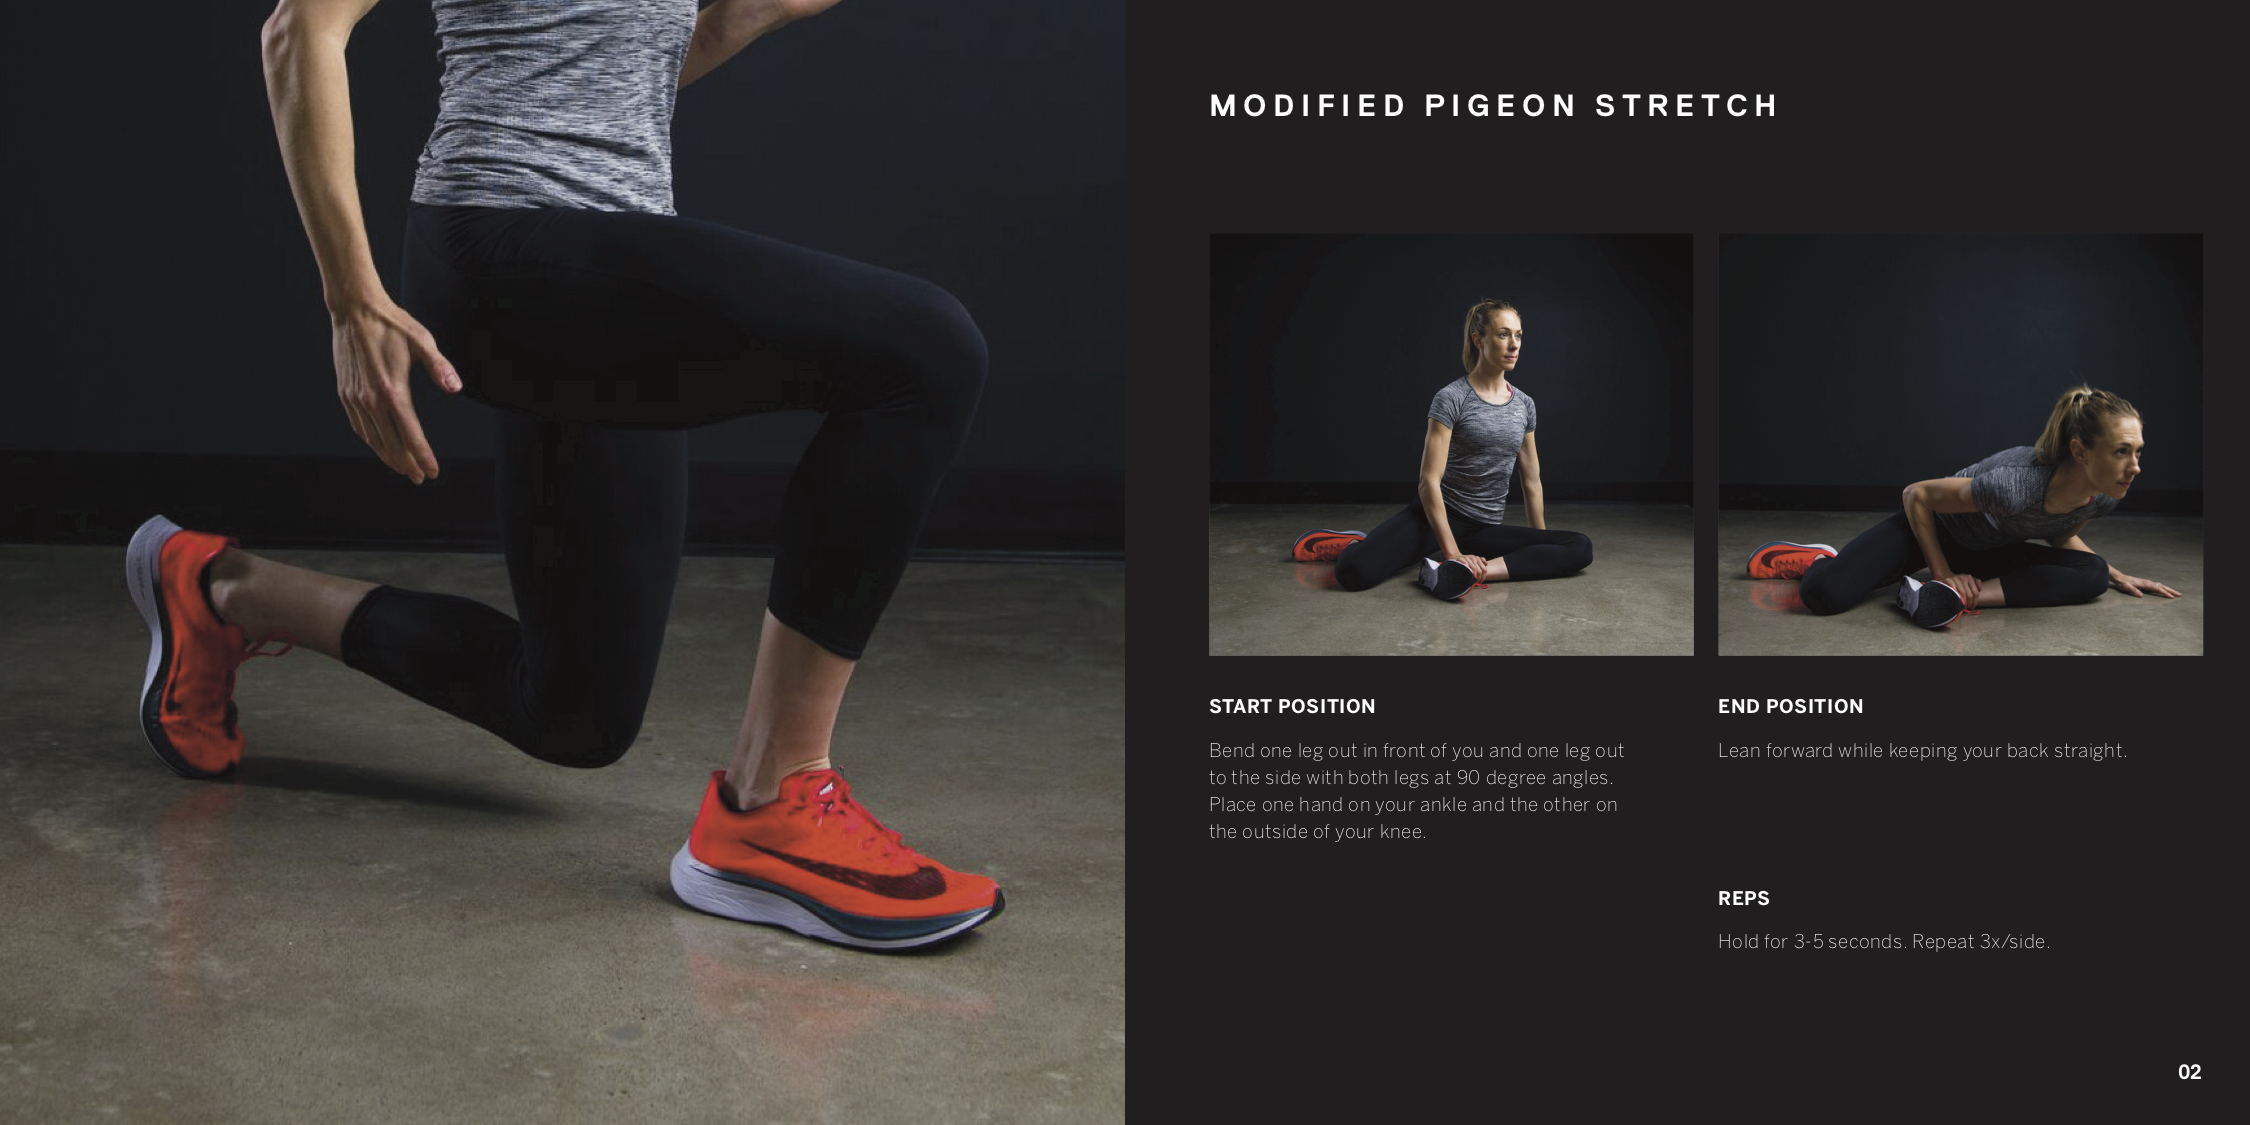
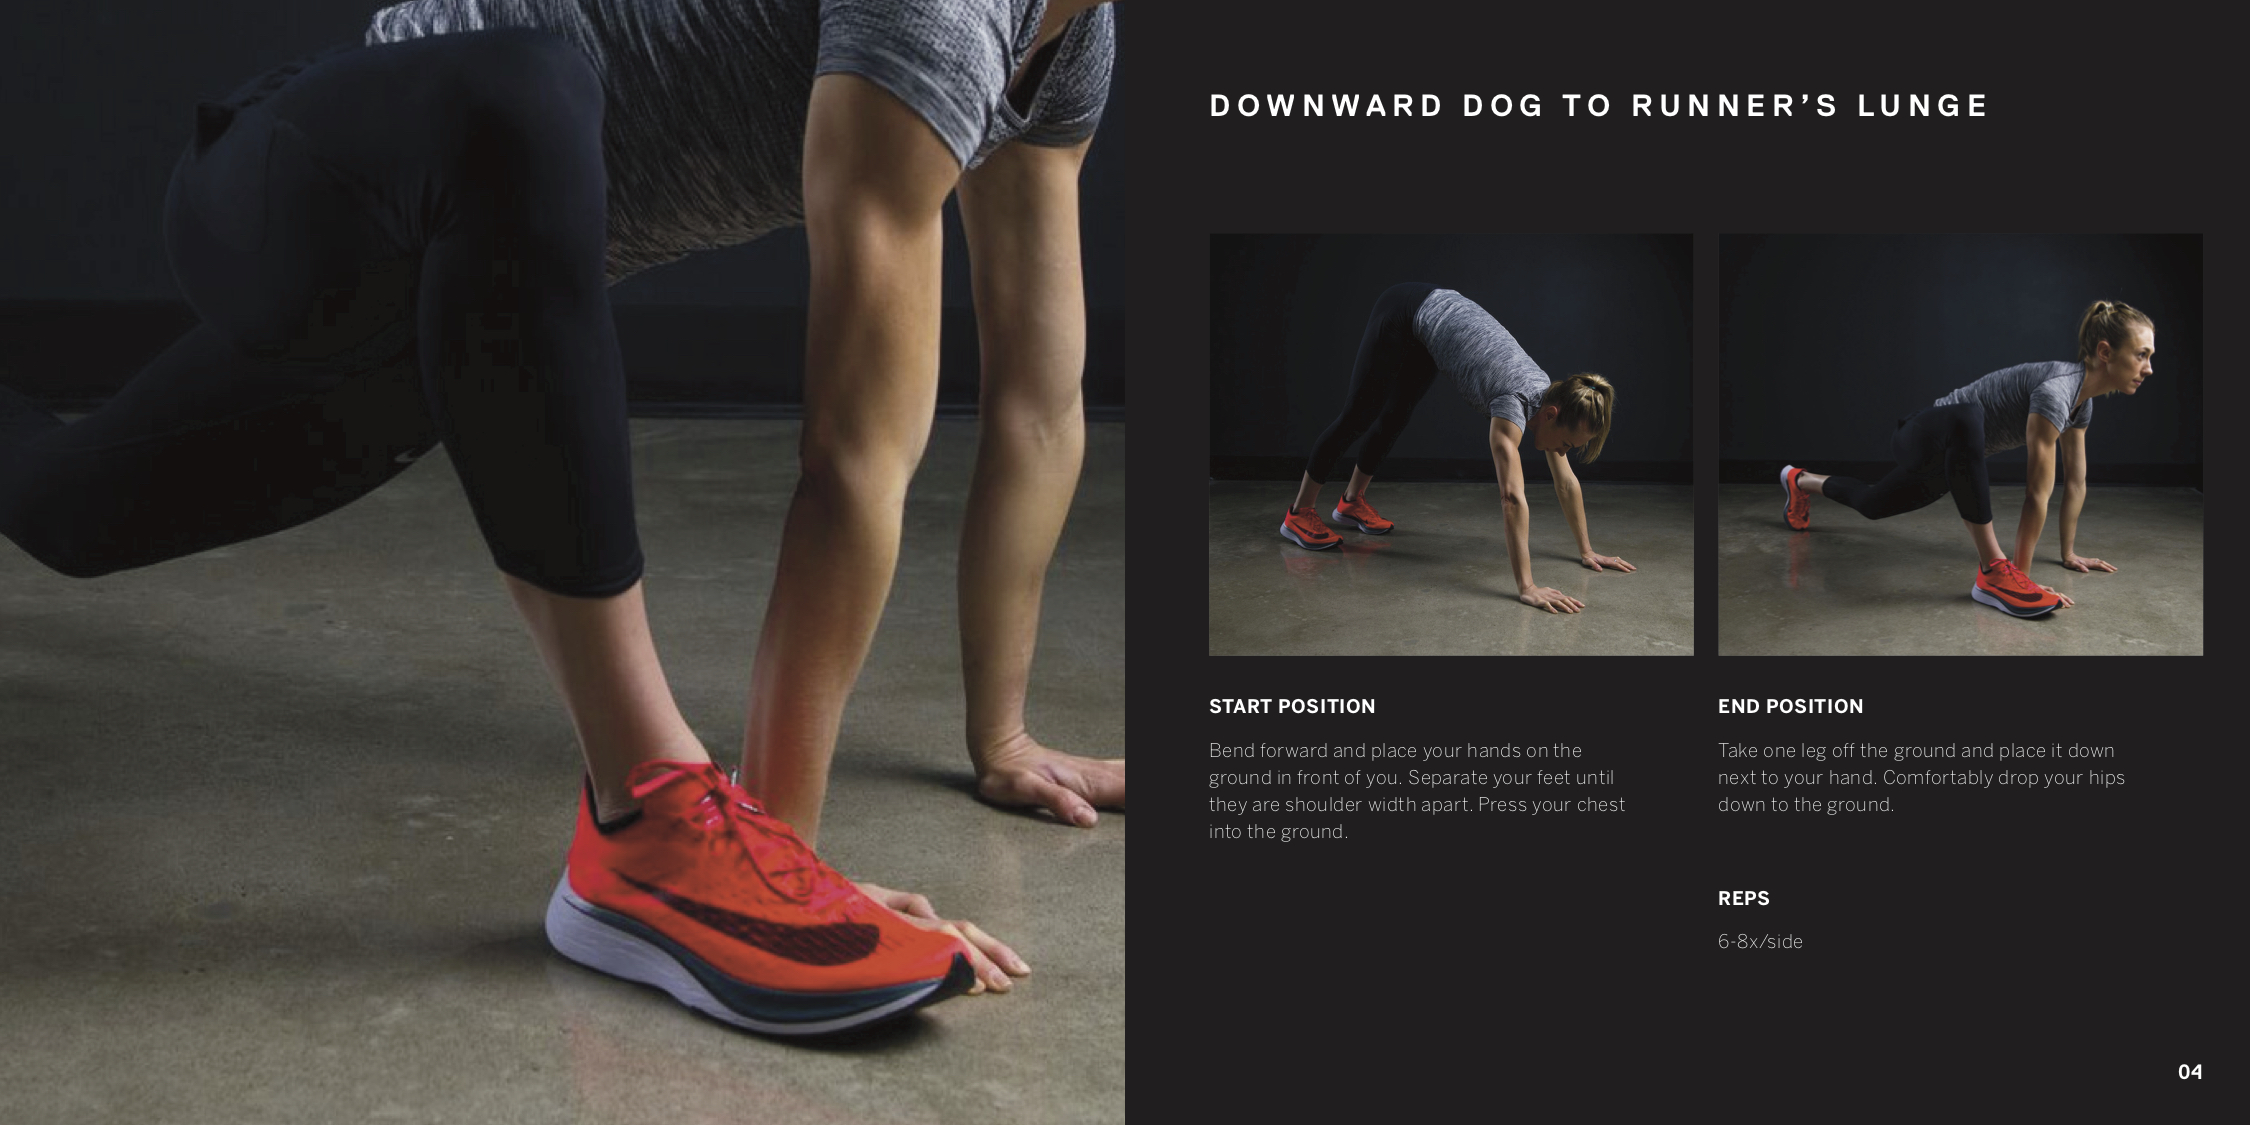
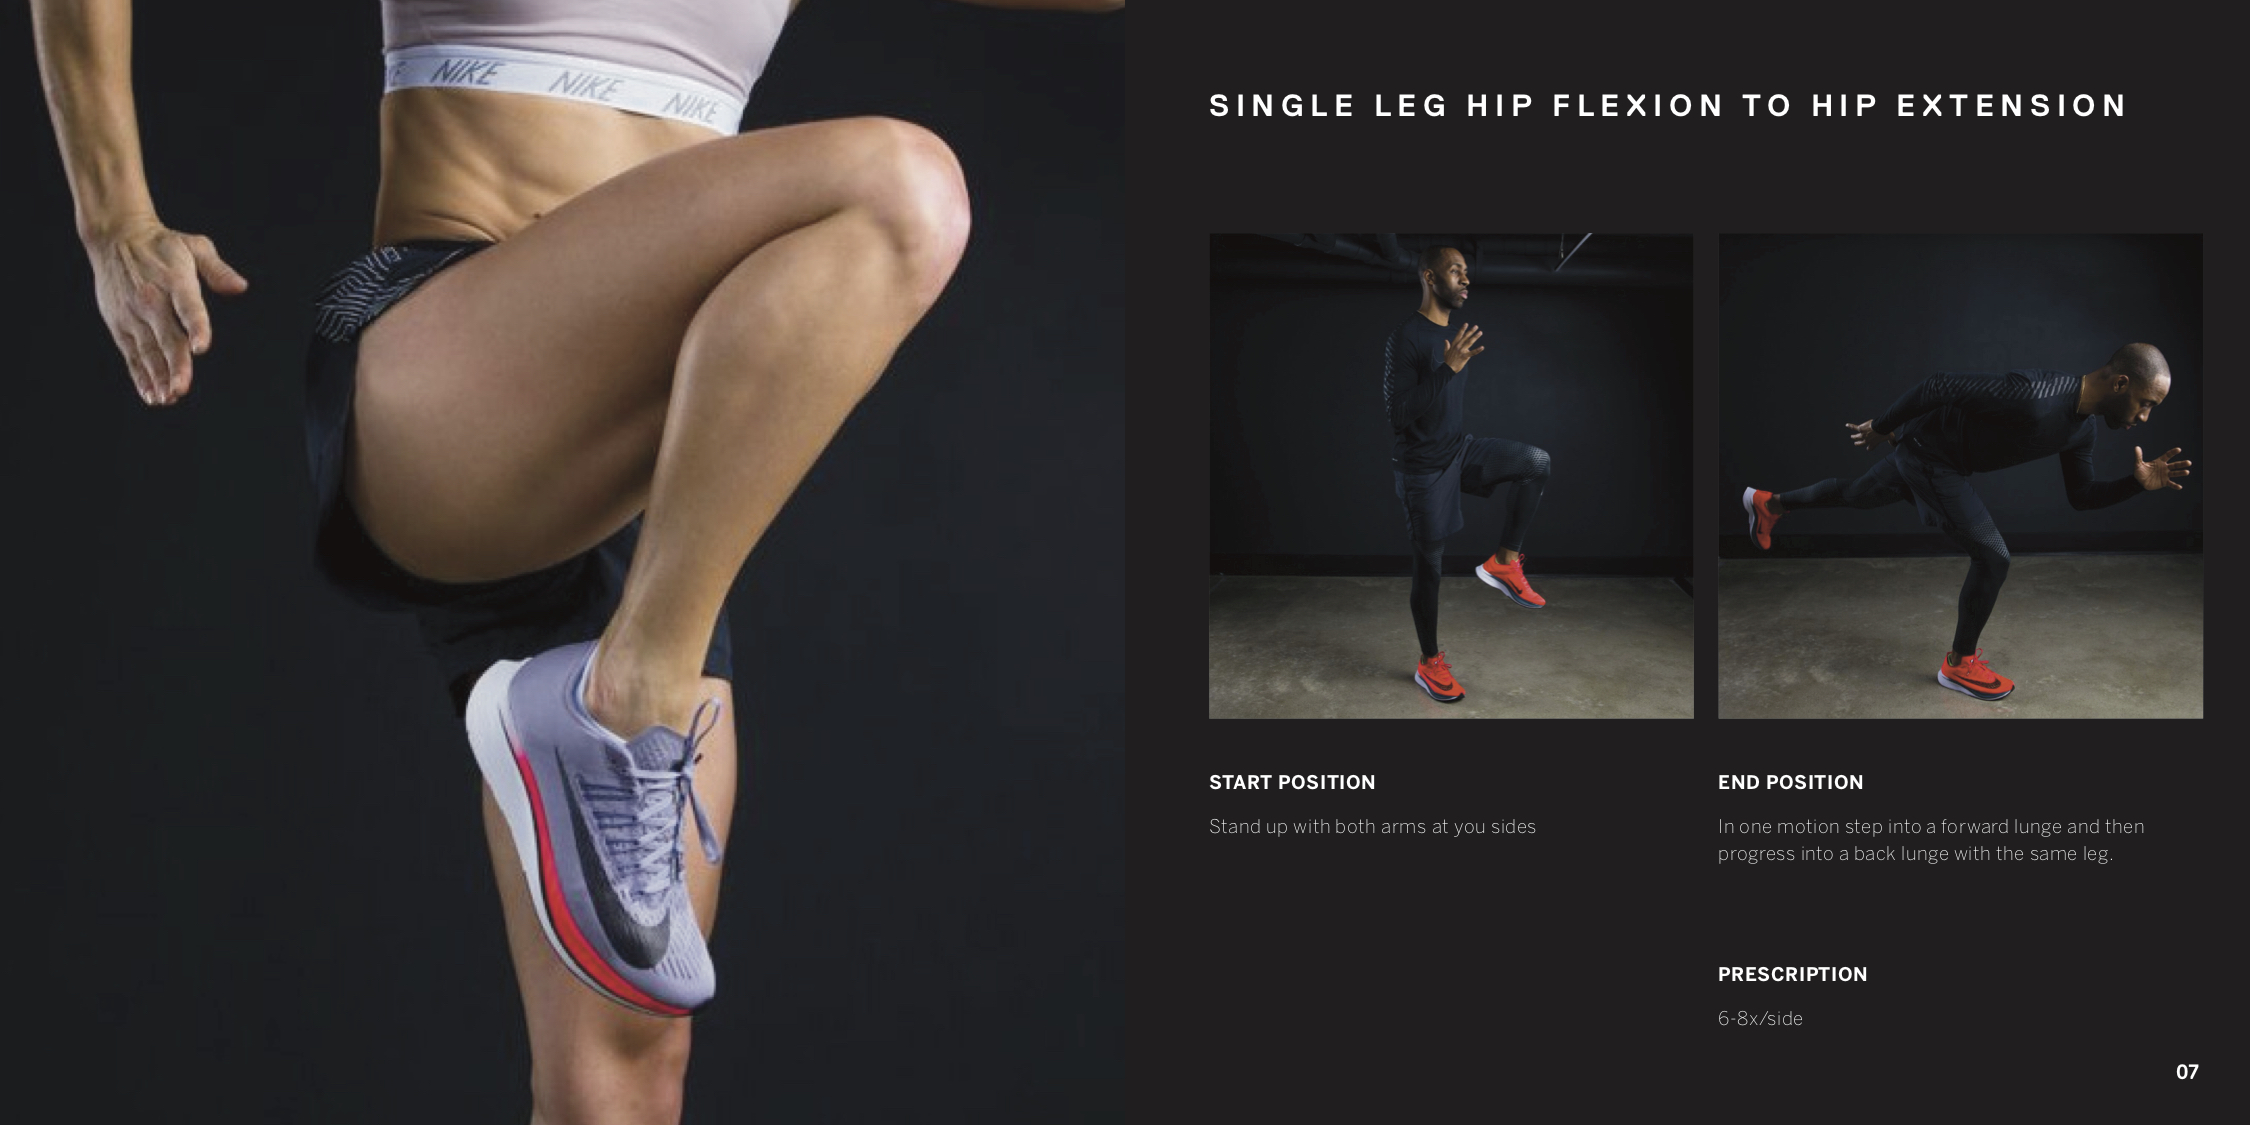
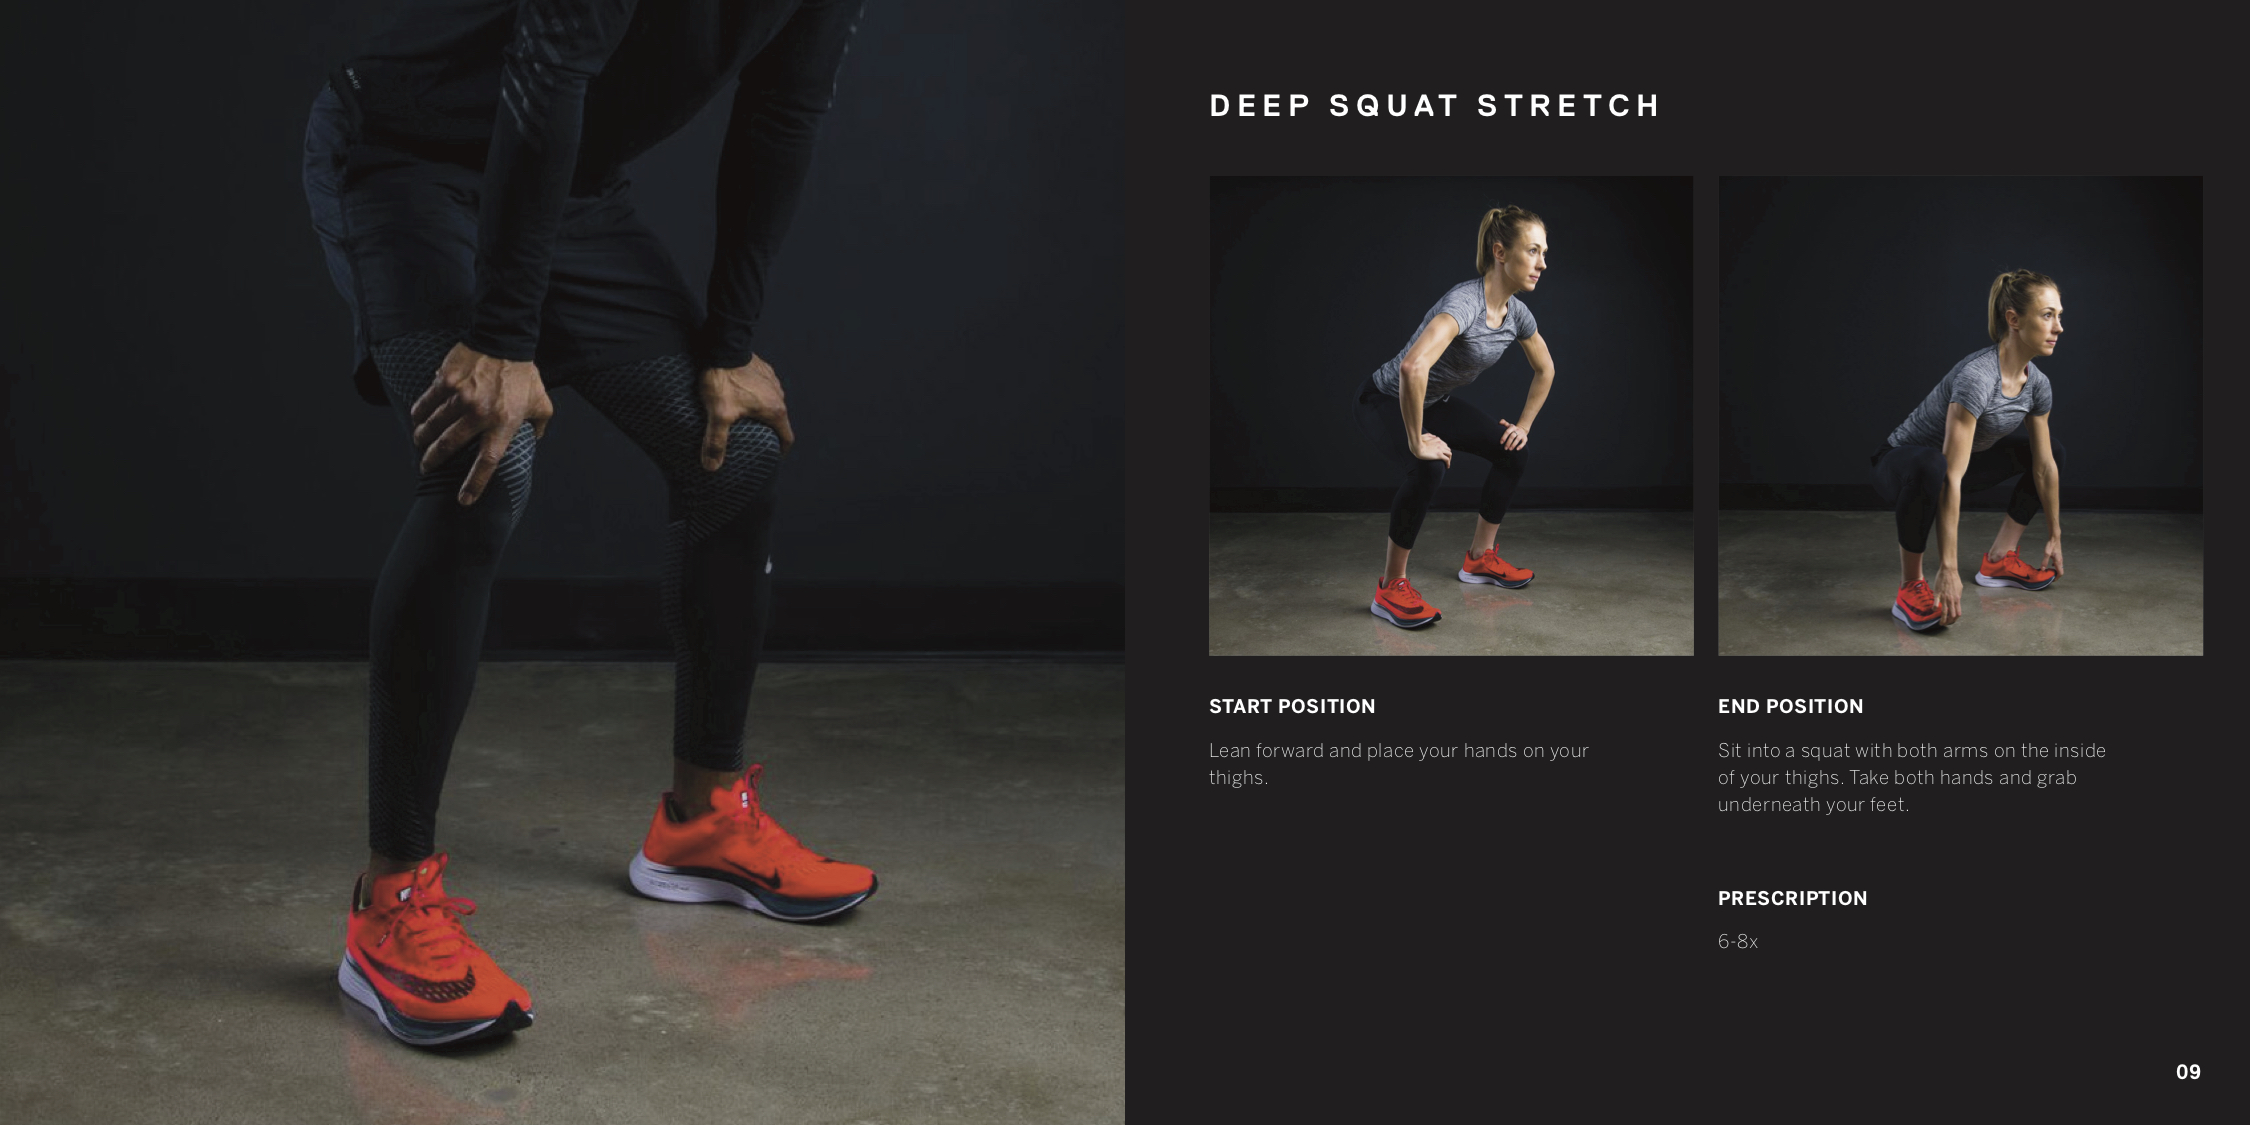
When it comes to last minute shoots and tight deadlines, I usually get booked. All Mike had to say was its a collab with Nike and I'm all for it. Since we had minimal time, we shot at one of Myodetox's clinics. When it comes to shooting in small spaces, light leaks and spill pose their challenges. Everything that can be gridded was. Light spilling onto the background would highlight all the unevenness and take away from the dramatic feel we were chasing.
IG: @alya_myshka
One of the major differences between this shoot and others was the amount of pre-planning. We had Mike buy outfits. All the shoes were brand new and color matching came into scope for every outfit. The effort pays off ten fold. I am a big believer in having people play to their strengths.
IG: @k8beast
The end final medium for these photos was print. A booklet that would be handed out before a run in Miami, filled with stretches that would help participants minimize injury. Because it would be print, colors needed to be on point. The use of a ColorChecker Passport was a must.
IG: @drkev_hybrid
Thanks for looking. Now to see calculate when I can go medium format.
www.Partial.Gallery
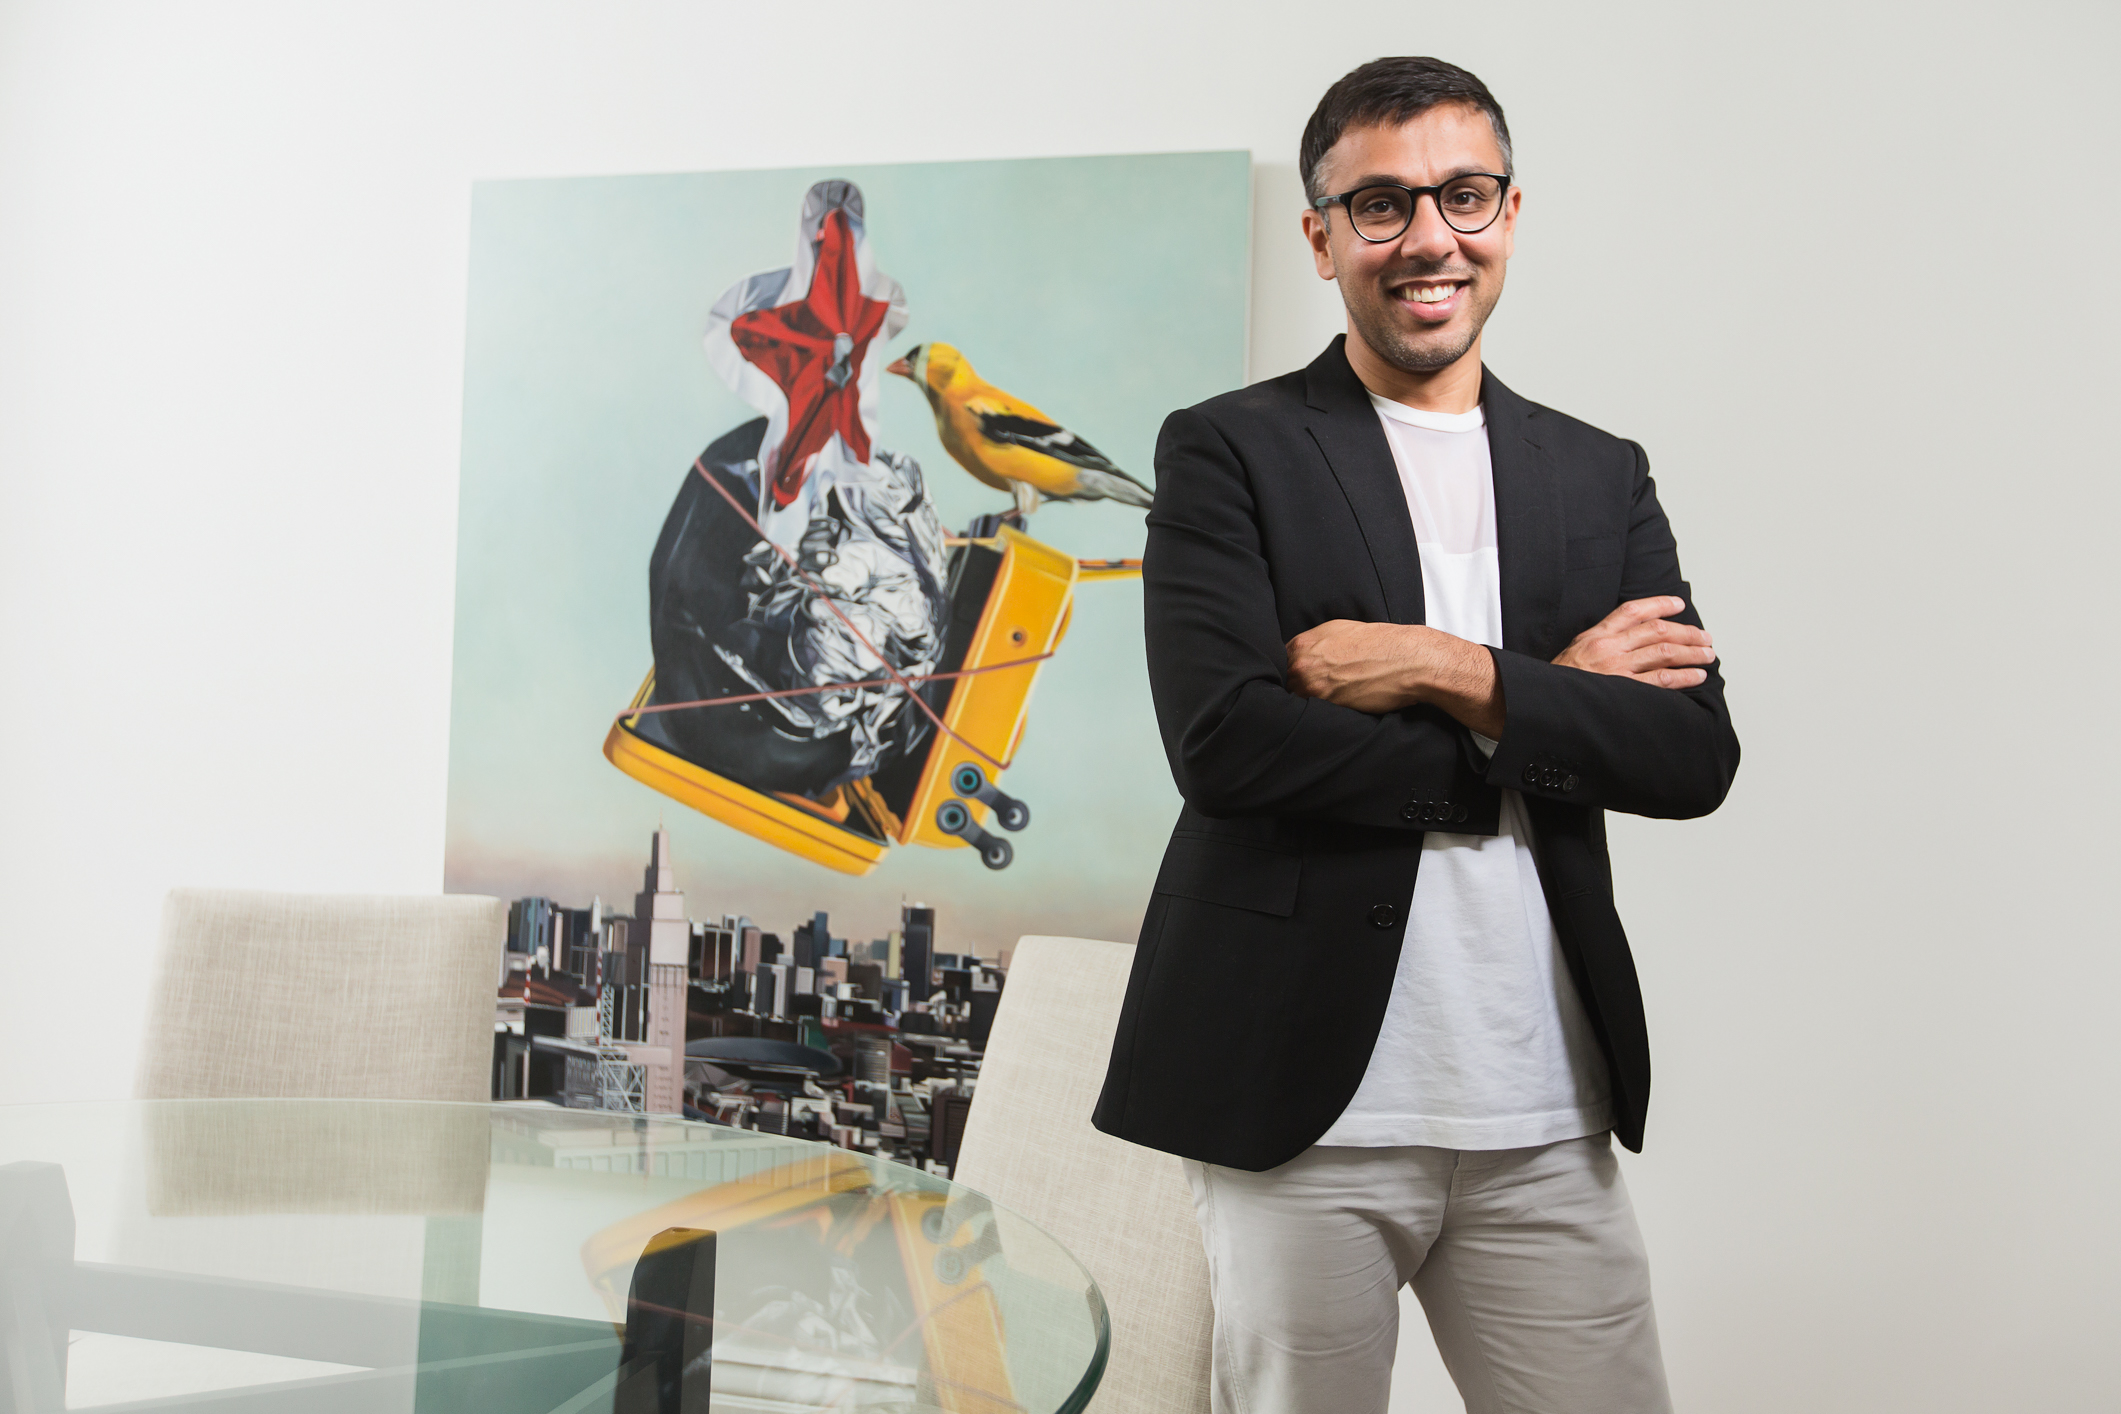
Partial.gallery is an art rental service for both residential and commercial use. I had the pleasure to capture some of the clients who proudly display their choice of art in their homes and places of work.
This day was a fun one, with up to five locations on a day. I absolutely love shooting everyday people. One thing I have found to be true is that when shooting working people, they are the most comfortable in familiar environments. This being their home, or work. It helps tremendously. When I'm on a white seamless, I can assimilate with my clients who shoot in video. When shooting on location, I am in bliss, unless studio is required and working with an experienced model.
This day, the challenge of balancing ambient light in tight and large spaces was welcomed. I will admit, some items may have been moved to build a more powerful photo.
Camera: Canon 5D MKIII Lenses: Canon 16-35mm f/2.8 & Canon 50mm f/1.2 Flash: Profoto B1 Modifiers: Profoto Zoom Reflector, Softlight Reflector, Elinchrom Octabank 69", Stripbank
Look Up
It has been years since going on a street shoot. Street photography used to be my go to experiment with new techniques which I have read about. Everything from slow shutter panning shots to high DOF photos using a tripod to burn in a wide scene. I was asked to go shoot some architecture for Instagram and these were the few images created from a one hour walk around the financial district in Toronto.
I have to admit, it was a pleasure to go out and street shoot again. It was a bi-weekly occurrence when I was learning techniques, and it should continue. There is always more to learn and more weaknesses to strengthen.
Camera: Nikon D800 Lenses: Nikon 24-70mm f/2.8G ED & Nikon 50mm f/1.8G
Nikon D800 + Nikon 24-70mm f/2.8 at 31mm
Nikon D800 + Nikon 24-70mm f/2.8 at 24mm
Nikon D800 + Nikon 24-70mm f/2.8 at 70mm
Nikon D800 + Nikon 24-70mm f/2.8 at 70mm
Loding
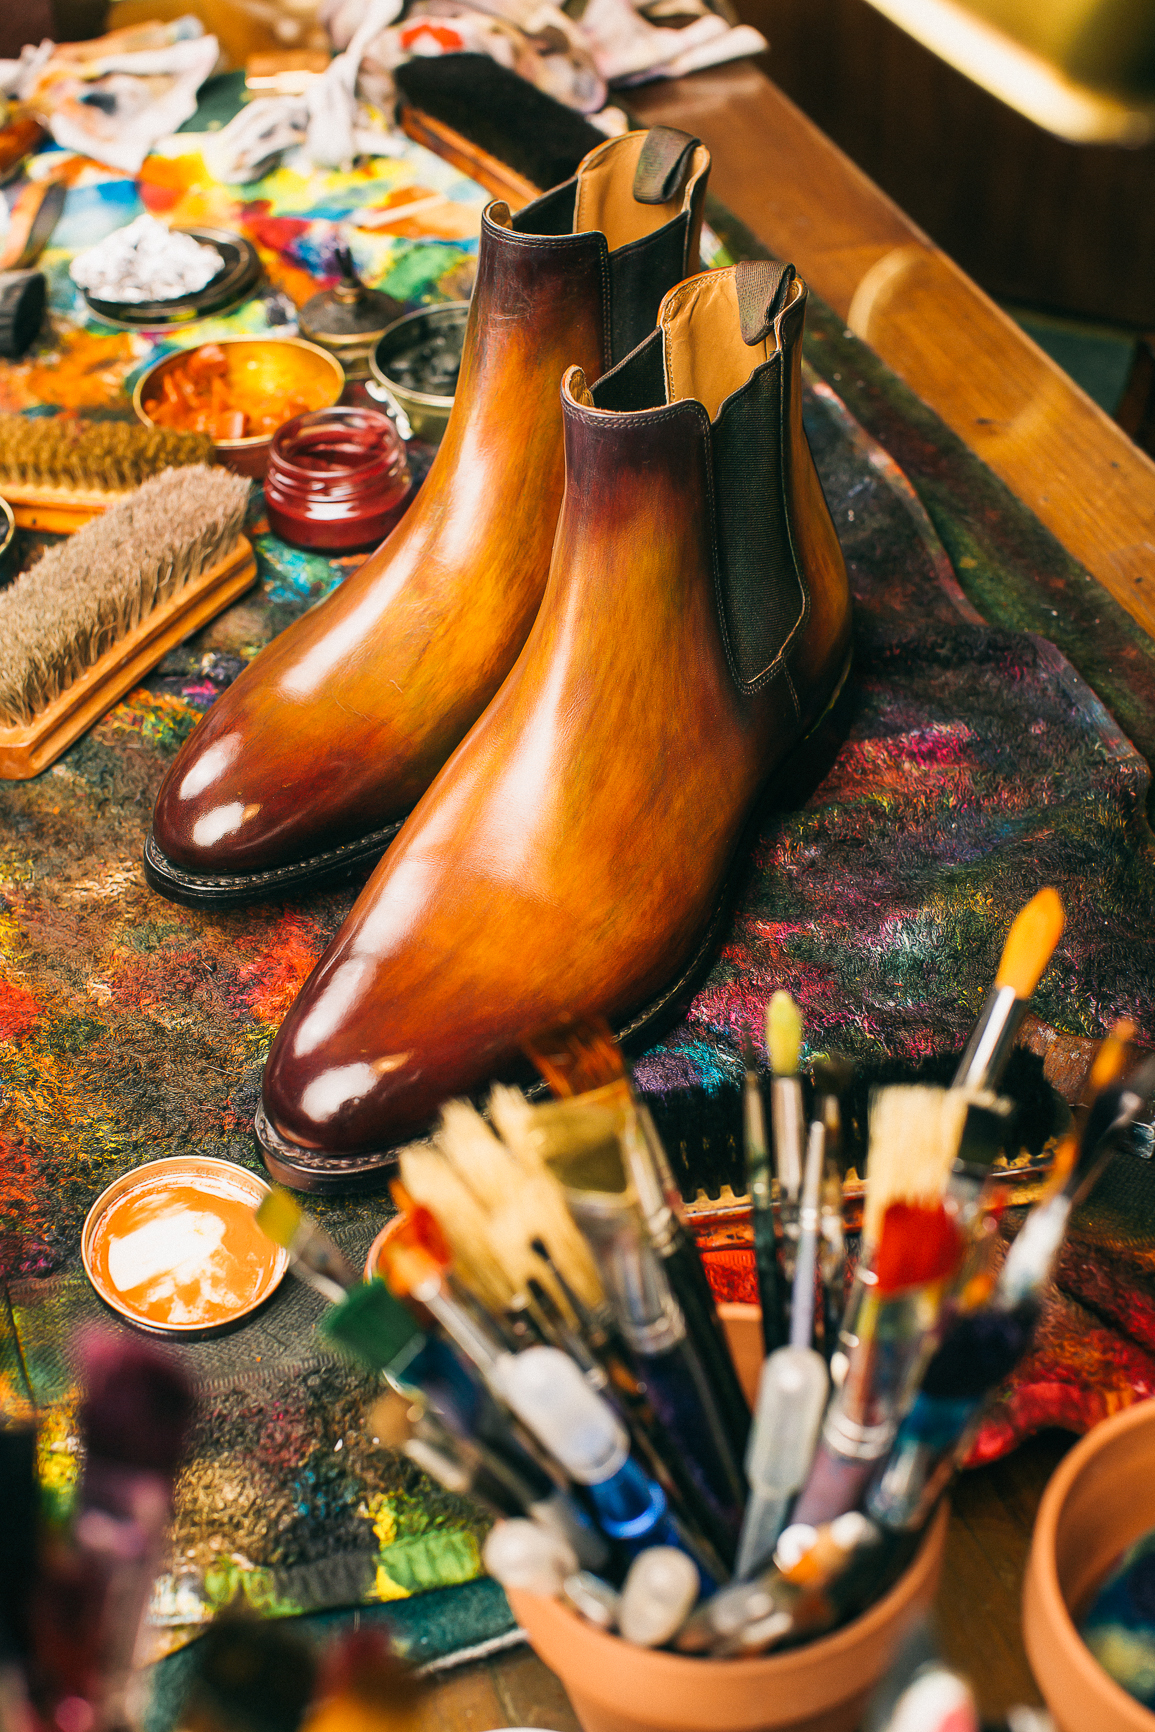
Luckily, during a press day at Loding, I had the chance to set up some big lights and capture the works of art put forward by their patina master. We were the last ones for the day, so the little extra time allowed me to go the extra mile when capturing his portrait and one off works of art.
